
Affiliate Disclosure
Some links on this page are affiliate links. As an Amazon Associate, we earn from qualifying purchases — at no extra cost to you. We do not buy, test, or physically handle the products we cover; our rankings come from aggregated owner reviews, ratings and expert consensus. Commissions never change our verdicts. How we rank & full disclosure.
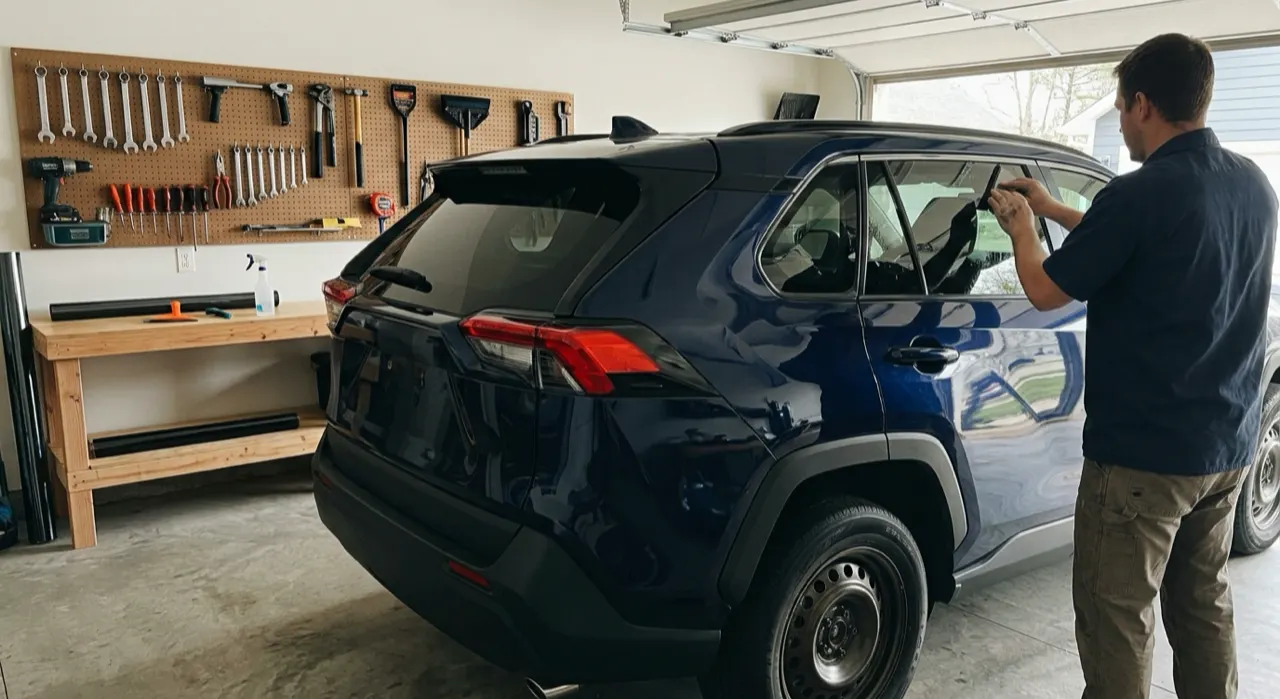
Short version: DIY window tint is genuinely doable on flat side windows if you're patient, work clean, and use plenty of slip solution. The enemies are dust, dry film and impatience — beat those three and you'll get a clean result for a fraction of a shop's price. The rear windshield and heavily curved glass are where DIY gets hard, and where a lot of people wisely tap out. Here's the full process, plus the honest markers for when to stop and pay a pro.
Before you start: know the law
Tint laws are set by state and they vary a lot — usually stricter on front side windows than rear. Before you buy film, look up the legal VLT (darkness) limit for each window in your state. Buying and installing an illegal shade just means stripping it off later when you get pulled over. If you're fuzzy on what VLT even means, our complete window tint guide explains VLT, film types and heat rejection so you buy the right film in the first place.
What you'll need
- Film — a pre-cut kit for your specific car is easiest for beginners; a bulk roll is cheaper but you cut it yourself.
- Slip solution — a spray bottle of water with a single drop of baby shampoo. This lets you slide the film into position before it grabs.
- Squeegees — a hard one for pushing out water and a soft/felt-edged one for the final press.
- A sharp blade — utility or hobby knife with fresh blades, for trimming.
- Heat source — a heat gun or hair dryer to shape film to curved glass.
- Lint-free cloths and a genuinely clean, dust-free space.
That last point does more work than any tool: dust under film is the number one cause of a bad result. Tint in a clean garage, not a breezy driveway, ideally right after wiping everything down.
The step-by-step
- Clean the glass obsessively. Wash the inside of the window, then clean it again. Any speck of dust or lint becomes a permanent bump. Use your slip solution and a fresh blade to scrape the glass clean, then wipe with a lint-free cloth.
- Cut and shape the film to the outside first. Lay the film on the outside of the glass, spray it with slip solution so it clings, and trim it to the window shape with your knife. This is your template — you shape on the outside, then apply on the inside.
- Shape curved glass with heat. If the window curves, warm the film with your heat gun and use the squeegee to "form" it to the curve on the outside. This pre-shapes it so it lies flat when you flip it inside.
- Soak the inside glass with slip solution. Spray it generously. A wet surface lets you slide the film into perfect position instead of it grabbing crooked.
- Peel the liner and apply. Separate the film from its clear backing (a strip of tape on each side helps you pull them apart), spray the adhesive side, and lay the film onto the wet glass. Slide it into position.
- Squeegee out the water. Work from the center outward with the hard squeegee, pushing water and air to the edges. Then go over it with the soft squeegee. Get it all — leftover water is where bubbles come from.
- Trim and tuck the edges. Trim to the final size, and if the window rolls up, tuck the film's top edge slightly into the seal with the door open a crack.
- Let it cure. Leave the windows up for three to five days. Small water hazes and bubbles will shrink and vanish as it dries.
The three enemies (and how to beat them)
Almost every DIY tint failure traces back to one of three things:
- Dust. Work in the cleanest space you can, wipe everything down, and inspect the glass under good light before you apply. A tack cloth over the film helps.
- Dry film. Keep everything wet with slip solution — the glass, the adhesive, the top of the film. Dry film grabs instantly and traps air. You want it slippery enough to slide.
- Impatience. Don't roll the windows down for days, and don't panic over tiny water bubbles right after install — those cure out. Rushing the cure is how you peel a good job.
When to just pay a pro
Being honest about your limits saves money and heartache. Consider paying a professional if:
- The rear windshield is heavily curved. This is the single hardest piece — pros use special shrinking techniques and it's easy to ruin an expensive sheet of film.
- You want a flawless, warranty-backed result. A shop stands behind its work; your DIY doesn't.
- You're using premium ceramic film. If you're spending real money on the film, a botched install wastes it — pay for the skill to match the film.
A sensible middle path a lot of people take: DIY the flat front side windows to learn and save, and pay a pro for the curved rear glass. There's no shame in a hybrid approach.
Where tinting fits the protection plan
Tint isn't just a look — a quality film blocks nearly all UV, which protects your dash, seats and skin. That's the same UV that degrades unprotected surfaces over time, which is why we treat it as part of a whole-car plan in protecting a new car. If you're building a broader protection setup, the exterior protection hub ties it all together.
See our top picks: for the protection gear reviewers rate highly, browse our exterior protection roundup.
The bottom line
Recommended Products
A clean DIY tint job needs two things: a film that shrinks predictably and the tools to squeegee it bubble-free. These are the films and the install kit owners rate highest — pick a shade your local law allows, and don't skip the kit.

Best for high heat rejection and clean DIY shrinking
- Nano-ceramic, high IR rejection
- Blocks 99% UV, no signal interference
- 2-ply, DIY-shrinkable
- Scratch-resistant coat
Why buy it: the film owners rate highest — nano-ceramic rejects far more heat than dyed film without blocking phone or GPS signals, and it shrinks cleanly for a DIY install that looks the part.
Best for affordable, fade-resistant carbon film
- 2-ply carbon, non-metal
- Resists purpling over time
- Easy to handle and shrink
- Great practice-and-do value
Why buy it: the budget film owners buy by the roll — carbon film that will not turn purple like cheap dyed tint, cheap enough to practice on a rear window before doing the door glass.

Best for maximum heat and glare control in a darker shade
- Darker 15% ceramic film
- Top-tier infrared rejection
- Big glare reduction
- Signal-friendly ceramic
Why buy it: the film owners choose for the hottest climates — a darker ceramic that cuts serious heat and glare, ideal on side and rear glass where the law allows a darker shade.
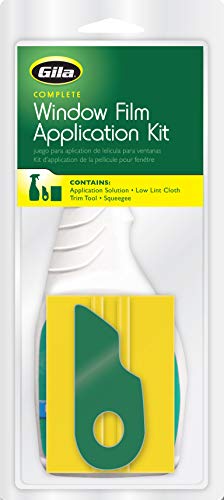
Best for the tools that make a bubble-free install possible
- Application solution and squeegee
- Trim tool and lint-free cloth
- Works with any film
- The install half of the job
Why buy it: the tool kit owners pair with any film — the application solution, squeegee and trim tool are what actually make a clean, bubble-free install possible; the film is only half the job.
Best for the darkest privacy shade for rear glass
- 5% limo carbon film
- Maximum privacy look
- Wider 24 in roll
- Non-metal, signal-safe
Why buy it: the limo-dark option owners use behind the front seats — a 5% carbon film for maximum privacy on rear windows, where legal limits are usually more relaxed than the fronts.
DIY window tint rewards patience and clean work more than any special skill. Keep everything wet, keep everything dust-free, and don't rush the cure — do that on flat side windows and you'll get a result you're proud of for a fraction of shop prices. Know your legal limits before you buy, and be honest about the curved rear glass, where paying a pro is often the smart call. For the full protection picture, head back to our exterior protection hub.