
Affiliate Disclosure
Some links on this page are affiliate links. As an Amazon Associate, we earn from qualifying purchases — at no extra cost to you. We do not buy, test, or physically handle the products we cover; our rankings come from aggregated owner reviews, ratings and expert consensus. Commissions never change our verdicts. How we rank & full disclosure.
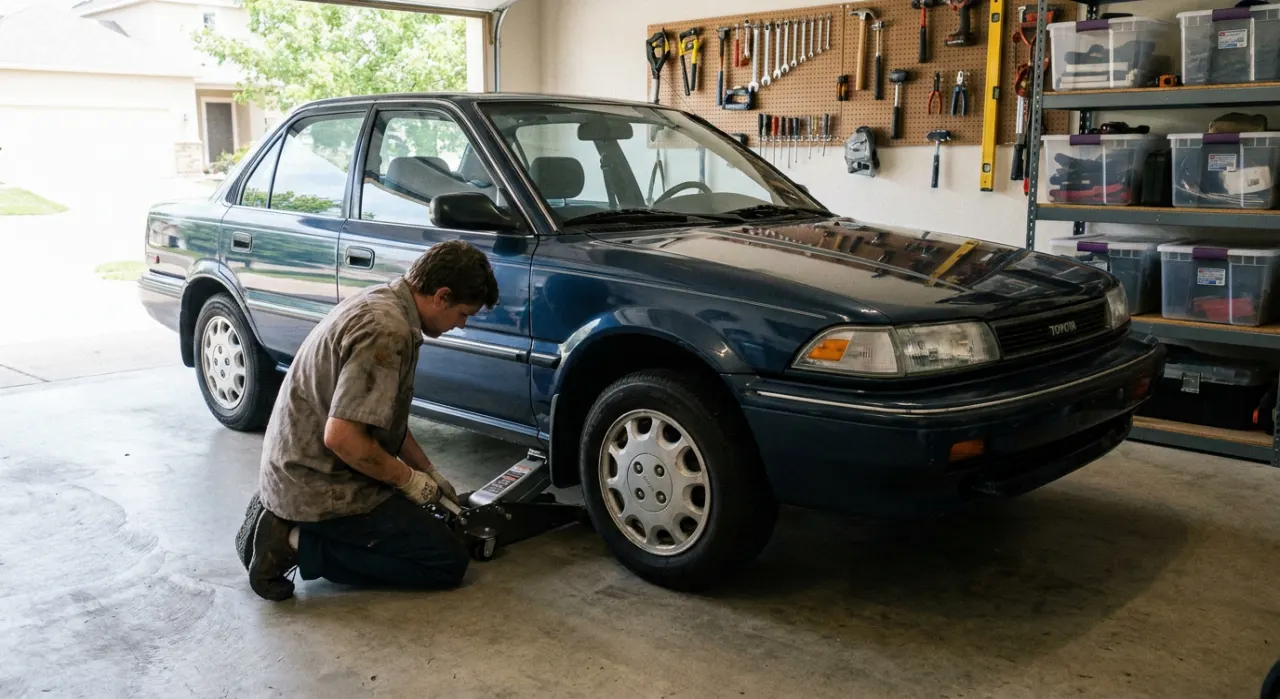
You finally got the coilovers dialed in. The ride height is where you want it. The car sits like it’s been glued to the road — maybe a knuckle’s clearance from the fenders if you’re really committed. It looks perfect. And then you slide the trolley jack across the garage floor, push it under the front of the car, and it stops. The saddle is already taller than the gap underneath.
This is the lowered-car tax. Every JDM build owner pays it eventually. The good news is there’s a straightforward toolkit that solves every part of the problem, and none of it is complicated — you just have to know what to buy and in what order to use it. This page is part of our complete car jacking guide. Once you understand the process here, head back to the hub for jack stand placement, torque specs, and everything else.
Why Your Standard Trolley Jack Won’t Fit
A typical budget trolley jack has a minimum saddle height — the height of the pad when the jack is fully collapsed and lying flat — of somewhere between 130 mm and 150 mm. Some older or cheaper units sit even higher than that. A production-spec car on stock suspension sits high enough that this is a non-issue. A car on coilovers wound down to street-legal JDM stance? You might have 90 mm of clearance under the sill. Sometimes less.
The jack physically cannot get into position. If you force it, you’re dragging the saddle across your underbody, scraping paint, potentially gouging a sill lip, or — worst case — contacting a brake line or fuel line before the jack even reaches the correct lift point. You need a different tool. Full stop.
The Low-Profile (Low-Entry) Jack: What to Look For
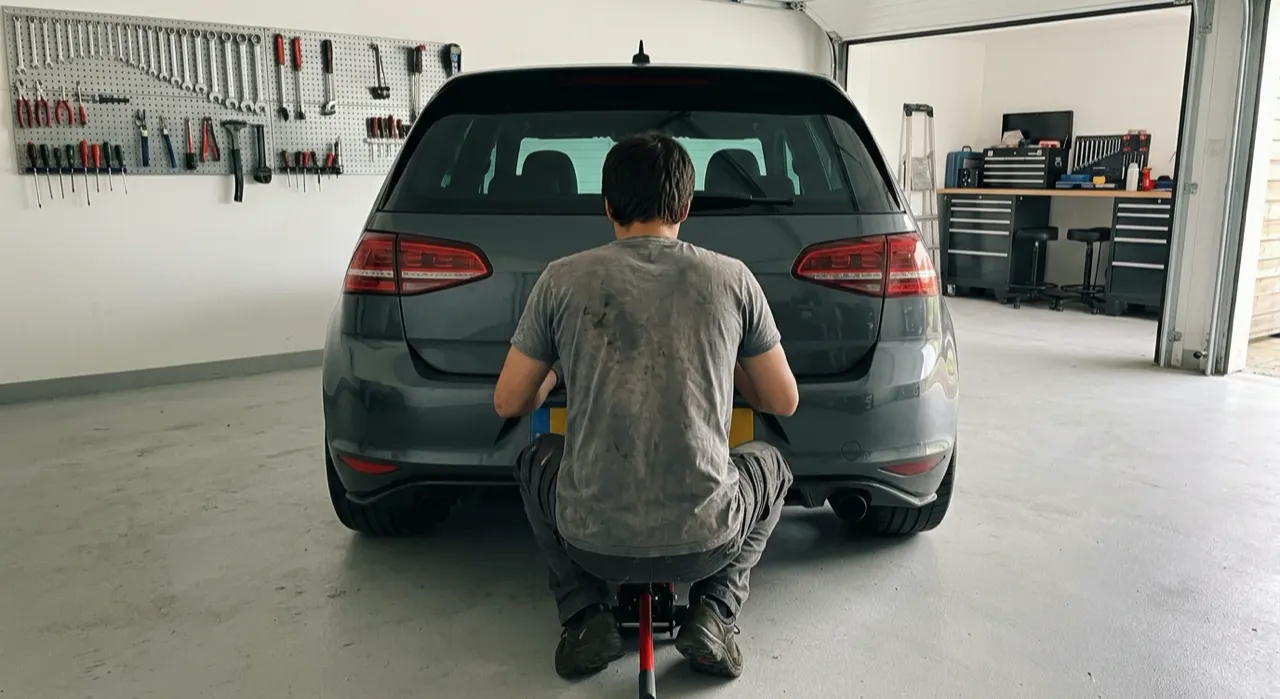
A low-profile floor jack, sometimes called a low-entry jack or race jack, is purpose-built for this. The key number is minimum saddle height — look for anything at or under 85 mm, and preferably in the 65–75 mm range if your ride height is genuinely slammed. Quality units from brands like Arcan, Pro-Lift, and Powerbuilt push down to around 65–70 mm collapsed.
A few other things to check on the spec sheet:
- Weight capacity. Most cars need a 2 ton minimum. A heavier AWD build or wagon needs a 3 ton unit. Don’t buy a 1.5 ton jack to look after a JZX or an S14.
- Maximum height. Some ultra-low jacks trade lift range to hit that minimum height. Check it lifts high enough to get the car onto properly rated jack stands, not just barely off the ground.
- Saddle size. A wider saddle is more stable. A smaller saddle with a rubber puck insert is easy to slot a purpose-made jack puck onto.
- Lift speed. A two-piston or rapid-rise jack cuts the number of pump strokes needed. On a race day or a late-night garage session this genuinely matters.
Our best trolley jack guide breaks down specific models and their saddle heights side by side, including the low-profile options.
The Real First Step: Approach Ramps or Lead-On Wedges
Here’s where a lot of people go wrong. They buy a low-profile jack, discover it still won’t get under the car because the front lip is sitting on the driveway, and assume they bought the wrong jack. Usually they bought the right jack. They just skipped a step.
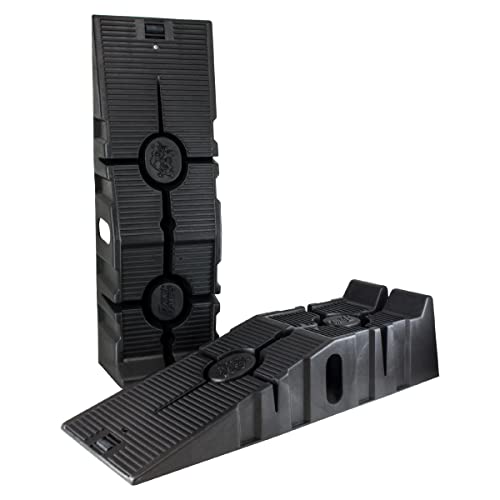
Approach ramps (also called lead-on ramps or drive-up wedges) are short, shallow inclines you place in front of two wheels before you drive the car forward. By elevating the car 30–50 mm at the tire contact patch, the whole body rises by roughly the same amount. That is often all the clearance you need to slide the low-profile jack underneath without scraping anything.
You can buy purpose-made plastic or aluminum approach ramps — brands like RhinoGear and Discount Car & Truck Accessories sell versions commonly referred to as “low-rider ramps” or “sloped approach blocks.” The gradient matters: too steep and you’ll bury your front lip into them before the car climbs. Look for a very shallow entry angle. Alternatively, some builders stack two rubber edge trim strips or use hockey pucks as a DIY version, though a proper ramp is safer and more consistent.
The sequence: place ramps, drive slowly onto them, engine off, transmission in gear or Park, wheel chocks behind the rears. Then slide the low-profile jack under. Not before.
Slotted Jack Pucks: Protecting the Sill and Hitting the Right Point
Once the jack is under the car, the saddle needs to contact a proper lift point, and on a lowered car with a full body kit or aftermarket sills, that can be harder than it sounds. Standard jacks often have a domed or flat rubber saddle that will catch the edge of a plastic sill panel before it reaches the pinch weld underneath.
A slotted jack puck solves this neatly. These are usually polyurethane or hard rubber discs with a slot or channel cut across the face. You sit the puck on the jack saddle, then position it so the slot cradles the pinch weld from below. The puck spreads the load across a wider area of metal, protects any powder coat or underbody coating, and keeps the saddle from skidding sideways as the car rises. Many JDM and euro-lowered car owners consider them non-negotiable.
OEM-style slotted pucks from Syvecs, EWP or generic polyurethane units from Amazon all work. Some come in sets of four — one per jack point. They are cheap enough that there is no reason not to have them. See our jack points guide for exactly where each of these sits on common JDM platforms.
The Front Lip and Splitter Problem
On a slammed car with an aftermarket front bumper, lip spoiler, or USDM-style splitter, the front air dam is often the lowest point on the entire car — lower than the subframe, lower than the oil pan, lower than everything. Even with approach ramps, the jack still has to enter from the side, and that means passing under or alongside bodywork that is very close to the floor.
A few hard rules here:
- Approach from the side, not the front. Pushing the jack in from the front is how lips get cracked. Come in from the side, angled toward the jack point.
- Check clearance visually before committing. Get on the ground and look. Know where the lip ends and where the pinch weld starts.
- Remove the jack saddle pin if fitted. Some jacks have a small steel pin or bolt in the saddle that adds 10–15 mm to the minimum height for no reason. If yours has one and it’s not load-bearing, take it out.
- If it looks like it’ll touch, it will. Trust your eyes. Add another ramp pass or raise the car fractionally before trying again.
Replacing an aftermarket front lip because you rushed the jack into position is an expensive and completely avoidable lesson. Takumi wouldn’t do it. Don’t do it either.
Go Slowly: The One Rule That Overrides Everything
Speed is the enemy of jacking a lowered car. Every step in this process rewards patience and punishes hurry. Drive onto the ramps at walking pace. Slide the jack in deliberately. Pump it up in small increments and check clearance as you go. Lower it slowly after the job is done and watch the lip as the car drops back down.
Going slowly also gives you time to notice if something isn’t right: a creak from the jack stand, a bodywork panel flexing where it shouldn’t be, the car shifting off-center. These are stop-and-reassess signals, not ignore-and-continue signals.
Jacking a lowered car takes maybe five minutes longer than jacking a standard-height car when you have the right setup. That is not a lot of time compared to what you spend sourcing the parts, planning the coilover tune, or polishing the paint. Give it those five minutes.
Complete Equipment List for Lifting a Lowered Car
- Low-profile floor jack (minimum saddle height 85 mm or less; 65–75 mm preferred for slammed builds)
- Approach ramps / lead-on wedges (shallow entry angle, rated for your car’s weight)
- Slotted jack pucks ×4 (polyurethane or hard rubber, to suit your jack saddle)
- Rated axle stands ×2 minimum (never leave the car on the jack alone)
- Wheel chocks ×2 (minimum, placed on the wheels staying on the ground)
- A flashlight (your phone’s light works; you need to see the jack point clearly)
The Process, Step by Step
- Park on a flat, solid surface. Concrete beats asphalt, which beats gravel. Never jack on an incline. Engine off, transmission in first gear or Park, parking brake on.
- Place approach ramps in front of the wheels you’re jacking. For front-lift, ramps go in front of both front wheels. Drive slowly forward until both fronts are fully seated on the ramp. Chock the rear wheels behind the tires.
- Slide the low-profile jack into position. Come from the side. Identify the correct front lift point (see our jack points guide). Fit the slotted puck onto the saddle and align the slot with the pinch weld. Confirm nothing is touching the lip or bodywork before you start pumping.
- Raise slowly and check as you go. Pump incrementally. Watch the lip clear the ramp. Watch the tires lift off the ramps evenly — uneven lift means the jack is off-center.
- Place axle stands under rated support points. Rated stands at the correct height, on the correct chassis points. Lower the jack until the car rests on the stands. Give the car a firm two-handed push to confirm it is stable before going near anything underneath.
- Do your work. Take your time.
- To lower: reverse the sequence. Jack up slightly off the stands, remove the stands, lower slowly, and watch the lip as the car descends back onto the ramps. Drive forward off the ramps. Check nothing was disturbed.
That is the whole process. It is slower than standard cars, but nothing about it is technically difficult once you have the right equipment and understand why each step exists. Everything needed to go deeper on jacking, stands, and jack points is in the jacking up a car hub.
Recommended Products
The kit that actually gets a lowered car safely off the ground. We rank on aggregated owner reviews rather than our own testing, and prices are indicative — check the live listing.

Best for slammed and coilover cars that a normal jack won’t fit under
- Very low collapsed saddle height to slide under low sills
- Rapid-rise pump gets to the lift point fast
- 3-ton capacity for heavier builds
Why buy it: the whole reason this page exists — a genuinely low-entry jack that gets under a lowered car without scraping the sill.
Best for gaining the first bit of clearance before the jack goes in
- Shallow entry angle friendly to front lips
- Raises the whole car so the low-profile jack fits
- Rated well beyond a typical car’s weight
Why buy it: the step most people skip — drive up these first and your low-profile jack suddenly slides right under.

Best for supporting the car once it is up — never work on the jack alone
- Double-locking pawl for extra security
- 3-ton (6,000 lb) capacity per pair
- Huge, well-reviewed owner base
Why buy it: non-negotiable hardware — the jack lifts, the stands hold, and you never trust a hydraulic jack to hold the car.
Best for a light, fast jack you can carry to track days
- Aluminium body is easy to lift and move
- Reliable, quick-rise action
- Popular with enthusiasts and at events
Why buy it: if weight matters more than the very lowest entry, this is the light, dependable everyday jack.

Best for cheap, capable home use on lighter cars
- Low cost of entry
- 2-ton capacity suits most compact cars
- Compact and easy to store
Why buy it: the value pick for lighter builds — pair it with ramps to make up the clearance a budget jack lacks.
Prices are pulled from Amazon and were accurate as of Aug 22, 2026, 6:54 PM EDT. Product prices and availability are subject to change — the live price is shown on Amazon.