
Affiliate Disclosure
Some links on this page are affiliate links. As an Amazon Associate, we earn from qualifying purchases — at no extra cost to you. We do not buy, test, or physically handle the products we cover; our rankings come from aggregated owner reviews, ratings and expert consensus. Commissions never change our verdicts. How we rank & full disclosure.
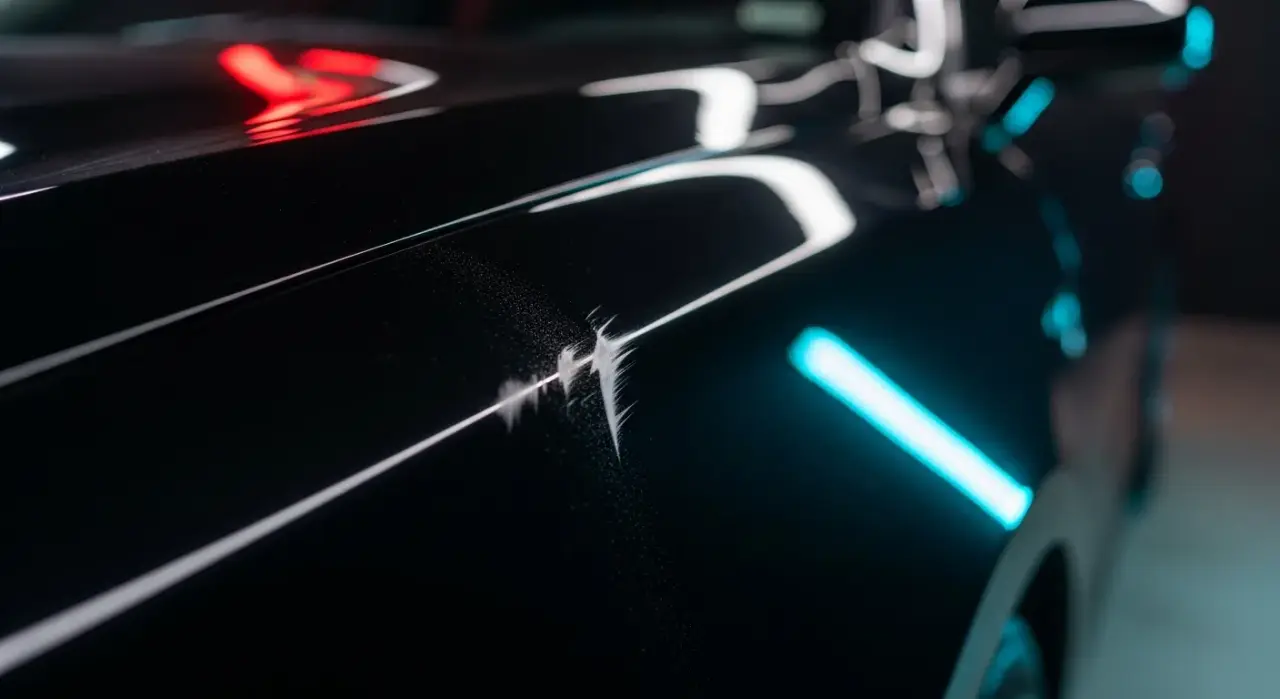
Short version: a scratch that catches your fingernail but shows no color is still living in the clear coat, and it can often be leveled and polished out, no paint needed. The trick is knowing whether yours qualifies (do the nail-and-color test), then removing the least amount of clear coat that makes it disappear. Start gentle with compound and polish; only wet-sand if that isn't enough. The one thing to fear is burning through the clear into the color, which turns a polishing job into a paint job.
Does Your Scratch Qualify?
This whole approach only works on clear-coat scratches, so confirm that first. Run your fingernail across the scratch, perpendicular, and look closely at the groove in good light. Two things decide it:
- Your nail catches, but you see no color, no white, gray, or metal. The scratch is still in the clear coat. You can level and polish it out. Read on.
- You see color, primer, or metal in the groove. The scratch has cut through the clear into the base. Polishing can't fix it, it needs touch-up paint. Stop here.
If your nail glides straight over with no catch at all, that's an even lighter scratch or swirl marring, and it'll come out with a quick polish, or check removing swirl marks if there are lots of them. Our full severity guide covers every case, but for this article the assumption is: nail catches, no color. That's the sweet spot where clear-coat correction shines.
How Clear-Coat Repair Actually Works
Your clear coat is a hard, colorless top layer, and it's got some thickness to spare. A scratch is a groove cut into that layer. You can't fill a clear-coat scratch, you level it, by removing a microscopic amount of the surrounding clear coat down to the bottom of the groove, so the scratch is no longer a valley. Then you polish the leveled area back to gloss. That's the entire principle: cut down to the scratch, then refine the surface back to shine.
Because you're removing clear coat, restraint is everything. There's plenty of clear coat for the occasional correction, but it's finite, and once you cut through to the color, you can't undo it. So the whole technique is built around removing as little as possible while still erasing the scratch.
What You'll Need
- A rubbing compound (for cutting) and a fine polish (for finishing). Some products combine both.
- Clean microfiber applicators and towels, several, so you're never rubbing with a dirty one.
- Optional: 2000-3000 grit wet sandpaper and a small sanding block, only for deeper scratches.
- Optional: a dual-action polisher for speed and evenness, though hand work is fine for one scratch.
- A wash setup and, ideally, a clay bar to clean the area first.
These are the same products from our top-rated scratch remover roundup, a good scratch remover is essentially a compound-and-polish in one bottle, which is exactly what clear-coat correction needs.
Step 1: Clean the Area
Wash and dry the panel, and clay-bar it if you can. You never want to compound over grit, it just carves fresh scratches while you're removing the old one. Work in the shade so your products don't flash-dry, and pick a spot where you've got a handheld light or good angled sunlight to inspect your progress.
Step 2: Start With Compound and Polish
Always try the gentlest effective method first. Put a small amount of compound on a microfiber applicator and work it into the scratch with firm pressure, in overlapping straight passes, back and forth, then crosswise. Keep working the small area until the compound starts to go clear, then buff off the residue with a clean towel and check the scratch in the light.
Fainter? Good, do another pass or two. Gone? Move straight to the finishing polish to bring back full gloss where the compound may have left a slight haze. This alone handles the majority of clear-coat scratches, and it removes the least material, which is exactly what you want. Only if the scratch is barely improving after several honest passes do you consider the more aggressive step.
Step 3: Wet-Sand Only if You Must
For a deeper clear-coat scratch that compound alone won't reach, careful wet-sanding levels it faster, but this is where the risk lives. Soak 2000-3000 grit paper, back it with a small block, and sand the scratch area wet with very light pressure, keeping it as tight to the scratch as possible. Sand a little, wipe, and check constantly. The goal is to knock the high edges of the groove down flush, not to grind.
Sanding leaves the area dull and hazy, that's normal, you'll polish it back. But this step removes real clear coat, so it's the one where people burn through. Watch obsessively for any dull or off-color patch appearing; that's the warning that you're nearly through to the color. If you see it, stop. When in doubt, skip sanding and just do more compound passes, slower but far safer.
Step 4: Compound and Polish Back to Gloss
If you sanded, follow with compound to remove the sanding marks, then fine polish to restore the shine, that sand-compound-polish sequence is what brings a wet-sanded area from dull haze back to glass. Whether you sanded or not, finish with the fine polish over the whole worked area so it blends seamlessly into the surrounding paint with no visible edge.
Step 5: Seal It
You've just exposed fresh, unprotected clear coat, so protect it. A coat of wax or sealant over the repaired area (and ideally the whole panel, so it matches) shields the fresh surface and restores the beading and slickness. Skipping this leaves your correction bare to UV and contaminants, and it'll dull faster than the paint around it.
The One Real Danger: Burn-Through
Everything in this repair comes back to one risk, cutting through the clear coat into the color. The signs are a dull, cloudy, or differently-toned patch that won't polish back to gloss no matter what you do. If that appears, stop immediately; more polishing only widens the damage. That spot has now become a paint repair and needs touch-up paint. You avoid burn-through by starting gentle, checking constantly, and never over-working one spot, discipline, not skill, is what keeps you safe.
The Verdict
A clear-coat scratch, one that catches your nail but shows no color, is very often a DIY fix. Clean the area, start with compound and polish by hand or machine, wet-sand only if you truly must, then polish back to gloss and seal it. Remove the least clear coat you can, check your progress obsessively, and stop the instant you see any dull patch appear. If the scratch shows color, or a burn-through happens, that's a paint job instead, and if the whole car is spider-webbed, see removing swirl marks. For the compounds and polishes reviewers rate highest, our top picks are in the scratch remover roundup.
Recommended Products

Best for leveling light clear-coat scratches by hand or machine
- Cuts fast yet finishes clear, so it works by hand
- Removes scratches you cannot catch with a fingernail
- Safe on clear-coat paint, no harsh fillers
- The go-to compound for DIY scratch repair
Why buy it: the right tool for the job on this page — it removes a thin layer of clear coat to level a light scratch, and it finishes clean enough to use by hand.

Best for combining scratch removal with a polishing step
- One product that cuts scratches and refines swirls
- Works by hand or with a dual-action polisher
- Body-shop-safe finish
- Good for tidying a whole panel, not just one mark
Why buy it: the pick when the panel has swirls too — it levels the scratch and refines the surrounding haze in one product, which saves a step.

Best for a cheap try on very light marks
- Low-cost compound plus filler blend
- Handy for very light surface scratches
- Easy hand application
- Widely available
Why buy it: the cheap first attempt — for a faint scratch it may be all you need, though it leans on fillers more than a true cutting compound.

Best for buyers who want the pad and applicator included
- Compound plus applicator pad in one box
- Works on any paint color
- Simple three-step process
- The most-reviewed option in this set
Why buy it: the grab-and-go kit — everything to try a scratch in one box, best kept to light clear-coat marks rather than deep gouges.
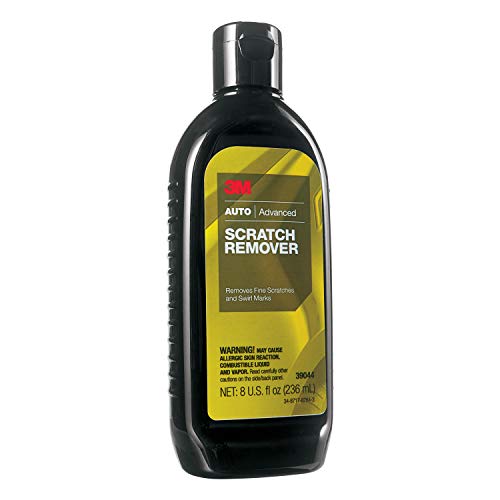
Best for a trusted-brand rubbing compound for surface scuffs
- Fine rubbing compound from a paint-industry name
- Good on shallow scratches and scuffs
- Hand or machine application
- Pairs well with a follow-up polish
Why buy it: the pick for shallow scuffs — a fine 3M compound that tidies surface marks, though anything you can feel with a nail needs more than a compound.
Prices are pulled from Amazon and were accurate as of Aug 22, 2026, 6:54 PM EDT. Product prices and availability are subject to change — the live price is shown on Amazon.