
Affiliate Disclosure
Some links on this page are affiliate links. As an Amazon Associate, we earn from qualifying purchases — at no extra cost to you. We do not buy, test, or physically handle the products we cover; our rankings come from aggregated owner reviews, ratings and expert consensus. Commissions never change our verdicts. How we rank & full disclosure.
Short version: touch-up paint fails for one of two reasons, a dirty surface or one thick blob. Get those right and the rest is patience. Clean and degrease the spot, build the color up in thin layers slightly proud of the surface, let it cure for two weeks, then level the excess flush and polish. That's the whole game. Rush any step and you trade a small chip for an obvious lump.
First, Confirm This Is the Right Fix
Touch-up paint is for damage that's reached the color coat or bare metal, not for clear-coat scratches. Do the fingernail test from our scratch severity guide: if your nail glides over or catches with no color showing, put the paint away, that's a job for a scratch remover. Paint belongs only where you can see white primer, gray, or metal in the groove. Using it on a shallow scratch just smears color where it doesn't belong.
Assuming you can see color or metal, you're in the right place. Have your color-matched touch-up paint ready, ideally an OEM-coded kit with primer, color and clear coat. A toothpick or the fine end of a small brush, isopropyl alcohol, microfiber, and (for leveling later) some 2000-3000 grit wet sandpaper and polish round out the kit.
Step 1: Clean and Degrease
Paint only bonds to a clean, dry, wax-free surface, and this is where half of all failures start. Wash the area with soap and water, dry it completely, then wipe it with isopropyl alcohol or a dedicated prep solvent. That last wipe is non-negotiable, it strips the wax, road film, and grease that would otherwise stop the paint from gripping. Skip it and your fresh repair lifts within a few weeks no matter how careful you were.
If there's any flaking paint or rust at the edges of the chip, gently clean it out first, paint over rust and the corrosion just keeps working underneath. On a bare-metal chip especially, a spot of primer now is what stops rust from spreading later, which is the whole point of prompt rock chip repair.
Step 2: Prime if You've Hit Metal
If the chip goes to bare metal, dab a tiny amount of primer into the bottom of the groove and let it dry. Primer does two jobs: it blocks rust and it gives the color coat something to bond to. Keep it small, just the exposed metal, not a wide smear. If your damage only reached the color coat and there's no metal showing, you can skip straight to color.
Step 3: Build the Color in Thin Layers
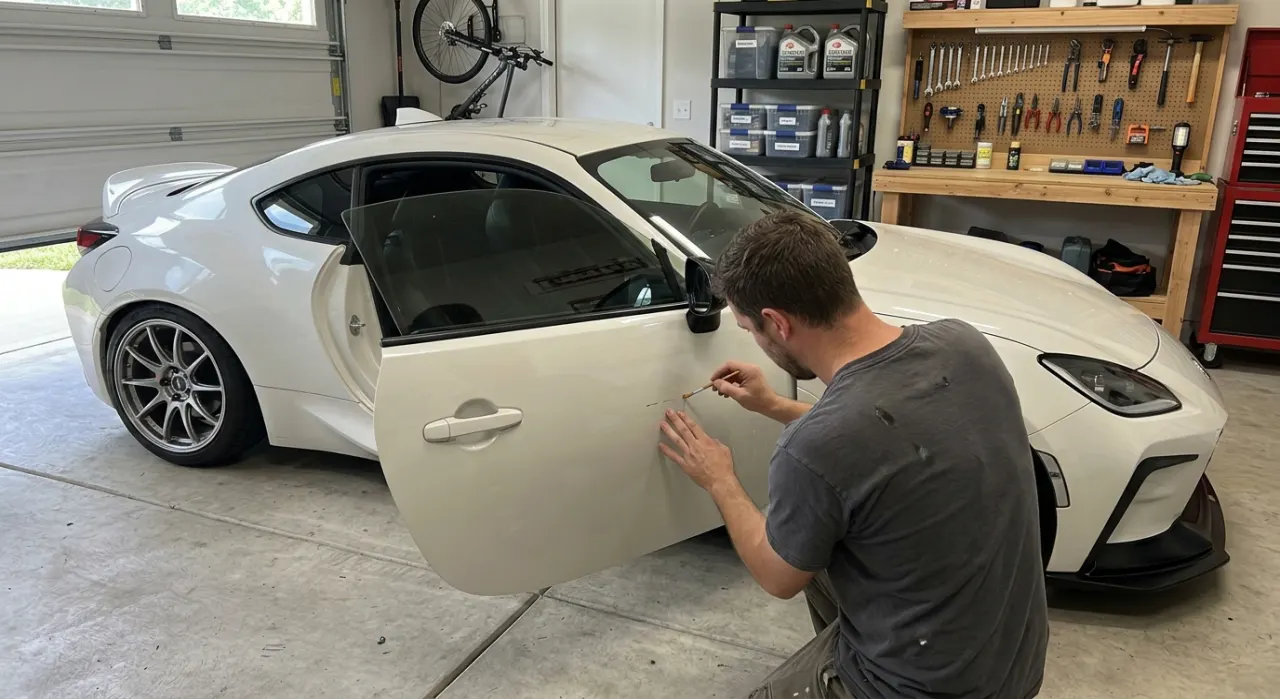
This is the step that makes or breaks the whole repair, and the rule is simple: thin, not thick. Don't try to fill the chip in one go. Load a toothpick or the very tip of the brush with a small amount of color and dab it into the low spot. Let it dry 20-30 minutes. Then add another thin layer. Repeat until the color sits just slightly proud, a hair above, the surrounding surface.
Why thin layers? Because a single blob dries as a raised, glossy dome that catches every glance, worse than the chip you started with. Thin coats level themselves better, dry evenly, and build up controllably. It feels slow, but the difference between a repair you can't find and one you can't ignore is entirely in this step. Build it a touch proud on purpose, you'll level that excess flush later.
Step 4: Clear Coat Over the Color
Factory paint is color plus a clear top layer, so a color-only repair reads as a dull patch on a glossy panel even when the color is perfect. Once your color layers are built and dry, add a thin coat of clear over the top. This restores the gloss and protects the color underneath. If your kit didn't include clear, it's worth buying separately, it's the difference between 'finished' and 'flat spot'.
Step 5: Walk Away for Two Weeks
The hardest step is doing nothing. Touch-up paint is touch-dry in an hour but keeps hardening for days. If you wash, wax, or try to level it too soon, you'll mar or lift the whole repair. So once your layers are built, leave it completely alone for two weeks, park it, drive it normally, but no washing, waxing, or sanding the spot. Cure time is not optional, it's the reason rushed repairs look sunken and hazy.
Step 6: Level and Blend (Optional but Worth It)
If you built the color slightly proud, you'll now have a tiny raised dab. To make it invisible, wet-sand just that high spot after the two-week cure. Use 2000-3000 grit on a small block or your fingertip, wet, with very light pressure, and stop the moment the dab is flush with the surrounding paint. Keep the sanding tight to the repair, you don't want to touch the good clear coat around it.
Then polish the sanded area back to gloss with a fine polish, exactly the same motion you'd use on a clear-coat scratch. This removes the sanding haze and blends the edge so the repair disappears into the surrounding shine. Go slow and check often, it's possible to sand through into the color if you get greedy, but done gently this is what turns a visible dab into an invisible fix.
The Mistakes That Ruin It
- Painting over wax or grease. The color never bonds and lifts within weeks. Always degrease first.
- One thick blob instead of thin layers. Dries as a raised glossy lump that's worse than the chip.
- Skipping clear coat. Leaves a dull flat patch even when the color is perfect.
- Washing or leveling before the cure. Mars and lifts the fresh repair, undoing all your work.
- Sanding too hard when leveling. Cuts through the fresh color, right back to square one.
The Verdict
Recommended Products
The right touch-up product depends on the damage: a field of small chips, one visible panel that has to match, or an odd colour no shelf pen covers. These are the systems and pens owners rate highest for each — and don't skip a clear-coat pen to seal the repair.
Best for a hood or bumper peppered with small rock chips
- Blob-and-blend method: dab color on, then level the excess with the squeegee
- SealAct blending solution forgives a shaky hand across many chips
- Kit is mixed to your exact OEM code — order by make, model and year
- Far faster than a fine brush when you have a field of little chips
Why buy it: the owner favourite for scattered chips — the squeegee-and-blend approach levels the paint flush for you, which is why it keeps getting recommended over a plain brush for a chip-covered hood.
Best for a visible panel where the match has to be exact
- Mixed to your carmaker's own factory formula, base plus clear coat
- Built-in brush and agitator ball for a consistent mix
- The closest match you can get on a metallic or pearl
- Sold per make and paint code — this is an example listing; order your colour
Why buy it: the closest-match option — a genuine factory-mixed pen blends nearly invisibly on the metallics and pearls where a generic bottle flashes a different shade in the light.
Best for a quick exact-match fix you can grab off the shelf
- Three tools in one: pen tip, brush and prep applicator
- Exact-match colours plus a universal option for hidden spots
- Widely stocked, so replacements are easy to find
- The most affordable name-brand pick here
Why buy it: the sensible budget buy — a recognised brand with an exact-match range and a triple applicator, cheap enough to keep one in the glovebox for parking-lot chips.
Best for an older or rarer car whose colour isn't on a shelf
- Custom-mixed to order for any make, model and paint code
- Basecoat, primer and clear coat available to match your layer stack
- Fills the gap when big brands don't list your colour
- You supply the code from your door-jamb sticker or VIN
Why buy it: the answer for an odd colour — mixed to order from your code, so an older or uncommon paint that no shelf pen covers still gets a proper match.
Best for sealing a finished repair so it doesn't stay dull
- Lays down clear lacquer over cured colour for factory-style gloss
- Seals the chip against water and stops rust taking hold
- Pairs with any colour pen or bottle that skips clear coat
- Precision tip for spot-sized application
Why buy it: the finishing touch most people forget — a colour-only repair reads as a dull patch, and this clear pen is what makes the fix look glossy and finished instead of flat.
A good touch-up repair is 20% technique and 80% patience. Clean and degrease, build the color in thin layers slightly proud, clear coat it, then leave it alone for two weeks before you level and polish it flush. Do that and even a home fix nearly disappears. If your damage is bigger than a chip, spreading rust, a dent, or a scratch across body lines, check our severity guide first, some jobs really are cheaper to leave to a shop. And for the paint and removers reviewers rate highest, see our top picks in the scratch remover roundup.