
Affiliate Disclosure
Some links on this page are affiliate links. As an Amazon Associate, we earn from qualifying purchases — at no extra cost to you. We do not buy, test, or physically handle the products we cover; our rankings come from aggregated owner reviews, ratings and expert consensus. Commissions never change our verdicts. How we rank & full disclosure.
Short version: Wash wheels first, rinse the whole car, lay down soap top-to-bottom, do a slow two-bucket contact wash with a plush mitt, rinse again, and dry immediately with a proper drying towel. Work in the shade, keep your grit out of the clean bucket, and never wipe in circles. That is 90 percent of a swirl-free wash right there.
The first time I washed a car "properly" I spent longer than I care to admit and still put a haze of fine swirls into the hood. Turned out I was doing three things wrong at once: dish soap, a single bucket, and an old kitchen sponge. Fix those three and the paint stays glossy instead of getting that spider-web look under streetlights. Think of this like a good warm-up lap before a run through the mountains, get the fundamentals dialed and everything after gets easier.
What you actually need
You do not need a shelf of chemicals to wash a car well. Here is the honest short list I hand to anyone starting out:
- Two buckets — one wash, one rinse. Grit guards in the bottom help a lot but are optional.
- A plush microfiber or lambswool wash mitt. This is the one thing I would not cheap out on. See our top picks over on the best wash mitt roundup.
- A dedicated, pH-neutral car wash soap. Not dish soap. More on why in the best car wash soap guide.
- A drying towel — a big waffle-weave or twist-loop microfiber, not a bath towel.
- A hose or pressure washer for rinsing, plus a separate wheel brush and mitt.
That is a genuinely capable kit for under a hundred bucks. Everything beyond it — foam cannons, drying blowers, dedicated glass towels — is refinement, not a requirement.
Step 1: Wheels first, always
Wheels and tires are the dirtiest part of the car, loaded with brake dust, road grime and baked-on tar. If you save them for last, you end up splashing that filth back onto paint you already cleaned. So they go first, with their own bucket, their own wheel cleaner and a brush that never touches the body.
Spray a wheel cleaner, let it dwell for a minute (never on a hot wheel), agitate the barrels and face with a brush, then rinse thoroughly. Do all four before you touch the paint. Now you can wash the body knowing nothing dirty is coming back up.
Step 2: A thorough pre-rinse
Before any mitt touches the paint, blast the whole car with water to knock off as much loose dirt as you can. This is the step people skip, and it is where a lot of scratching starts — every speck of grit you rinse away now is a speck you are not grinding across the clear coat later.
Work top-down. Pay attention to the lower quarters, behind the wheels and the front bumper, where the heaviest grime collects. If you run a pressure washer, keep the nozzle back a foot or so and let the water do the work rather than blasting at point-blank range.
Step 3: Lay down your soap
You can apply soap two ways. A foam cannon on a pressure washer gives you that satisfying blanket of suds and adds real dwell time to soften dirt. Or you simply wash straight out of a soapy bucket. Both work — foam is nicer and adds a safety margin, but it is not mandatory for a clean, swirl-free result.
Whichever you choose, the soap does more than make bubbles. A good car shampoo adds lubrication so your mitt glides instead of dragging grit. That lubrication is the whole point, which is why the soap you pick genuinely matters.
Step 4: The contact wash (this is where swirls live or die)
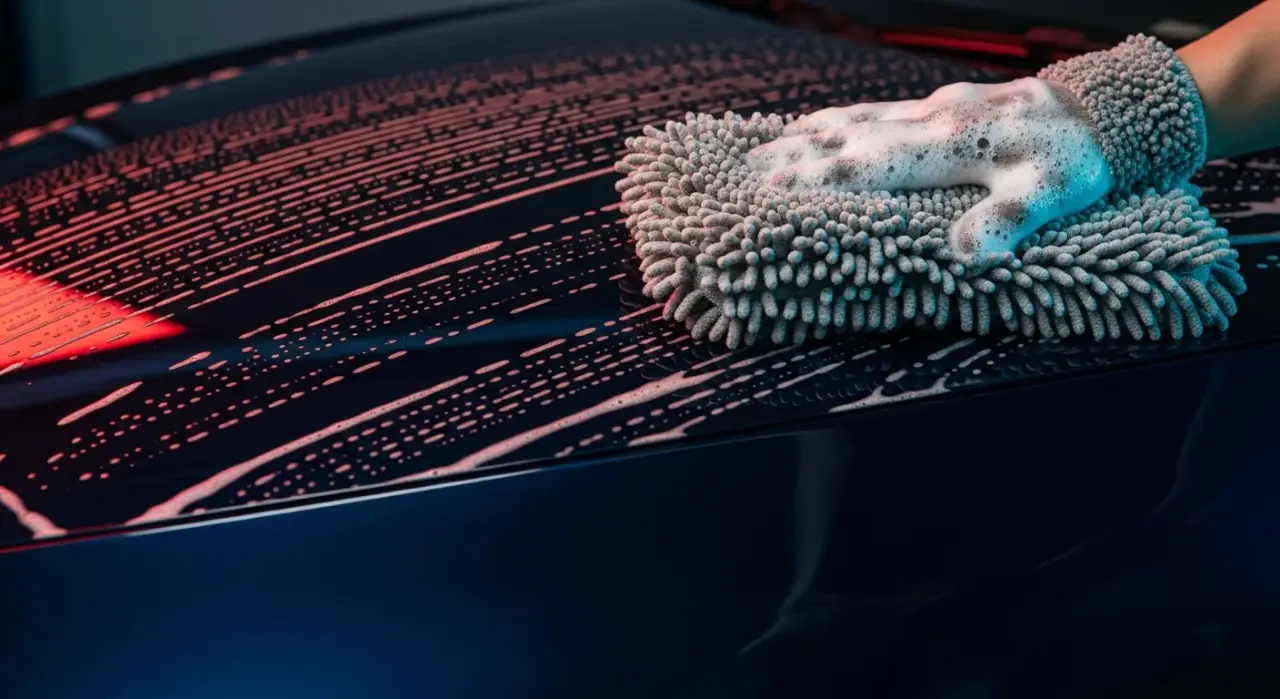
Here is the two-bucket rhythm that keeps paint safe. Dip your mitt in the wash bucket, wash one panel with straight-line strokes — never circles — then rinse the mitt in the rinse bucket before re-loading it with clean soapy water. Every single time. That rinse step is what strips the grit off your mitt so you are not sanding the paint on the next pass.
Work top-to-bottom. The lower body is filthier, so if you did the roof last you would drag the dirtiest grit across the cleanest panels. Use light pressure and let the mitt and soap do the cutting. If a bug or tar splat will not budge, do not scrub harder — come back to it with a dedicated remover rather than grinding it in.
This is the core of the whole process, and it deserves its own deep dive. If you want the full breakdown of the technique — grit guards, bucket placement, mitt rotation — read our complete guide to the two-bucket method. It is genuinely the difference between paint that stays glossy and paint that hazes over within a year.
Step 5: Final rinse
Rinse the whole car again, top-down, until the water sheets off clean with no suds trailing. If your car has fresh wax or a coating, you will see the water bead and run off in sheets — that is your protection doing its job. Sheeting the water rather than misting it also means less to dry and fewer spots.
Step 6: Dry it properly
Do not let it air-dry. Air-drying is how you get water spots, those chalky mineral rings that etch into clear coat over time. Grab a large, plush drying towel and blot or gently pull it across the panels. A drying aid or quick detailer sprayed on first adds lubrication so the towel glides.
Drying is its own little skill — towel versus blower, spots versus streaks — and we cover all of it in how to dry a car. The short version: use a proper towel, work fast, and never reuse a towel that has hit the ground.
The mistakes that undo all this work
You can nail every step above and still wreck your paint with a couple of bad habits. Dish soap strips wax and dries out trim. Wiping in circles turns a stray piece of grit into a perfect ring of swirls. Reusing a dropped towel drags driveway grit straight back onto the clear coat. And drive-through car washes with their spinning brushes are swirl factories.
I put together a full rundown of the traps to avoid in car washing mistakes — worth a read once you have the basics down, because avoiding damage matters more than any single product you buy.
Build a rhythm and it gets easy
The first few washes feel fussy. Buckets everywhere, second-guessing every stroke. Stick with it. Within a month the sequence — wheels, rinse, soap, contact wash, rinse, dry — becomes automatic, and you will knock it out in well under an hour while your paint actually gets glossier over time instead of duller.
That is the real payoff of washing correctly: it is not just cleaning, it is preventing damage. A car washed the right way for a few years looks dramatically better than an identical car run through automatics. Get the wash dialed first, then everything downstream — waxing, polishing, coating — sits on a clean, swirl-free base and pays you back with a deeper shine.
Recommended Products
Best for a slick, pH-balanced maintenance shampoo
- pH-balanced — cleans without stripping wax, sealant or ceramic
- Super-concentrated: about 1 oz per 5-gallon bucket
- Slick enough that grit slides instead of grinding
- Foams well in a cannon or a bucket
Why buy it: the safe default the whole wash relies on — real lubrication so your mitt glides, not the dish soap that strips wax and dries out trim.
Best for a forgiving, foamy first shampoo
- Rich foam and high lubricity for a safe maintenance wash
- Added conditioners help paint sheet water
- Widely stocked — easy to find anywhere
- 64 oz dilutes heavily, strong value
Why buy it: the beginner-proof pick — thick, slick and hard to get wrong, exactly what a new washer wants for the two-bucket contact wash.

Best for the one tool not to cheap out on
- Deep grit-trapping chenille noodles
- Huge suds capacity
- Genuinely scratch-free
- Machine washable
Why buy it: the plush mitt that traps grit deep in its noodles instead of dragging it across your clear coat — swirl prevention for under $10.
Best for foam-cannon owners who want dwell time
- Built to foam thick and cling for dwell time
- pH-balanced, safe over wax and ceramic
- Best as a touchless pre-wash
- Works in cannons, guns or buckets
Why buy it: the optional safety margin — a clinging snow foam that lifts grit off the paint before your mitt ever touches it.
Prices are pulled from Amazon and were accurate as of Aug 22, 2026, 6:54 PM EDT. Product prices and availability are subject to change — the live price is shown on Amazon.