
Affiliate Disclosure
Some links on this page are affiliate links. As an Amazon Associate, we earn from qualifying purchases — at no extra cost to you. We do not buy, test, or physically handle the products we cover; our rankings come from aggregated owner reviews, ratings and expert consensus. Commissions never change our verdicts. How we rank & full disclosure.
Short version: When you sand and polish a foggy headlight clear, you also remove the factory UV coating. Sealing puts fresh UV protection back on the bare plastic. Skip it and the lens re-yellows within weeks; do it and your work lasts a year or two. This is the single most important — and most skipped — step in the whole job.
I want to talk about the one step that separates a restoration you'll brag about from one you'll quietly regret. It's not the sanding. It's not the polishing. It's the seal. I've watched too many people spend an hour getting their lenses crystal clear, admire them, drive off — and then message me a month later asking why they've gone yellow again. The answer is always the same: they never sealed them.
Why sealing is the whole ballgame
Here's the thing most tutorials gloss over. Your foggy headlight was foggy because the factory UV coating failed and the plastic underneath oxidized. When you sand that oxidation away and polish the lens clear, you're cutting off not just the damage but also whatever was left of that protective coating. What you're left with is beautifully clear — and completely naked — polycarbonate.
Bare polycarbonate is exactly what yellows in sunlight. It's the same material, in the same sun, with nothing on top. So without a new coating, you've essentially reset the clock and taken the sunscreen off. That's why an unsealed restoration can start hazing again in a couple of weeks. If you want the full background on why the plastic behaves this way, we explain it in why headlights fog up.
Seal it, and you've replaced the protection the factory gave it — often with something more durable than the original. That's the difference between a two-week result and a two-year one.
The three kinds of sealant
Not all seals are equal. Here's how they stack up, roughly from easiest to longest-lasting.
- UV sealing wipes. These come in most restoration kits — a foil packet with a pre-soaked cloth. You wipe on a thin, even coat and let it cure. Dead simple, cheap, and good for maybe six months to a year. The catch is they're the least durable option, so they suit someone happy to refresh regularly.
- Spray sealants. A dedicated aerosol or pump UV sealant. A bit more product control and generally a longer life than a wipe — often a year or more. A good middle ground.
- Ceramic and 2K clear coats. The heavy hitters. Ceramic-style headlight coatings and two-part (2K) clear coats bond hard and block UV for a couple of years or beyond. They cost more and take more care to apply, but if you want to do this once and forget it, this is the tier to buy.
Kits that include a proper sealing step are the ones worth your money — we flag which do in our ranked restoration kits roundup. Some cheap kits skip the seal entirely, which is a false economy.
How to apply it properly
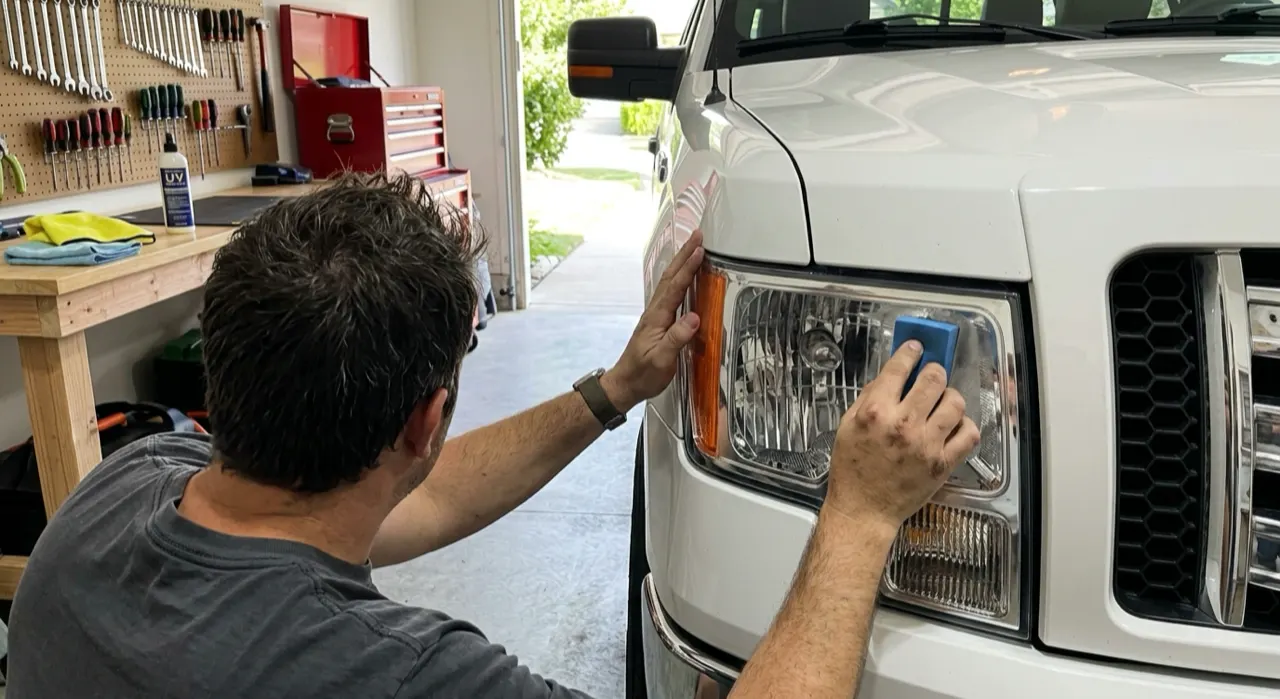
Sealing is easy, but a few details make or break the result. Do this right after you've finished polishing, while the lens is at its cleanest.
- Clean and dry first. Wipe the lens down with isopropyl alcohol to strip off polishing oils and any residue. The sealant needs to bond to bare, oil-free plastic. Skip this and it can bead up or peel.
- Keep the paint taped. Leave your masking tape on. Sealant on your paint or trim is a pain to remove and can leave marks.
- Thin, even coats. More is not better. A thin, uniform pass avoids streaks and runs. Follow the product's instructions for a second coat if it calls for one — usually after a short flash-off.
- Don't touch it while it cures. Fingerprints in curing sealant are permanent. Let it set undisturbed, and keep the car out of rain and sun for the cure time on the label — often a few hours.
That's genuinely it. Ten minutes of care at the end protects the hour of work you just did.
Common sealing mistakes
The failures I see are almost always one of these: sealing over polish residue so it won't adhere; applying it too thick so it streaks and looks worse than the haze did; or touching and smudging it before it cures. All three are avoidable with a clean prep and a light hand. If your restoration itself came out cloudy before you even got to the seal, that's usually a sanding issue — go back and check the grit progression in the wet-sanding guide rather than trying to seal over an imperfect polish.
Keeping the seal alive
Even the best seal is a consumable — it slowly wears under the same UV that killed the original coating. So build a light habit. Wash the lenses gently when you wash the car. A couple of times a year, top them up: reapply a wipe or spray, or refresh your ceramic per its instructions. If you used a durable 2K or ceramic coat, you might not touch them for a year or two.
The reward for this tiny bit of upkeep is real. A restored, sealed and maintained headlight can look factory-fresh for years — and you never have to do the full sanding job again, just the easy refresh. Compare that to an unsealed lens that has you back on your knees with sandpaper every few months, and the value of sealing is obvious. It's also a big part of why DIY restoration beats replacement on cost, which we cover in DIY vs pro cost.
So please — do not skip the seal. Everything else you did in the restoration is only borrowed time without it. Ten minutes and one thin coat is the price of admission for a result that actually lasts.
Recommended Products
Best for a complete restore with a proper UV seal step
- 3-stage sand, clarify & seal
- UV sealing wipe included
- Does both headlights
- Proven lasting results
Why buy it: the kit that actually includes the UV seal this whole guide is about — which is why its results last instead of re-yellowing.
Best for the most durable re-yellowing protection
- Ceramic coating finish
- Wipe-on, no sanding on light haze
- Strong UV durability
Why buy it: a ceramic top-coat that resists re-yellowing longer than most — the set-and-forget end of the sealant scale.

Best for fast drill-powered clarity before you seal
- Uses your drill for speed
- Sanding discs + compound
- Very even finish
Why buy it: the fastest, most even clear-up if you own a drill — just be sure to follow it with a dedicated sealant.

Best for the cheapest kit that still seals
- Cheapest complete kit
- Compound + sealing wipes
- Widely available
Why buy it: the lowest-cost kit that still includes a sealing step, so your work is not left as bare, unprotected plastic.
Prices are pulled from Amazon and were accurate as of Aug 22, 2026, 6:54 PM EDT. Product prices and availability are subject to change — the live price is shown on Amazon.