
Affiliate Disclosure
Some links on this page are affiliate links. As an Amazon Associate, we earn from qualifying purchases — at no extra cost to you. We do not buy, test, or physically handle the products we cover; our rankings come from aggregated owner reviews, ratings and expert consensus. Commissions never change our verdicts. How we rank & full disclosure.
Jacking up a car safely opens the door to oil changes, brakes, suspension and tire work on your own terms. Do it wrong and you're looking at a crushed car or something far worse. This guide covers the complete process — choosing the spot, finding your jack points, lifting, placing stands, and lowering safely. One rule sits above all others: a jack lifts a car, a jack stand holds it. Never go under a car supported only by a jack. And before you touch anything, find the factory jack points for your specific car in your owner's manual — this guide is the framework; your manual gives the exact locations. It's part of our jacking up a car hub.
What You'll Need
A hydraulic floor (trolley) jack rated above your car's weight; two or four jack stands rated to match; at least two wheel chocks; your owner's manual; a flat, solid, level surface (concrete is ideal); and gloves. Not sure whether to use stands or ramps for your job? See jack stands vs ramps.
Before You Lift: Setting Up Safely
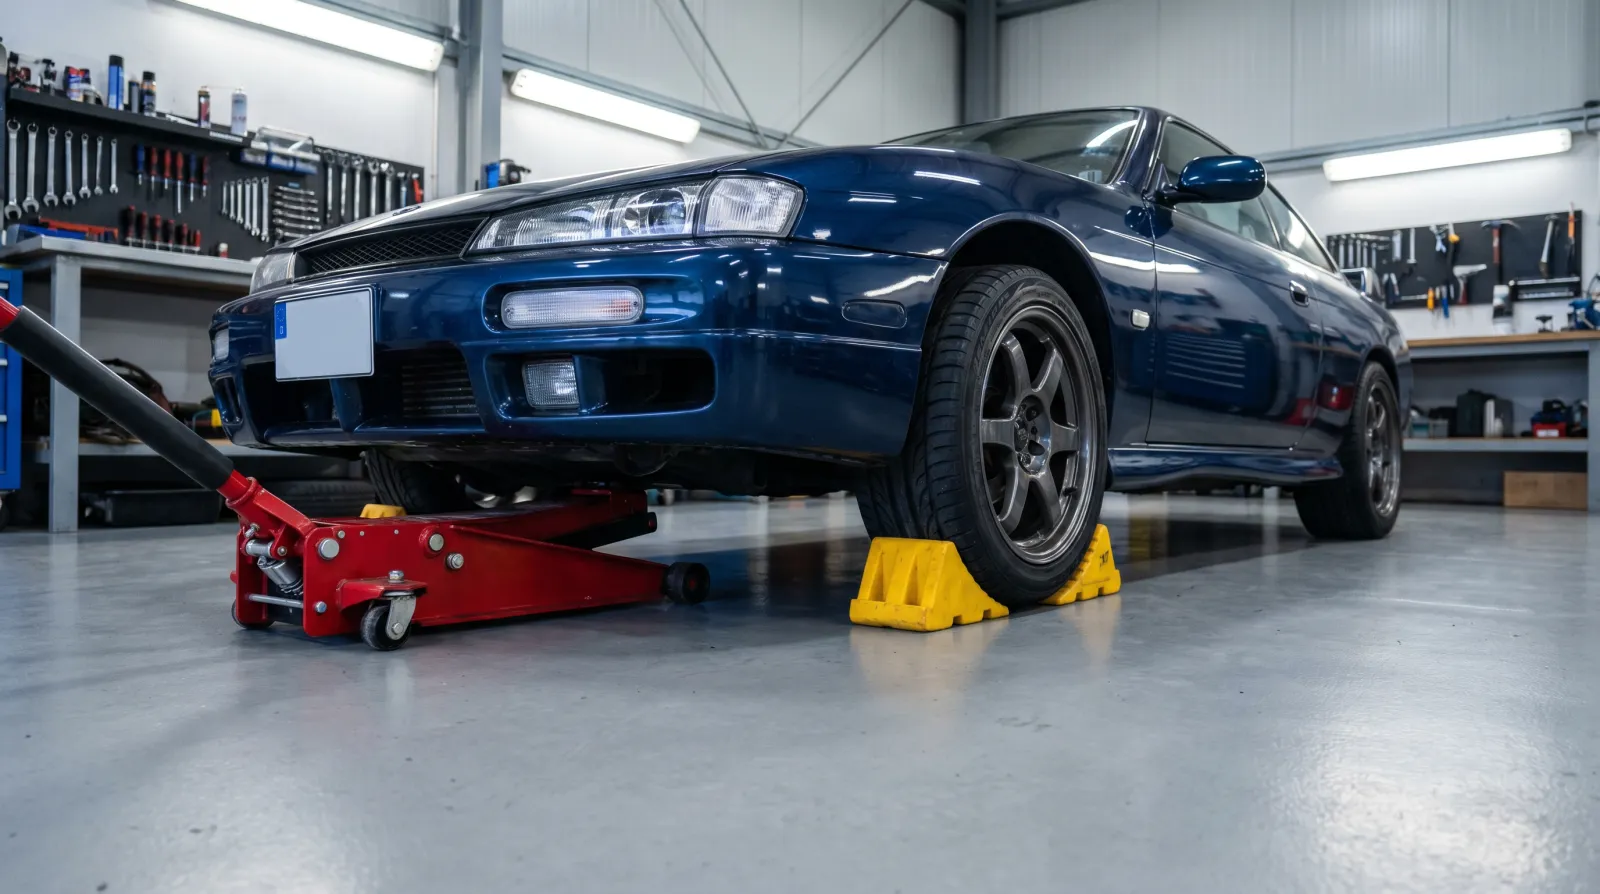
The prep stage is where most mistakes happen. Choose level, solid ground — concrete or a sealed floor; dirt, grass and gravel shift under load, and asphalt softens in heat. Never jack on a slope. Apply the parking brake, and leave a manual in gear or an auto in Park. Chock the wheels on the grounded end — lifting the front? Chock the rear wheels, front and back of the tire. Chocks are cheap insurance against rolling; full detail in wheel chocks & safety.
How to Jack Up a Car — Step by Step
- Position the jack under the correct jack point. Consult your manual or our jack points guide — reinforced pinch welds, subframe sections or dedicated pads. Align the saddle directly beneath it; an off-center saddle can slip.
- Check the saddle contact. Raise until the saddle just touches without bearing weight, and confirm alignment. A rubber pad or slotted puck protects the underside and improves grip.
- Pump slowly and raise. Smooth, controlled strokes. Watch the saddle and jack point — if it slips or you hear cracking, stop, lower, and reassess. Don't pump faster to fight a slip.
- Lift only as high as the job requires. The higher you go, the less stable the car. More height is not more safety.
- Set the jack stands to height at the rated support points with the locking pin or ratchet engaged, one each side, bases flat on the ground, load centered cleanly — not straddling welds or edges.
- Lower the car slowly and evenly onto both stands. Crack the release valve gradually. If one side drops faster or you hear movement, raise it and recheck placement.
- Do the push/wobble test. Before going near the underside, shove the car firmly from several directions. Any rock or shift, get it back on the jack and reset. If it moves now, it will move while you're underneath.
- Leave the jack lightly in contact as a last-resort backup (the stands are holding the car), then go under.
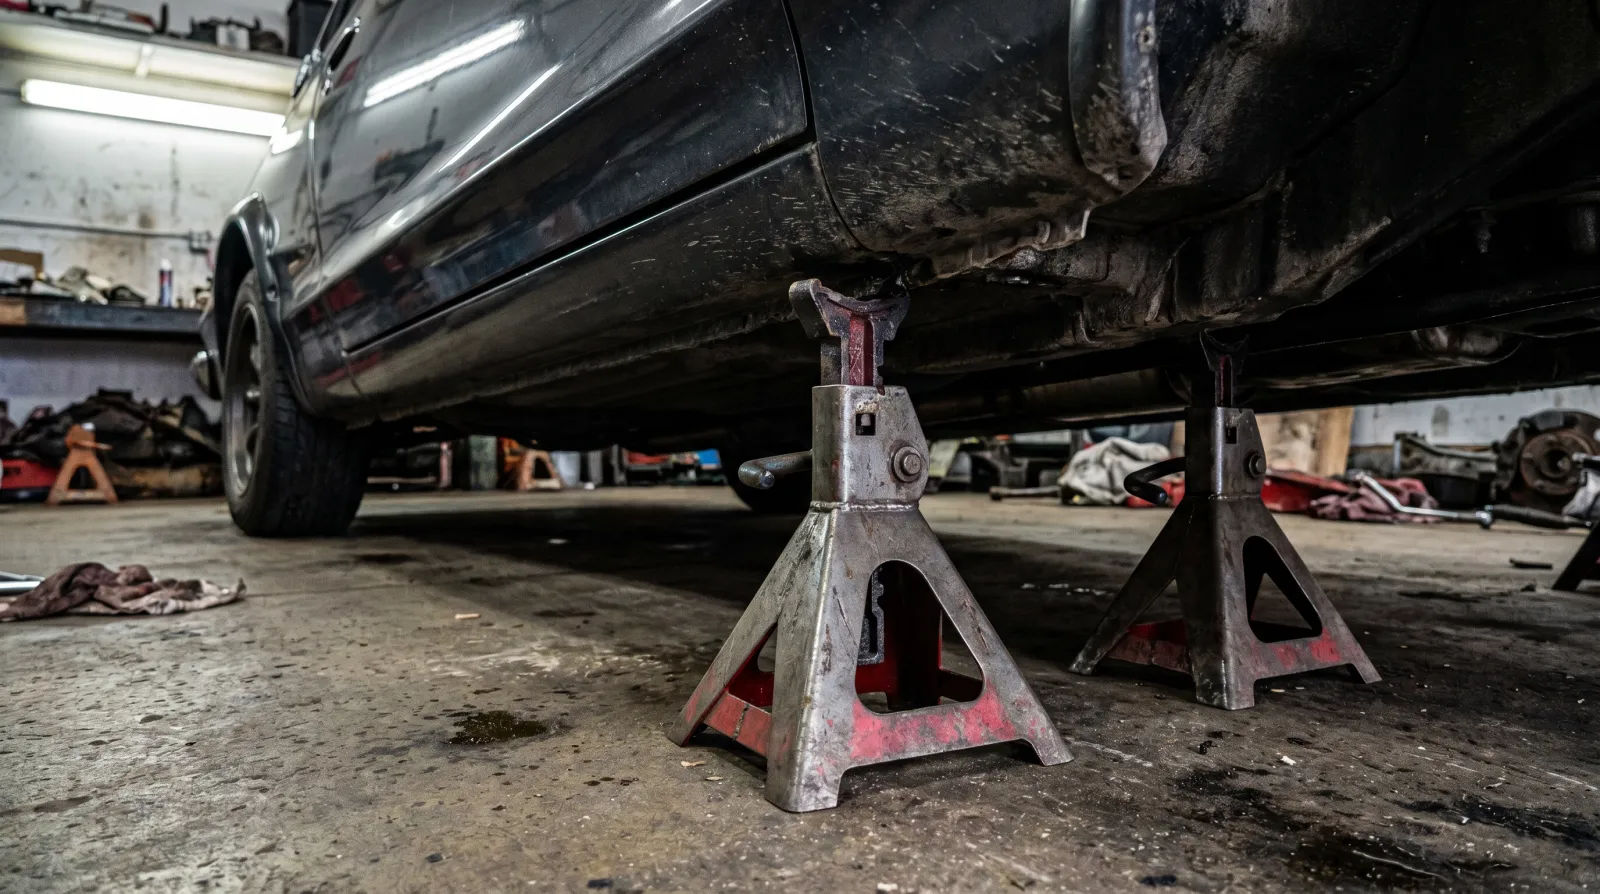
You're safely up. If you're here for an oil change, head to our oil change guide for the next steps.
How to Safely Lower a Car from Jack Stands
- Clear the work area — remove all tools, rags and drain pans, and do a visual sweep.
- Pump the jack up until it bears the weight — the load transfers off the stands and they become easy to move.
- Remove both stands and move them clear.
- Crack the release valve slowly and lower evenly to the ground — don't drop it quickly.
- Confirm all four tires are down before removing the jack and chocks.
- Do a walk-around — caps and fasteners back, nothing hanging loose — before you drive.
Common Mistakes That Get People Hurt
Using the jack alone (seals fail without warning); the wrong jack point (crushing a sill, cracking the oil pan); soft or uneven ground; skipping the push test; and lifting too high. All of them and how to avoid them in common jacking mistakes, and the full case for stands is in do you really need jack stands.
Quick Reference: The Jack Safety Rules
- Level concrete only
- Parking brake on, transmission in Park or gear
- Chocks on the grounded end — always
- Jack points from your owner's manual — no exceptions
- Two jack stands minimum — four for full-car lifts
- A jack lifts. A stand holds.
- Push/wobble test before going under — every time
- Never go under a car supported only by a jack
For the full series — gear guides, jack points and FAQs — start at the jacking up a car hub.
Recommended Products
Best for a light, fast, reliable floor jack
- Lightweight aluminum
- Dual-piston fast lift
- Low 3.6" saddle
- Wide, stable stance
Why buy it: the best balance of light weight, speed and reliability for driveway lifts.

Best for cheap, capable home use
- Cheap and dependable
- Compact and light
- Good for most cars
Why buy it: a proven budget jack that just works for home use.

Best for heavy steel on a budget
- 3-ton steel capacity
- Widely available
- Solid for the price
Why buy it: a lot of lifting capacity for very little money.

Best for lowered and sports cars
- Ultra-low 3" entry
- Fast rapid-pump lift
- Pro-grade build
Why buy it: slides under lowered cars where others can't reach.
Best for heavy daily workshop use
- Heavy-duty service build
- Fast lift, high reach
- Workshop durability
Why buy it: a service-grade jack built for constant use.
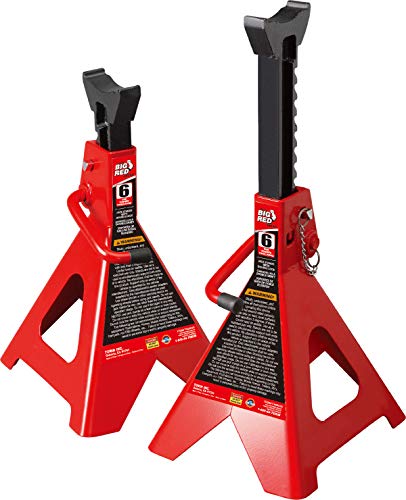
Best for the safety step you never skip after lifting
- Double-locking ratchet for extra security
- 6-ton (12,000 lb) pair capacity
- Wide cast base for stability
- Sold as a matched pair
Why buy it: a jack lifts the car, but stands are what hold it — never work under a vehicle on the jack alone.
Prices are pulled from Amazon and were accurate as of Aug 22, 2026, 6:54 PM EDT. Product prices and availability are subject to change — the live price is shown on Amazon.