
Affiliate Disclosure
Some links on this page are affiliate links. As an Amazon Associate, we earn from qualifying purchases — at no extra cost to you. We do not buy, test, or physically handle the products we cover; our rankings come from aggregated owner reviews, ratings and expert consensus. Commissions never change our verdicts. How we rank & full disclosure.
Short version: replacing a headlight bulb is one of the most beginner-friendly car jobs there is — on most vehicles it takes about 15 minutes per side and needs no tools. The whole job is: confirm your bulb size, buy the right bulb (in pairs), reach the back of the headlight housing, unplug and twist out the old bulb, and twist the new one in without touching the glass. That last rule is the one that matters most. Do it right and your new bulbs last their full life; get careless with fingerprints and they burn out early.
Most people put this job off assuming it is complicated, then finish their first swap and wonder why they ever paid for it. Here is the full walkthrough, plus the two things that actually go wrong — the wrong size, and a fingerprint on the glass.
Safety First: Cool Engine, Clean Hands
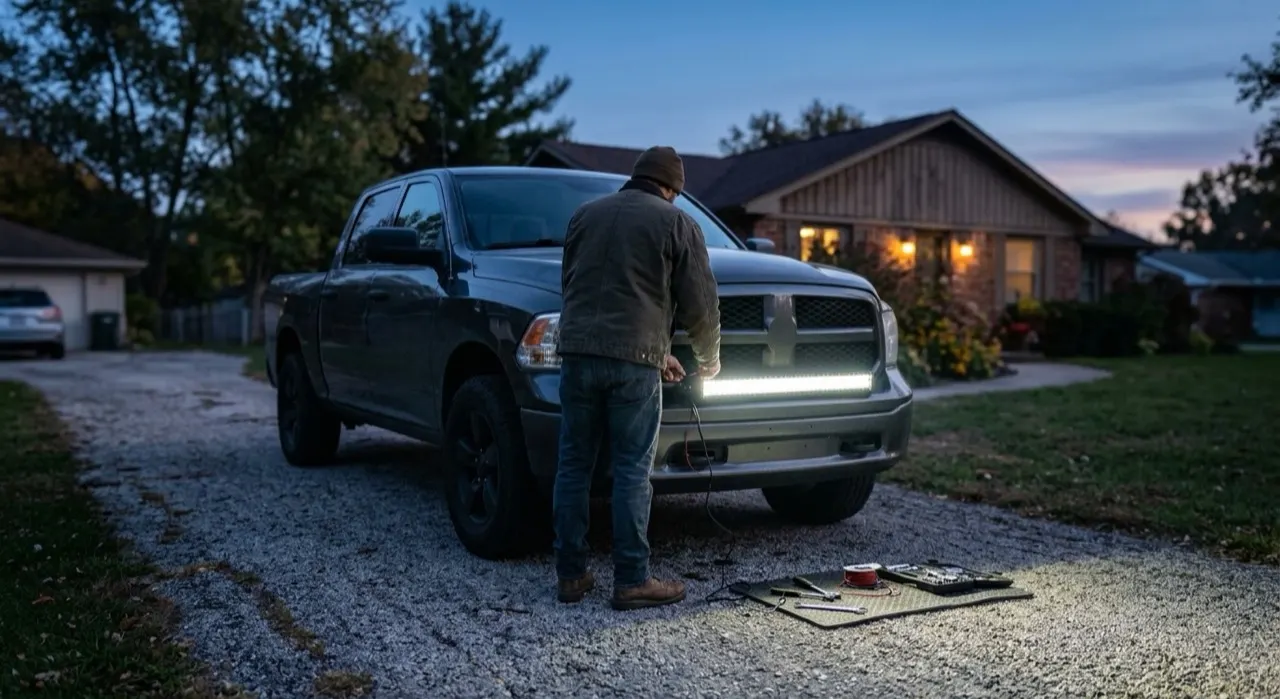
A headlight swap is low-risk, but a few safety basics keep it that way. Work with the engine off and fully cool — a just-driven bulb and the metal around it get hot enough to burn. Switch the headlights off so the circuit is not live, and on a tight engine bay it is worth pulling the key. Wear a clean glove or handle bulbs by the base only. If you are working at night, set up good lighting so you can see the connector. None of this takes long, and it turns a fiddly job into a genuinely easy one.
Where to Buy Replacement Bulbs
Once you have your size, buying the replacement bulbs is easy. A parts store like AutoZone or O'Reilly usually stocks the common sizes on the shelf, and the counter staff can help you identify the right code from your year, make and model if you are unsure. Online sellers carry the full range, often cheaper, and let you compare halogen upgrades against LED conversions. Wherever you buy, get them in pairs so you can replace both sides at once. Having the new bulbs in hand — verified for your car — before you start is what keeps the job to 15 minutes.
Step 1: Confirm your bulb size (before you buy)
This is the step that saves a wasted trip. Headlight bulbs come in fixed sizes — H11, 9005 (HB3), 9006 (HB4), H7, H4/9003 and more — and they are not interchangeable. Find yours three ways: read the code molded into the base of your current bulb, check the owner’s manual, or use the fitment lookup on any bulb retailer’s site with your year, make and model. Many cars use different sizes for low beam, high beam and fog, so note which one you are replacing. Our headlight bulb size guide covers this in detail. Buy the correct size — in a pair — and decide between a halogen upgrade or an LED conversion before you start.
Step 2: Access the back of the headlight
With the car off and cool, open the hood and locate the back of the headlight housing — a round or rectangular cap or connector on the rear of the assembly. On most cars you can reach it directly. On some, a component is in the way: you may need to remove the air intake box, the washer-fluid bottle, or a wheel-well liner to get your hand in. A quick look at your specific model tells you which. Give yourself room and good light; a headlamp or work light helps. There is no need to remove the whole headlight assembly on the vast majority of vehicles.
Step 3: Remove the old bulb
At the back of the housing you will find the electrical connector plugged onto the bulb, and behind it the bulb held by either a twist-lock collar, a wire retaining clip, or a quarter-turn base. Steps:
- Unplug the connector — press the release tab and pull it straight off the bulb base.
- Release the bulb — twist the bulb (or its collar) counter-clockwise about a quarter turn, or unhook the wire clip, depending on your car.
- Pull the old bulb straight out — it lifts out once released. Note its orientation so the new one goes in the same way.
If the bulb is stiff, wiggle gently while twisting; do not force it sideways.
Step 4: Install the new bulb — do not touch the glass
This is the critical step. Handle the new bulb only by its base, never the glass. The oil from your fingers creates a hot spot that shortens a halogen bulb’s life dramatically — it is the single most common reason a new bulb fails early. If you do touch the glass, wipe it clean with rubbing alcohol first. Then:
- Insert the new bulb in the same orientation as the old one — the tabs or flat only fit one way.
- Lock it in — twist the collar clockwise or re-clip the retaining wire until it seats firmly.
- Plug the connector back on until it clicks. On an LED bulb that lights up dim or not at all, unplug and flip the connector — some LEDs are polarity-sensitive.
Step 5: Test, then do the other side
Before you button everything up, turn on the headlights and confirm the new bulb works — low beam, high beam, and (if you changed it) fog. Then reinstall anything you removed for access, and replace the bulb on the other side too. Bulbs age together, so swapping both now keeps your light even and saves you repeating the job in a few weeks. If you fitted an LED conversion, take a moment to check your aim: park facing a wall and make sure the beam cutoff is level, not pointed at the sky or the curb, so you light the road without dazzling other drivers.
Model-Specific Access (Toyota Corolla and Tight Bays)
Access is the only real variable in this installation, and it depends on your car. A popular example, the Toyota Corolla, is straightforward on many years — you reach the back of the headlights from under the hood, though one side can sit close to the battery or airbox. Other vehicles bury the bulb behind the bumper cover or a wheel-well liner, and a few European models ask you to remove the whole assembly. Spend two minutes searching your exact year and model before you start so you know whether it is a quick swap or a job that needs a panel removed.
Beam Placement: Aim Against a Wall
After fitting new lights — especially an LED conversion — it is recommended to check the beam placement so you light the road, not the sky or the curb. Park about 15 feet from a flat wall on level ground, switch on the low beams, and mark where the bright cutoff falls. Both sides should sit level and even, with the top of the beam at or just below headlight-center height. Most housings have an adjuster screw to nudge the aim up, down or sideways. Correctly aimed headlights give you maximum useful light without dazzling oncoming drivers.
DIY vs a Shop Near You: AutoZone, O'Reilly and Jiffy Lube
If the job looks buried, a shop near you can do it in minutes. Parts stores like AutoZone and O'Reilly will often pop in a common bulb for free when you buy it there, and a quick-service outlet like Jiffy Lube will handle the replacement as a paid add-on. That convenience makes sense on the few models that hide the headlight behind the bumper or a wheel liner. But for the majority of cars the swap is genuinely a 15-minute DIY win, so before you pay a labour charge, check whether your bulb is reachable from under the hood — most are.
How Often Headlight Bulbs Need Replacing
Halogen headlights dim slowly rather than failing all at once, so a bulb is often due to be replaced before it actually dies. A typical halogen lasts around 500 to 1,000 hours — often three to five years of normal driving — while an LED conversion can run far longer. Signs a headlight replacement is near include one side looking noticeably dimmer or yellower than the other, flickering, or a beam that no longer lights the road it used to. Because bulbs age together, when one goes the other is close behind, which is why swapping the pair keeps both lights even.
That is it
A headlight bulb swap is a genuine 15-minute win — cheap, easy, and immediately noticeable on the next dark drive. If your new bulbs are bright but your lenses are cloudy and yellow, no bulb fixes that; head to the headlight restoration hub to clear the lenses. Not sure which bulb to buy? Start with the best LED headlight bulbs or the full best headlight bulbs ranking, weigh the options in LED vs halogen, and head back to the automotive lighting hub for everything else.
Recommended Products

Best for the brightest, whitest street-legal drop-in
- Guaranteed street-legal, DOT-compliant
- Whiter light than standard halogen
- Tri-band coating, brighter down-road
- Direct drop-in replacement
Why buy it: the halogen upgrade owners rate highest — a real brightness and whiteness gain with zero legality worries, and a true drop-in for the 15-minute swap.
Best for the brightest plug-and-play upgrade owners trust
- 1:1 mini size fits most housings
- 6500K cool white, sharp beam
- Plug-and-play, no adapter for most cars
- Aviation-grade cooling fan
Why buy it: the LED conversion owners rank highest across tens of thousands of reviews — a big, clean brightness jump with a compact body that clears more dust covers than most.
Best for more down-road light with no added glare
- Brighter than standard, same white tone
- No blue tint, no extra glare
- Fully DOT-compliant
- Long-life focused filament
Why buy it: the value pick for drivers who want more light without the shorter life of a high-output bulb — brighter down the road with a normal color and long filament life.
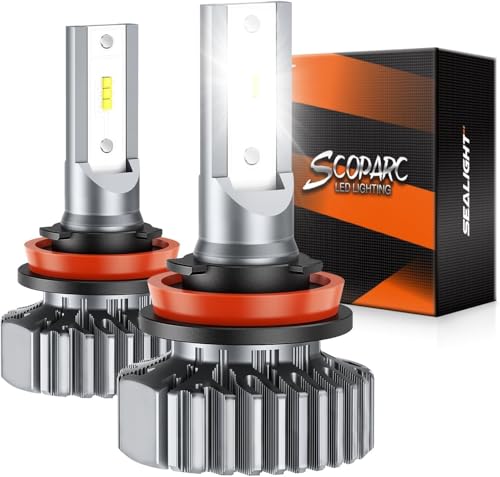
Best for a bright, forgiving H11 low-beam or fog swap
- Non-polarity — plugs in either way
- Cooling fan, compact heatsink
- 6000K white output
- Simple 5-minute install
Why buy it: the value pick in the ubiquitous H11 size — non-polarity means no fiddling with the connector, exactly the forgiving bulb a first-timer wants.