
Affiliate Disclosure
Some links on this page are affiliate links. As an Amazon Associate, we earn from qualifying purchases — at no extra cost to you. We do not buy, test, or physically handle the products we cover; our rankings come from aggregated owner reviews, ratings and expert consensus. Commissions never change our verdicts. How we rank & full disclosure.
Your first DIY oil change is one of those milestones. You do it once, realize it takes under an hour, costs half what the quick-lube shop charges, and you actually know what went into your engine. After that, you never go back.
This walkthrough is written for someone who has never done it. We move slowly and we're straight with you about the one thing too many guides gloss over: always verify torque specs, oil capacity and filter part numbers against your own vehicle's service manual. The numbers here are reference ranges only. This page is part of the Redline Garage complete oil change hub; before you start, read our tools you need for an oil change guide so you turn up with the right gear.
Before You Touch Anything: What You Need
Gather everything first. Stopping mid-job to hunt for a funnel is how oil ends up on the driveway. You'll want: the correct oil grade and quantity, a replacement oil filter, a new crush washer if your car uses one, a drain pan (6 qt+), an oil filter wrench, a socket set and torque wrench, wheel chocks, ramps or a jack and axle stands, nitrile gloves, rags, a funnel and a work light.
Step-by-Step: How to Change Your Engine Oil
- Warm the engine (but not too hot). Cold oil is thick and drains slowly; a warm engine drains cleanly. Run the car five to ten minutes, shut off, and let it sit another five. Warm is the answer — fluid enough to drain freely, not hot enough to scald.
- Secure the vehicle. Chock the wheels before lifting anything. Then either drive the front wheels onto a matched pair of ramps on level ground, or jack at the manufacturer's lift point and lower onto rated axle stands. Never work under a car supported only by a jack.
- Remove the oil filler cap. This breaks the vacuum so the old oil drains faster, and it means you can't forget to open the engine before refilling.
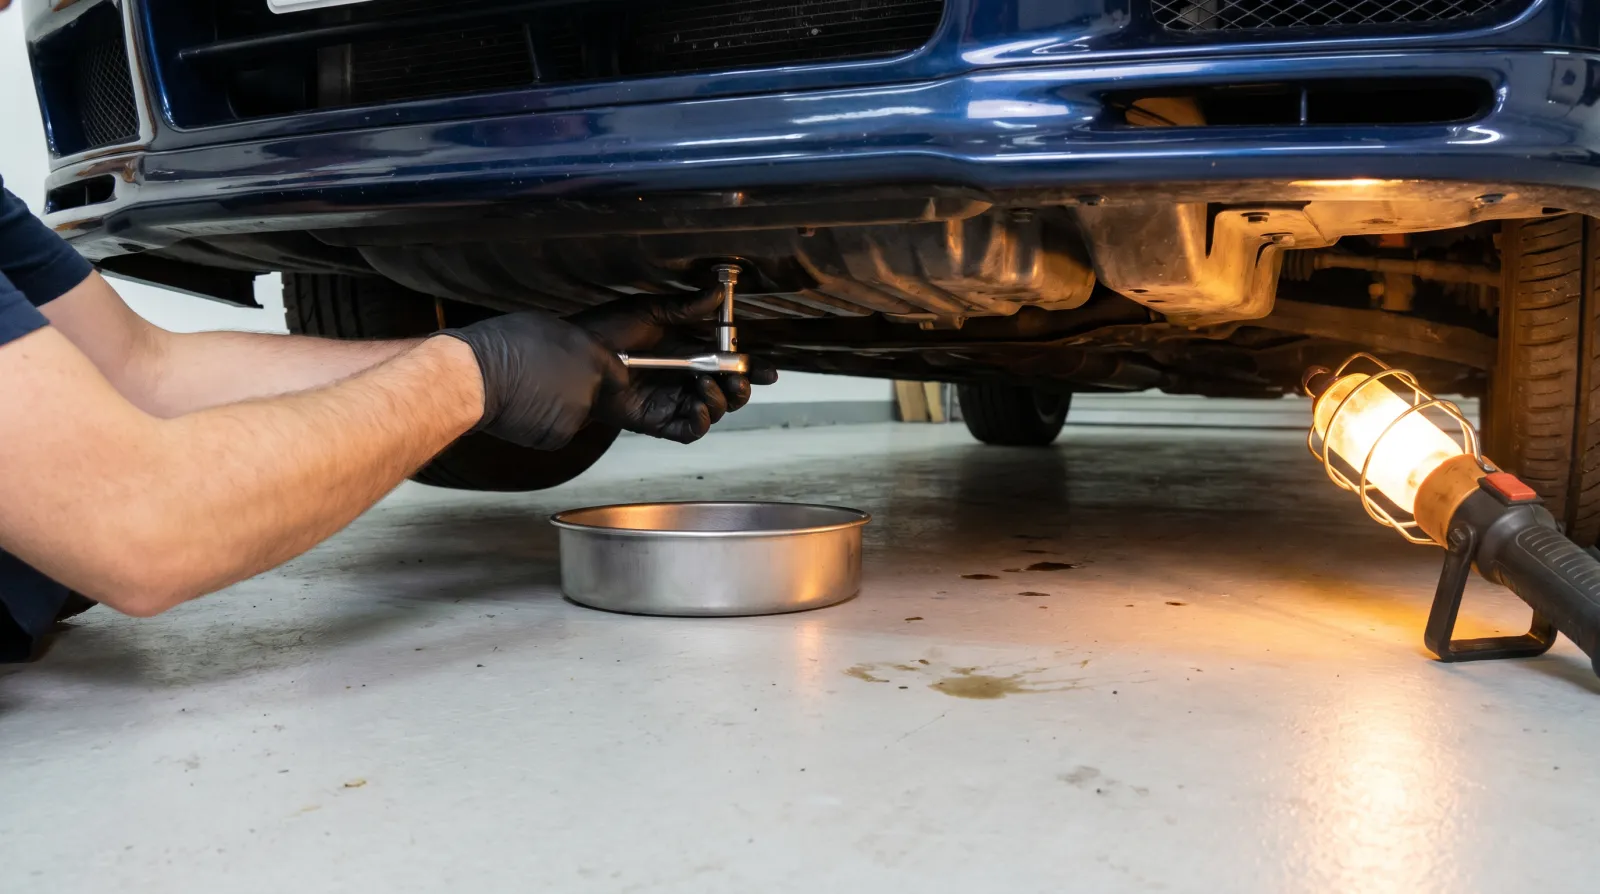
- Position the drain pan and find the oil pan drain plug. The oil pan is the lowest part of the engine; the drain plug is a single bolt at its lowest point. Place the pan slightly forward of the plug — oil sprays outward before it falls straight down.
- Drain the oil. Loosen the plug with a socket, then spin it out by hand keeping upward pressure, and pull it clear quickly. Let it drain five to ten minutes. Inspect the plug; if the threads look damaged, replace it before continuing.
- Remove the old oil filter. Spin-on: break it loose with the wrench, keep it upright until it's over the pan. Cartridge: remove the housing cap, lift the element out, drain the housing. Check the old rubber gasket came away with the filter — a left-behind gasket means a double-gasket leak. More in our oil filter guide.
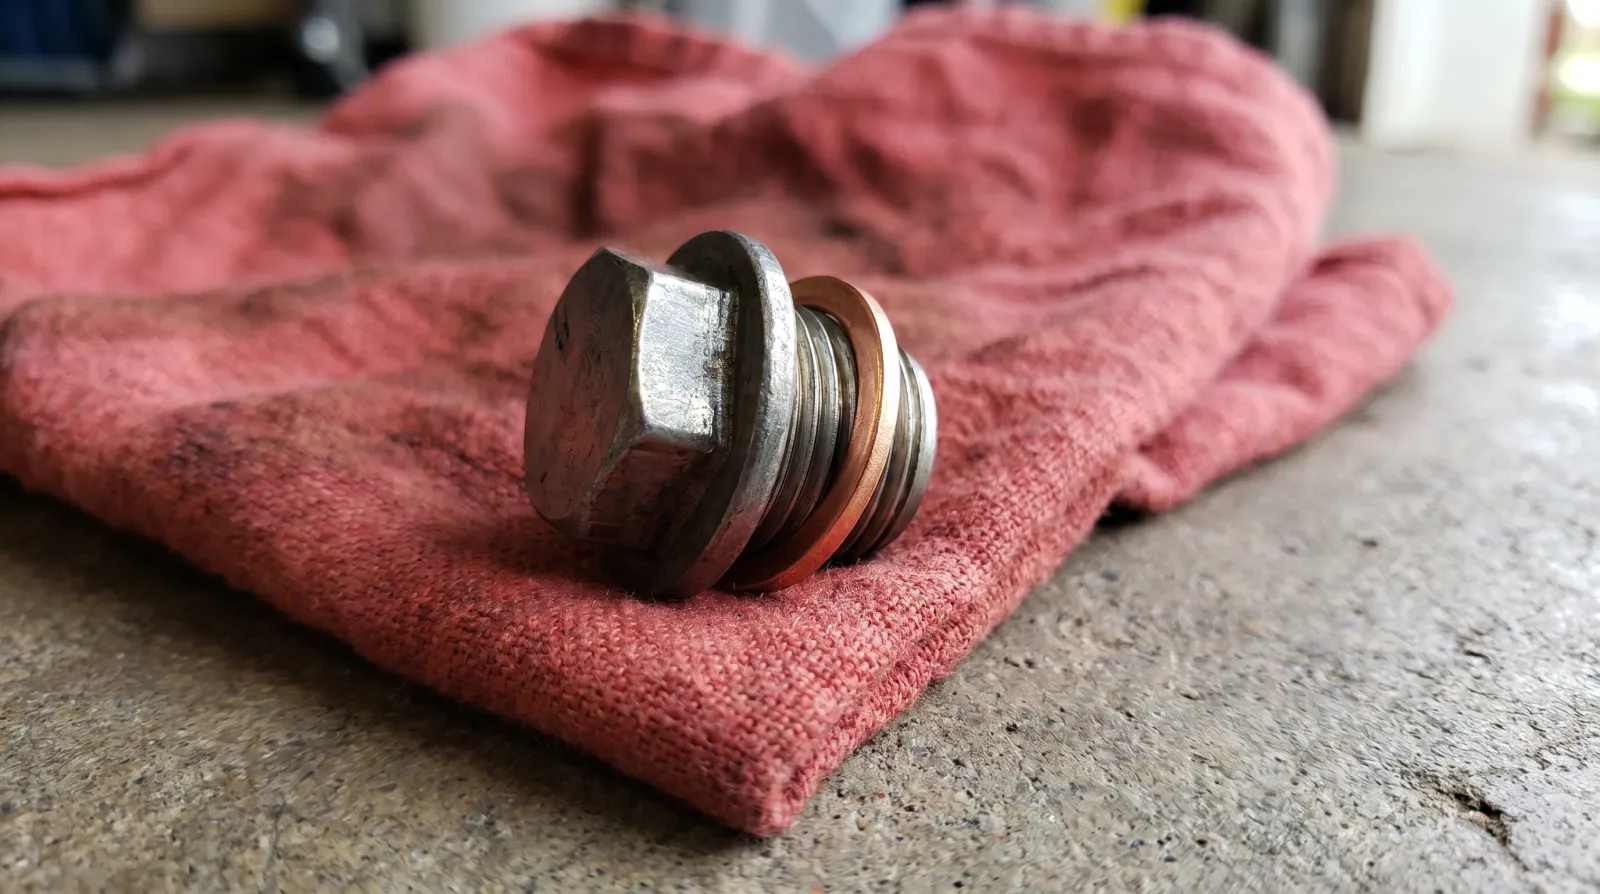
- Fit a new crush washer. If your car uses one (most Japanese cars do), the soft washer deforms to seal and is single-use. Fit the new one before refitting the plug.
- Reinstall the drain plug to torque. Thread it in by hand first — if it resists before seating, stop and back it out (you may be cross-threading). Then torque to the manufacturer's spec with a torque wrench. Don't guess. Over-torque strips the oil pan; under-torque backs out on the highway. See torque specs.
- Prime and install the new filter. Smear fresh oil around the new gasket. Spin-on: hand-thread until the gasket contacts, then a further three-quarter to one full turn by hand — no wrench. Cartridge: fit the new element and torque the housing to spec.
- Refill with fresh oil. Funnel in about 80% of capacity to start, then fine-tune with the dipstick. The bottle isn't your guide — your manual's capacity is.
- Check the dipstick. Refit the filler cap, pull the dipstick, wipe, reinsert fully, pull and read. Aim for the upper half of the range, never over MAX. Overfilling foams the oil and starves bearings.
- Start the engine and check for leaks. Lower the car, start it, and watch the oil-pressure light — it should go out within a couple of seconds (if not, shut off immediately). Inspect the drain plug and filter for drips. Then shut off, wait, and recheck the dipstick.
- Reset the oil-life monitor. Most modern cars need this done manually after a change. The procedure varies — look it up in your manual.
- Dispose of the old oil correctly. Pour it into a sealable container, never down a drain or in the trash. See our oil disposal guide.
Common Mistakes That Catch Beginners Out
Forgetting to refit the drain plug before refilling; reusing the crush washer; gorilla-tightening the spin-on filter; getting the oil spec wrong; and not rechecking the dipstick after the first startup. We cover all of them in 10 beginner mistakes to avoid.
How Often Should You Do This?
It depends on your oil type and engine. Full synthetic in a modern engine is commonly specified at 6,000 miles or longer; conventional oil or harder use may mean 3,000 miles. Follow your manufacturer's recommendation — the full breakdown is in our oil change intervals guide, and everything else lives in the oil change hub.
Recommended Oil-Change Gear

Best for supporting the car so you never work under a jack alone
- 3-ton per-stand rating — ample for most cars
- Ratcheting height with a locking pin
- Wide base for stability on concrete
- The most-owned budget stands available
Why buy it: the non-negotiable buy — an oil change puts you under the car, and a jack lifts but does not hold; always drop onto rated stands.

Best for the widest OEM approvals and long drain intervals
- Full synthetic with a broad approval list
- Rated for extended drain intervals
- Strong wear and high-temperature protection
- Confirm your exact grade against your manual
Why buy it: the safe default oil — but always match the viscosity and spec in the manual for your car before you buy, not the bottle on the shelf.
Best for high efficiency paired with synthetic oil
- High-efficiency synthetic media
- Built for long intervals with synthetic oil
- Sure-grip textured shell for hand removal
- Verify the exact part number for your engine
Why buy it: the match for synthetic oil — just confirm the correct fitment number for your car before ordering, since filters are engine-specific.

Best for a fully-approved synthetic at the lowest price per quart
- Full synthetic meeting common approvals
- Lowest cost per quart of the synthetics
- Fine for most everyday engines
- Check it carries your required spec
Why buy it: the budget oil — a properly-approved synthetic for less, as long as it lists the specification your engine actually needs.

Best for pairing with extended-interval synthetic oil
- Synthetic media rated for long intervals
- Strong dirt-holding capacity
- Silicone anti-drainback valve
- Confirm the right part number for your engine
Why buy it: the long-interval filter — the natural partner to extended-drain synthetic oil, once you have checked it fits your car.
Prices are pulled from Amazon and were accurate as of Aug 22, 2026, 6:54 PM EDT. Product prices and availability are subject to change — the live price is shown on Amazon.