
Affiliate Disclosure
Some links on this page are affiliate links. As an Amazon Associate, we earn from qualifying purchases — at no extra cost to you. We do not buy, test, or physically handle the products we cover; our rankings come from aggregated owner reviews, ratings and expert consensus. Commissions never change our verdicts. How we rank & full disclosure.
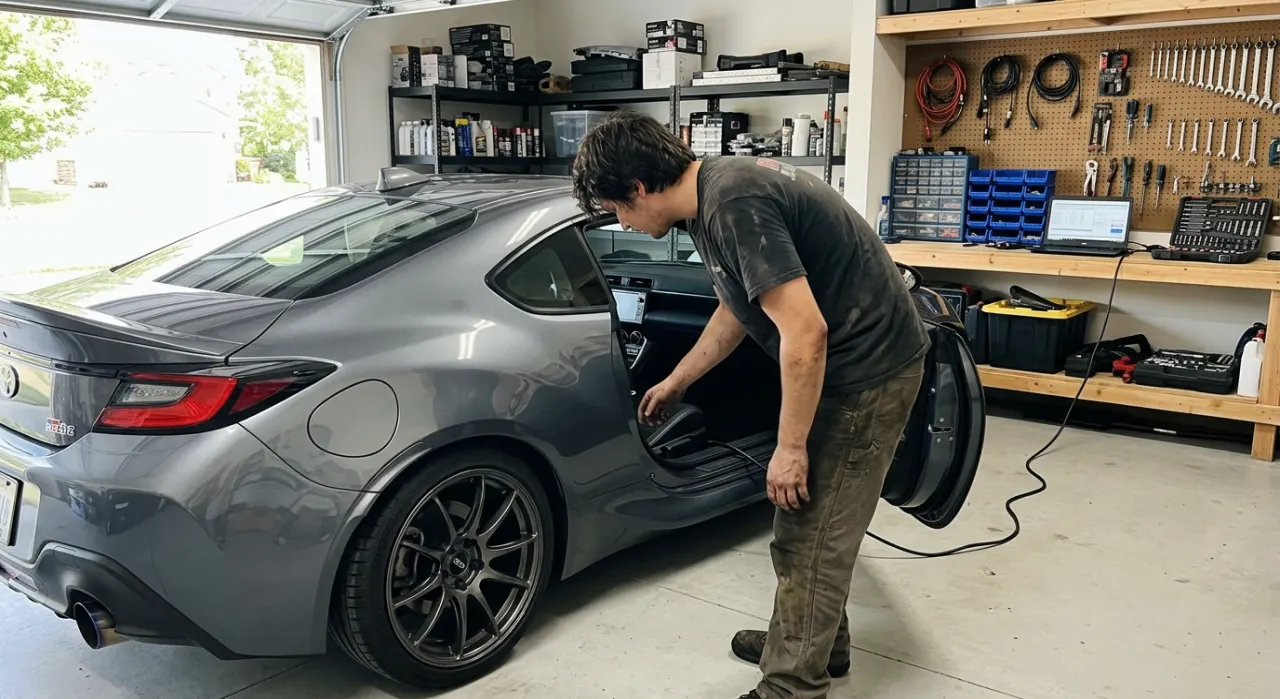
If you've just picked up a JDM import and your generic OBD2 scanner is doing absolutely nothing, you're not alone. Japanese domestic market cars have a complicated relationship with the global OBD2 standard — and depending on the year and model, you might be dealing with a completely different connector, a proprietary protocol, or no scanner at all. You'll need to count flashes like it's 1998.
This guide cuts through the confusion. Whether you're chasing a check engine light on an S14 Silvia, a first-gen RX-7, or a freshly imported Impreza, here's exactly what you're dealing with — and how to actually read the fault codes.
Why JDM Cars Didn't Just Adopt OBD2 Like Everyone Else
The OBD2 standard was driven primarily by American emissions regulations. The US EPA mandated OBD2 compliance for all cars sold domestically from 1996. Europe followed with EOBD from 2001. Japan, however, ran on its own timeline.
Japan's emissions authority introduced JOBD (Japanese On-Board Diagnostics) — a version of OBD2 adapted for the Japanese market. Most Japanese-market cars sold from around 1998 onward were fitted with JOBD-compliant systems, and many use the same 16-pin J1962 connector as a standard OBD2 port. But "most" isn't "all," and "similar" isn't "identical."
Cars built for the Japanese domestic market before the late 1990s — and many built well into the 2000s for performance and niche segments — use older, manufacturer-specific diagnostic systems. These predate the standardized connector entirely. Understanding which system your car uses is the first thing to sort out before you spend money on a scanner.
If you're still wrapping your head around what OBD2 actually is, start with our OBD2 explainer before diving further into JDM-specific quirks.
The Three Diagnostic Worlds You'll Encounter on JDM Imports
1. Older JIS Connectors and Manufacturer-Specific Systems (Pre-Late 1990s)
Older JDM cars don't have a 16-pin OBD2 port at all. Instead, manufacturers used their own JIS (Japanese Industrial Standard) diagnostic connectors — physically different shapes, different pin counts, and completely proprietary protocols. You cannot plug a generic OBD2 scanner into these cars without an adapter, and even with an adapter the scanner often won't know what to do with the data.
The good news is that these older systems were designed with a clever low-tech fallback: blink codes. By jumpering specific pins on the diagnostic connector and watching the check engine light, you can retrieve stored fault codes without any external tool.
2. JOBD Systems with Standard 16-Pin Ports (Late 1990s to 2000s)
From roughly 1998–2000 onward, most Japanese-market cars adopted the 16-pin J1962 connector — the same physical port used globally. These cars run JOBD, which is based on the same ISO 9141 and ISO 14230 (KWP2000) protocols used in standard OBD2. A generic ELM327-based scanner will physically connect and read basic data.
However, JOBD isn't perfectly interchangeable with OBDII. You'll often find:
- Fewer standardized PIDs available — manufacturer-specific PIDs fill the gaps
- Generic fault codes mixed with manufacturer codes that a basic scanner can't decode
- Some readiness monitors behaving differently or not populating at all
- Limited live data compared to what a dealer scan tool would show
For most routine diagnostics on these cars, a good scanner with custom PID support — more on that shortly — will get you 80–90% of the way there.
3. Full OBD2/JOBD Compliance (Most 2003+ Imports)
By the mid-2000s, the line between JOBD and standard OBD2 became largely academic for most models. If your JDM import is from 2005 or later, there's a strong chance it behaves essentially like a standard OBD2 car. A quality scanner will read codes, clear them, and show live data without drama. Manufacturer-enhanced codes are still a possibility, but the fundamentals work.
Brand-by-Brand Breakdown: What You're Actually Working With
Nissan — Consult Ports on S-Chassis and R32/R33 Skylines
Early Nissan performance cars use Nissan Consult I, a proprietary 14-pin diagnostic system. This includes the S13 and S14 Silvia/180SX, the R32 and R33 GT-R and GTS-t, and early 300ZX (Z32) models.
The Consult port is typically located under the hood near the ECU, or sometimes behind the dash. It does not have the standard OBD2 pinout. To read codes from these cars you need either a Consult-compatible interface (USB cables designed for the Nissan Consult protocol are available cheaply), or you can use the blink code method by bridging specific pins and counting CEL flashes.
The S15 Silvia and R34 GT-R moved to Consult II with a more accessible interface, and later Nissans from the 2000s onward generally have a standard OBD2 port alongside or replacing the Consult connector entirely.
Toyota — Round Connectors and the TE1-E1 Jumper Method
Older Toyota JDM vehicles use a round multi-pin connector or a rectangular "Data Link Connector 1" (DLC1) — neither of which accepts a standard OBD2 plug. The classic diagnostic trick here is the TE1-E1 jumper method: locate the diagnostic connector (often in the engine bay or under the dash), bridge the TE1 and E1 terminals with a wire or jumper clip, turn the ignition to ON (engine off), and watch the check engine light flash.
The light will flash a long pulse for the tens digit and short pulses for the units digit. Code 12, for example, flashes once long, then twice short, pauses, then repeats. A code of 24 (intake air temp sensor) flashes twice long, then four short. Code 11 (no codes stored) flashes once long, once short — this is your "all clear."
Toyota's OBDII-compliant models (broadly from 1997 JDM model year onward for many lines) have the standard 16-pin port and work normally with a generic scanner.
Honda — 3-Pin Service Connector and CEL Blink Codes
Honda's pre-OBD2 JDM cars use a 2-pin or 3-pin service connector, usually located behind the passenger kick panel or near the ECU. To activate blink codes, bridge the two service connector pins with a jumper wire, turn the ignition on, and count the CEL flashes.
Honda blink codes use a similar long-short pattern: long flashes count as tens, short flashes count as units. So two long flashes followed by one short equals code 21 (oxygen sensor). The sequence repeats twice before moving to the next stored code. Once you've seen all codes, the pattern loops.
Honda's JDM OBD2-era cars (Integra Type R DC5, Civic EP3-era and later, etc.) have a standard port and work with most scanners, though Honda-specific enhanced codes benefit from a Honda-capable tool or the Car Scanner app with custom PIDs loaded.
Subaru
Older JDM Subarus (pre-1998 Impreza, Legacy, Forester) use a proprietary Subaru Select Monitor connector. Like the others, blink codes are available — bridge the diagnostic connector terminals, turn ignition on, count the flashes in the same long-short pattern. From around 1998 onward, JDM Subarus generally have a standard OBD2 port, and the EJ-series and FA/FB-series engines respond well to generic scanners and enhanced Subaru PIDs.
How to Read Blink Codes Step by Step
If your JDM car predates OBD2 compliance, this is your diagnostic method. No scanner required.
- Step 1: Locate the diagnostic connector. On most Japanese cars it's in the engine bay, behind the kick panels, or near the ECU. Your workshop manual or a marque-specific forum is the fastest source for your exact model.
- Step 2: Identify the correct terminals to bridge. This is model-specific — TE1 and E1 for Toyotas, service connector pins for Honda, specific Consult pins for Nissan. Do not guess — wrong pins can cause issues on some ECUs.
- Step 3: Bridge the terminals using a paperclip or jumper wire. Turn the ignition to ON. Do not start the engine.
- Step 4: Watch the check engine light. Count long flashes (tens) and short flashes (units). Note each complete code before the sequence restarts.
- Step 5: Cross-reference your codes against the fault code list for your specific model and ECU variant. JDM and USDM code lists can differ — use a source specific to your car's market.
- Step 6: Once you've noted all codes, remove the jumper and start diagnosis.
Blink codes are limited — they typically only show stored fault codes, not live data. But for a first pass on an older import, they're completely free and surprisingly reliable.
Choosing a Scanner for Your JDM Import
If your car has a standard 16-pin JOBD or OBD2 port, a quality ELM327-based Bluetooth adapter paired with a capable app will do most of what you need. The key is choosing a scanner and software combination that supports custom PIDs and Japanese manufacturer protocols.
Car Scanner ELM OBD2 is the standout recommendation for JDM owners. It supports custom PID sets for Toyota, Nissan, Subaru, Honda, and Mitsubishi — meaning you can access manufacturer-specific live data (transmission temps, AVCS angles, individual cylinder knock counts) that a basic generic scanner would miss entirely. The free tier is generous, and the enhanced PID profiles are regularly updated by the community.
For a full breakdown of which adapters and apps work best across different budgets and use cases, head to our best OBD2 scanner guide.
If your JDM import is destined for registration and needs to pass emissions testing or a state smog check, readiness monitors become important. A number of JDM cars have monitors that run differently or report differently than their USDM equivalents. Our readiness monitors and smog guide covers what each monitor does, which ones matter for compliance, and how to run the drive cycles to set them.
Compliance Considerations for Imported JDM Vehicles
If you've imported a JDM car into the U.S. (or are planning to), the diagnostic situation intersects with federal and state compliance. Under the 25-year import rule, a vehicle at least 25 years old can be brought in exempt from EPA and DOT conformity requirements — which is why so many iconic JDM cars only became legal to import once they crossed that age threshold.
Many older JDM imports were never certified to US emissions standards, so their diagnostic systems don't always line up with what a stateside smog station expects. What you actually need to pass depends on your state: some exempt vehicles older than a set age or model-year cutoff from smog testing altogether, while others still run them through the program. The short version: don't assume your JDM car needs to pass an OBD2 readiness monitor check the same way a locally-delivered car would. But do understand your car's diagnostic system before any inspection — a check engine light is a check engine light regardless of what protocol is behind it.
Quick Reference: What Port Does My JDM Car Have?
- Pre-1997 Nissan (S13, R32, Z32): Nissan Consult 14-pin — needs Consult interface or blink codes
- Pre-1997 Toyota (AE86, JZA70/80, SW20): Round/rectangular JIS connector — TE1-E1 jumper blink codes
- Pre-1997 Honda (EG, EK early): 3-pin service connector — bridge pins, count CEL flashes
- Pre-1998 Subaru (GC8 early): Subaru Select Monitor — blink codes
- 1997–2003 JDM (most makes): Likely 16-pin JOBD — generic scanner connects, custom PIDs recommended
- 2004 and later JDM: Standard OBD2/JOBD port — generic scanner works well, enhanced PIDs still beneficial
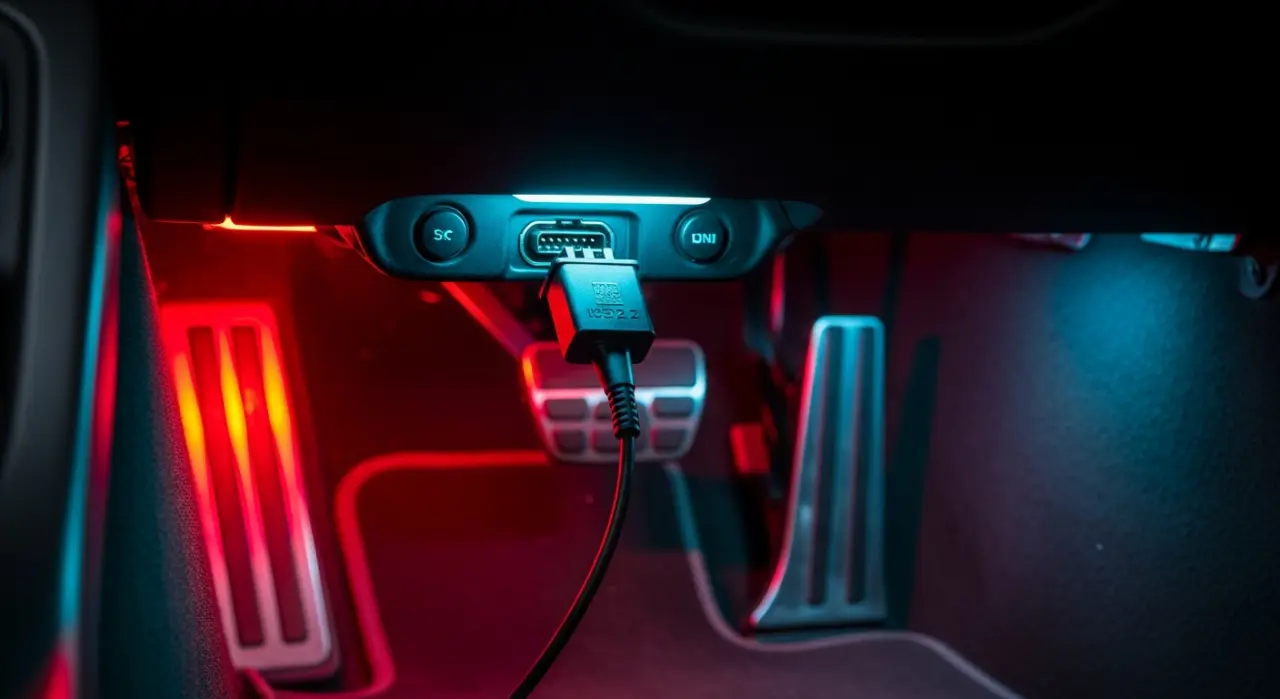
Your exact cutover date will vary by model line. When in doubt, open the hood, look under the dash on the driver's side, and see if there's a 16-pin trapezoid-shaped port. If there is, you're in OBD2 territory. If you find something else entirely, welcome to the world of JDM diagnostics — it's more interesting down here.
For a full grounding in how the OBD2 standard works and what the 16-pin port actually communicates, revisit the OBD2 hub overview before going further with your diagnosis.
Recommended Products

Best for DIYers who want pro data on their phone
- Full OEM-level code coverage
- Repair reports from real fixes
- Reads ABS/SRS/live data
- Works with iOS & Android
Why buy it: the best all-round scanner for a post-2004 JDM import running the standard 16-pin port — pro-grade data through a polished app.

Best for enhanced manufacturer PIDs on JDM platforms
- Fast, secure Bluetooth
- Deep OEM & performance data
- Custom PIDs and dashboards
- Reads enhanced Nissan/Toyota/Honda data
Why buy it: the tinkerer favorite for JDM cars — it reaches the enhanced PIDs a generic scanner misses on grey-import ECUs.
Best for all-system diagnostics with bidirectional control
- Full-system (ABS/SRS/trans + more)
- Bidirectional active tests
- 28+ maintenance service functions
- Tablet interface, wide coverage
Why buy it: the pro-grade tablet for a deeper JDM diagnosis — full-system access and actuations when generic code reads are not enough.

Best for deep coverage and advanced service functions
- Wireless bidirectional diagnostics
- ECU coding & advanced services
- Very broad vehicle coverage
- Frequent software updates
Why buy it: the high-end tool for serious techs working odd imports — wireless bidirectional control and coding beyond what most tools offer.
Prices are pulled from Amazon and were accurate as of Aug 22, 2026, 6:54 PM EDT. Product prices and availability are subject to change — the live price is shown on Amazon.