
Affiliate Disclosure
Some links on this page are affiliate links. As an Amazon Associate, we earn from qualifying purchases — at no extra cost to you. We do not buy, test, or physically handle the products we cover; our rankings come from aggregated owner reviews, ratings and expert consensus. Commissions never change our verdicts. How we rank & full disclosure.
The short version: body filler shapes and smooths dents and repairs — it does not stop rust and it is not for rebuilding missing metal. Ranked across aggregated owner reviews, our #1 pick is Bondo Body Filler: the all-purpose filler owners trust for its easy mix, fast shaping and forgiving sanding. But the honest truth of bodywork is that feathering — blending the filler edge into the paint — matters more than which can you buy.
Filler is one stage of a paint repair, so it helps to see where it fits: our scratch & paint repair hub lays out the whole path, and if you are dealing with rust rather than a dent, treat that first with a pick from our best rust converter guide.
Top Picks at a Glance
Our #1 Pick: Bondo Body Filler
Bondo takes the top spot because it is the filler almost everyone learns on and keeps using. It mixes with a squeeze of cream hardener, kicks fast, shapes in minutes and sands to a workable surface — and because it is stocked at every parts store, you will never be stranded mid-repair. Owners use it for everything from door dings to skim-coating patch panels. Pros will point out that premium fillers sand easier and pinhole less, and they are right, but for a DIYer smoothing a dent, Bondo is the reliable, affordable default the reviews back most.
Best Body Fillers 2026: The Ranked Field

Best for the go-to all-purpose filler for dents, dings and rust-out repairs
- Two-part filler with cream hardener
- Shapes in minutes, non-shrinking
- Sticks to steel, aluminum, fiberglass
- The name everyone learns on
Why buy it: the filler most people already know — it mixes easily, kicks fast, and sands to shape, and owners keep coming back to it for everything from door dings to patch-panel skim coats.
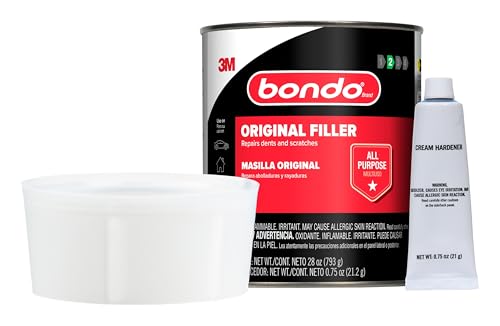
Best for the cheapest way into a proper two-part filler
- Same trusted Bondo formula
- Includes hardener in the can
- Great for small home and auto jobs
- Widely stocked, easy to replace
Why buy it: the entry point owners recommend to beginners — a small can of the classic formula that costs little and teaches you the mix-and-spread basics before you buy a gallon.

Best for pro-grade sanding and a pinhole-free finish
- Buttery spread, ultra-easy sanding
- Tack-free, pinhole-resistant finish
- ZNX-7 adhesion to galvanized and aluminum
- Body-shop standard for a reason
Why buy it: the filler bodywork pros reach for — owners praise how smoothly it spreads and how little effort it takes to sand flat, which is exactly what makes a repair invisible under paint.
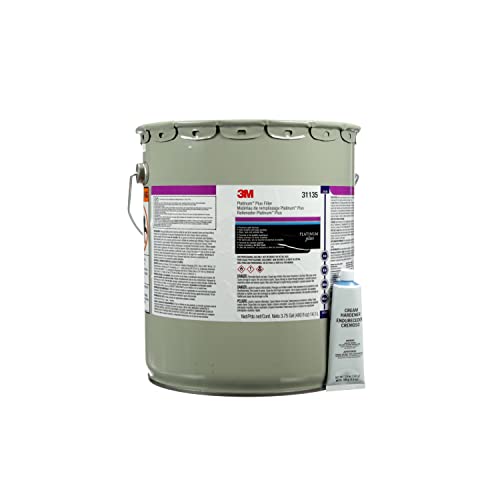
Best for stubborn substrates and a stain-free repair
- Excellent grip on prepped metal
- Stain-free, tack-free formula
- Ready to sand in ~20 minutes
- Creamy, easy to feather
Why buy it: the premium 3M filler owners choose when adhesion matters — it grips galvanized steel and aluminum, sands without gumming, and resists the staining that shows through fresh paint.
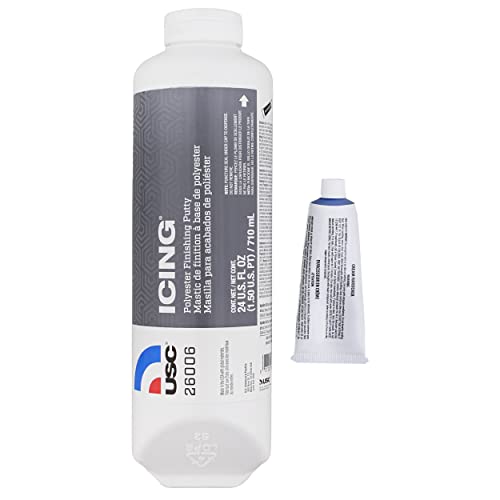
Best for killing pinholes and low spots after the filler stage
- Self-leveling polyester glaze
- Spreads thin over cured filler
- Sands to a glass-smooth surface
- Fills the pinholes filler leaves behind
Why buy it: the finishing step that separates a good repair from a great one — owners skim it over cured filler to erase pinholes and sand scratches, so primer goes on flat instead of telegraphing every flaw.

Best for large panels and multi-repair projects
- Gallon size for big coverage
- Same proven Bondo chemistry
- Cheaper per ounce than the quart
- Good for full-panel restoration
Why buy it: the size to buy when you are doing a whole fender or a full project — the same filler owners trust, priced right for the square footage so you are not opening a new can mid-job.
Quick Comparison
Bondo Body Filler (00262, 1 Quart)
Best for the go-to all-purpose filler for dents, dings and rust-out repairs
Best Value
Bondo Original Filler (00262 Can)
Check Price on Amazon
Best Premium
Evercoat Rage Gold Premium Filler (112, Gallon)
Check Price on Amazon
Best for Adhesion
3M Platinum Plus Filler (31139)
Check Price on Amazon
Best Finishing Glaze
USC Icing Polyester Finishing Putty (24 oz)
Check Price on Amazon
Best for Big Jobs
Bondo Body Filler (265, 1 Gallon)
Check Price on Amazon
How We Rank
We do not run our own body shop — we rank by aggregated owner ratings, review volume, and the themes owners repeat across real repairs. We weigh four things. Workability — how easily it mixes, spreads and shapes before it kicks. Sandability — the effort to sand flat and how cleanly it feathers, which is where premium fillers pull ahead. Adhesion — grip on prepped steel, aluminum and galvanized surfaces without lifting. And finish quality — how pinhole- and stain-free it cures under primer. Prices were current at the time of writing.
What Filler Can and Cannot Do
Filler is for smoothing, not building. It excels at fairing out shallow dents, dings, sand-throughs and small imperfections on sound, clean, prepped metal. It cannot rebuild metal that is missing, it cannot bridge a large hole, and it absolutely cannot go over rust — spread it on corrosion and you have simply hidden a problem that keeps growing underneath until it blisters the paint. The honest DIY skill ceiling here is real: shaping metal back close before you fill, keeping coats thin, and feathering the edge take practice. Get those right and cheap filler looks great; get them wrong and expensive filler still looks like a patch.
Feathering: The Step That Decides Everything
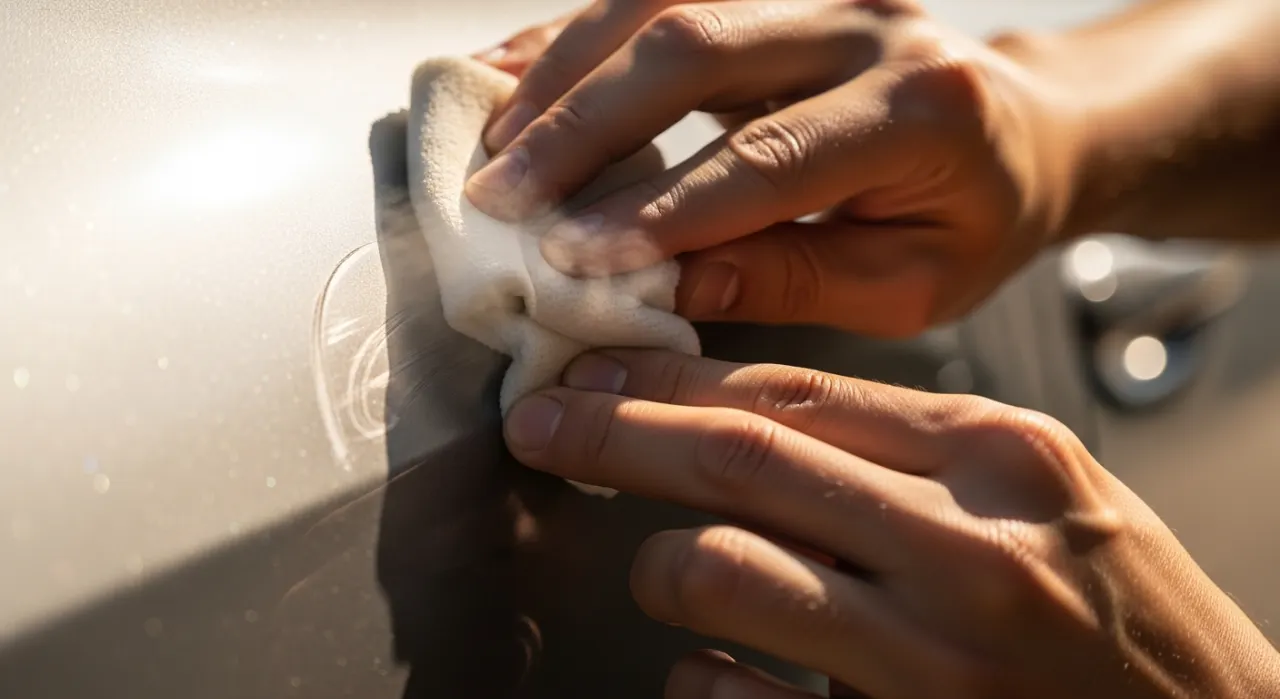
Here is the whole game. After your filler cures, you sand the edge down so it tapers into the surrounding paint with no detectable ridge — that is feathering, and it is what makes a repair vanish under color. Work through grits: coarse to knock the filler to shape, then progressively finer to smooth and blend, always tapering thinner toward the good paint. The test is your bare hand — run it lightly across the repair, and if you can feel any lip or edge, primer and paint will telegraph it in the sun. A repair that feels dead flat is ready to prime. Rushing this step is the number-one reason DIY bodywork looks like DIY bodywork.
How to Choose a Body Filler
Start with the job. For occasional dents and small repairs, a quart of Bondo (or a small original can to learn on) is plenty and cheap. For a whole panel or a project car, buy the gallon so you are not opening cans mid-repair. If you want the easiest possible sanding and fewest pinholes — the pro experience — step up to Evercoat Rage Gold or 3M Platinum Plus; both spread smoother and finish cleaner, which saves real time on big jobs. Working over galvanized or aluminum? Choose a filler that advertises adhesion to those substrates, like 3M Platinum Plus. And always keep a finishing glaze like Icing on hand to skim over cured filler and erase the pinholes that every filler leaves.
Filling Rust Holes: Repair the Metal First
The most common failed repair is filler smeared over rust holes. Standard body filler bridges a hole only briefly before it cracks, and any rust left under it keeps eating the metal until the patch blisters. The correct sequence is to cut out the rotten section and weld or bond in a metal patch panel, or on smaller pinholes use a fiberglass-reinforced filler over a backing, then skim standard filler for shape. Treat surrounding rust with a converter so the repair sits on sound metal. Filler is for smoothing a solid surface, never for spanning a rusted-through hole — do the metalwork first and the filler lasts.
Evercoat Rage, 3M Platinum and Lightweight Fillers
Beyond basic Bondo, the autobody world uses a few grades worth knowing. Evercoat Rage Gold is the premium body-shop standard — buttery to spread and easy to sand pinhole-free. 3M Platinum Plus grips difficult galvanized and aluminum substrates and cures stain-free. Lightweight fillers cut sanding effort and weight on larger panels, which restorers appreciate on a full fender. Each is a step up from the entry-level can in sandability and finish, though technique still outweighs product. For a small ding, basic filler is fine; for a whole-panel autobody repair you'll sand for hours, a premium or lightweight filler pays for itself in saved effort.
After the Filler
A filled repair still needs primer, block-sanding and color to disappear. Match your color with a pick from our best touch-up paint guide, and once the panel is painted, keep it protected with a good wax or a ceramic coating. Filling a rusted area first? Lock it down with a converter from our rust converter roundup, and seal the underbody with our best undercoating spray picks. The full repair sequence lives in the scratch & paint repair hub.
The Verdict
For an all-purpose filler that mixes easily, shapes fast and is stocked everywhere, Bondo Body Filler is the pick owners rate above the rest. Want the smoothest sanding and a shop-grade finish? Step up to Evercoat Rage Gold. And whichever you choose, remember the two rules that beat any brand: never fill over rust, and feather the edge until it disappears. Check Price on Amazon →