
Affiliate Disclosure
Some links on this page are affiliate links. As an Amazon Associate, we earn from qualifying purchases — at no extra cost to you. We do not buy, test, or physically handle the products we cover; our rankings come from aggregated owner reviews, ratings and expert consensus. Commissions never change our verdicts. How we rank & full disclosure.
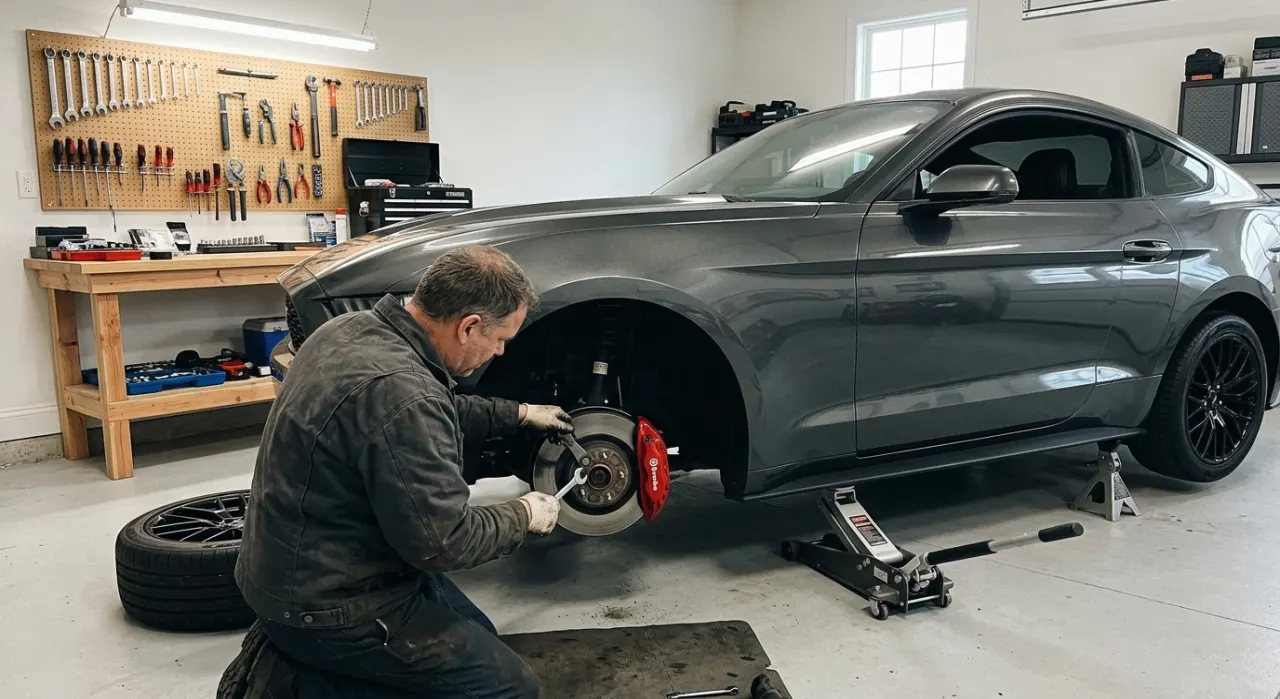
Changing your own brake pads is one of the most worthwhile skills a DIY mechanic can build. The job is straightforward, the savings are real, and when you know the work was done right, every stop light feels a little more reassuring. But before you crack a single wheel nut, you need the right tools — not a trolley load of fancy gear, just the correct kit for each step of the job.
This guide walks you through every tool tied to the step it actually serves, gives you an honest must-have vs nice-to-have split, and helps you decide when a budget option is fine and when it is worth spending once and moving on. All of this connects back to the Brake Pad Refresh hub — your home base for the full job.
Safety First: Lifting the Car Correctly
Nothing else in this guide matters if the car is not safely supported. This is the step where corners get cut and people get hurt. Do not skip it, do not rush it.
Trolley Jack — Must Have
A hydraulic trolley jack lifts the vehicle. It does not support it. A floor jack rated to at least 2 tons covers most passenger cars; 3 tons if you are working on a pickup, SUV, or anything with a tow hitch. Lift only from manufacturer-specified jacking points — check your owner's manual. A cheap scissor jack from the trunk is not acceptable for this work.
Rated Jack Stands — Must Have, Non-Negotiable
Once the car is in the air, lower it onto rated jack stands immediately. The trolley jack can fail. Jack stands rated to your vehicle's weight cannot be substituted by bricks, timber offcuts, or spare wheels. Place them under the vehicle's reinforced chassis points, not the sill or suspension arms. Two stands minimum; four if you are doing all corners in one session.
Wheel Chocks — Must Have
Chock the wheels that stay on the ground. This stops the car rolling forward or backward off the stands. A pair of rubber or plastic chocks costs almost nothing and can prevent a catastrophe. Our full safe-lifting walkthrough lives in the jacking hub — read it before you start if this is your first time.
Breaking Things Loose: Wheel Removal
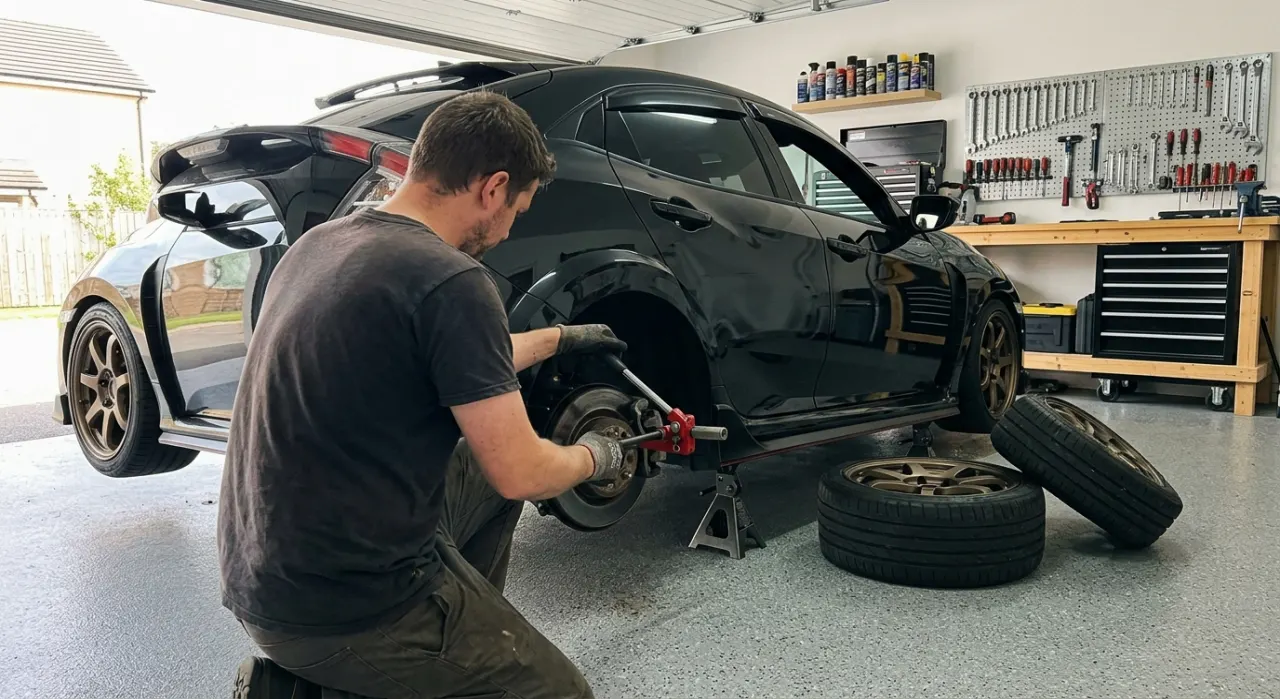
Breaker Bar — Must Have
Wheel nuts on most daily-driven cars are on at well above spec torque, often because an air impact wrench was used at the tire shop. A half-inch drive breaker bar — 500 mm or longer — gives you the leverage to shift them by hand. This is the one job where more handle length is always better. If you only have a standard socket wrench, a length of steel pipe over the handle (a cheater bar) can help in a pinch, but a proper breaker bar is the right answer.
Socket Set — Must Have
You need sockets to match your wheel nuts (commonly 17, 19, or 21 mm) and to remove the caliper slide bolts (often 12 or 14 mm hex, sometimes a Torx or hex key). A mid-range half-inch and three-eighths drive set covers most cars. Metric is essential for JDM and European vehicles. Chrome vanadium construction is fine; there is no need to spend on impact-rated sockets for hand-torque work.
Working on the Caliper
Caliper Wind-Back / Piston Compression Tool — Must Have
This is the tool that separates people who finish the job cleanly from people who damage their calipers. Before new — thicker — brake pads will fit, the piston must be pushed back into the caliper body. How you do that depends on which axle you are working on.
Front calipers almost always use a straight-push piston. A basic C-clamp with an old brake pad face against the piston will push it back. This works, costs almost nothing, and is a perfectly legitimate technique.
Rear calipers on most modern vehicles — particularly anything with an integrated parking brake — use a screw-in piston that must be wound back by rotating clockwise while applying inward pressure. A C-clamp will not work and can damage the piston seal. You need a dedicated caliper wind-back tool kit with a range of adapters to match different piston face profiles.
For a detailed walkthrough of exactly which tool to use and how to identify your caliper type, see our guide to caliper piston wind-back. If you want to compare specific kits before buying, head to our tool comparison page or check individual product reviews.
Caliper Hanger Hooks — Nice to Have, Becomes Must-Have Fast
When the caliper comes off, it must not hang by the brake hose. A hanging caliper will stress the hose, which can cause it to crack internally — a failure you may not see until you are mid-corner and the pedal goes soft. A set of S-shaped wire hooks or dedicated caliper hanger hooks suspends the caliper from a spring or the strut. You can fabricate something with a coat hanger once. After that, you will buy the proper hooks.
Torque Wrench — Must Have
Brake caliper slide bolts, caliper bracket bolts, and wheel nuts all have specified torque values. Under-torqued bolts back out. Over-torqued bolts strip threads, distort brake carriers, or warp rotors through uneven clamping. Neither outcome is theoretical — both happen regularly to people who skip the torque wrench.
A click-type half-inch drive torque wrench covering 20–200 Nm handles wheel nuts on most passenger vehicles. A three-eighths drive unit in the 10–100 Nm range gives better feel for caliper hardware. You do not need a digital torque wrench. You do need to know the specified values for your vehicle — check a workshop manual, not a forum post. This is one of the areas where doing the job right matters most; the full step-by-step covers correct torque specs in context at our brake pad replacement walkthrough.
Cleaning and Lubrication: The Difference Between a Quiet Brake and a Groaning One
Brake Cleaner — Must Have
Brake cleaner is a fast-evaporating solvent that removes brake dust, grease, and road grime from rotors, caliper hardware, and pad contact surfaces. Any residual contamination on a rotor face will cause pulling, noise, or reduced friction. Spray, let it evaporate, do not touch the clean surface with bare hands. Non-chlorinated formulations are safer to work with and compatible with more seals.
Wire Brush — Must Have
Caliper slide pins, caliper bracket ears, and the abutment clips where pads sit all accumulate built-up corrosion and old grease. A wire brush removes that buildup so new hardware beds in correctly and pads slide freely. A small hand brush is sufficient; a drill attachment on a rotary tool speeds things up if you are doing the full axle set.
High-Temp Brake Grease / Anti-Squeal Compound — Must Have
Apply copper-based or ceramic high-temperature grease to caliper slide pins and the back face of the brake pad shims. Do not get it on the pad friction material or the rotor face. The right lubricant prevents brake squeal, allows the caliper to float correctly, and stops slide pins seizing between services. Standard automotive grease is not a substitute — it will liquefy and migrate where it should not. Check your new brake pad packaging; many include a small sachet of the correct compound. Our brake pad buying guide covers which pads include hardware kits.
Brake Parts Catch / Drip Tray — Nice to Have
A shallow tray under the work area catches brake cleaner overspray, old grease, and any brake fluid displaced when you push back the caliper piston. The fluid reservoir cap should be removed and old fluid drawn out before you compress the piston — otherwise you are forcing dirty fluid back through the system. A catch tray keeps this off your driveway and out of drains.
Personal Protection
Nitrile Gloves — Must Have
Brake dust from older vehicles can contain residual asbestos in the dust from previous pads. Modern pads do not use asbestos, but the dust is still an irritant and brake fluid will strip the oils from your skin with repeated contact. Nitrile gloves protect your hands and give you a better grip on greasy hardware. Keep a box in the garage. They are not optional.
Optional But Useful: Brake Bleed Kit
If you are replacing pads as part of a broader brake service — new rotors, new fluid, or if the system has been opened — a brake bleed kit lets you flush old fluid and remove air without a second person. A one-person vacuum bleeder or pressure bleeder costs between $30 and $80 for a competent home-use unit. It is not needed for a straight pad swap where you are not opening any hydraulic fittings, but it earns its keep quickly if you do regular brake maintenance.
Must-Have vs Nice-to-Have: Quick Reference
- Must Have: Trolley jack, rated jack stands, wheel chocks, breaker bar, socket set, caliper wind-back tool (especially for rear), torque wrench, brake cleaner, wire brush, high-temp brake grease, nitrile gloves
- Nice to Have (Becomes Essential Quickly): Caliper hanger hooks, brake parts catch tray, brake bleed kit
Budget vs Buy-Once Framing
Some tools in this list are fine to buy cheaply. A wire brush is a wire brush. Brake cleaner is a commodity — buy whatever aerosol is on special. Nitrile gloves, same deal.
Other tools should be bought once and bought properly. Jack stands are not a place to save twenty dollars. A rated, name-brand set from a tool shop you can verify will outlast any car you put on them. A torque wrench from a reputable brand holds its calibration; a cheap one loses it quickly and gives you false confidence. A caliper wind-back kit with a full adapter set covers every vehicle you will ever work on — a cheap single-adapter unit will leave you stuck on the next car.
The budget items add up to maybe forty dollars. The buy-once items — decent jack stands, a torque wrench, a proper wind-back kit — are a one-time spend of $150 to $250 depending on what you source. Spread across every brake job you will do from here, that is nothing.
Before You Start the Job
Have everything on the must-have list within arm's reach before the first wheel comes off. Brake work goes wrong when you improvise mid-job because a tool is missing. Read through the full step-by-step replacement guide at least once before you start so the tool use makes sense in sequence. And if this is your first time lifting a vehicle, work through the safe jacking guide first — no exceptions.
The job itself is not complicated. The tools make it simple and safe, or they make it dangerous and slow. Get the right kit, follow the sequence, and you will have it done properly in an afternoon.
Recommended Brake Job Tools
We aggregate owner ratings rather than testing in a lab. These are the well-reviewed, widely owned versions of the core tools above — the lifting, holding and torquing gear every brake job needs.
Best for lifting the car quickly before it ever goes on stands
- Low entry height clears most passenger cars
- Lightweight aluminum rolls into place easily
- Lifts the car — it is never the thing you work under
Why buy it: a fast, stable lift is step one of every brake job, and this is the jack most home mechanics settle on.

Best for carrying the load once the jack has done its job
- Double-locking ratchet, rated pair for passenger cars
- The one item on this page you never cheap out on
- Place under rated chassis points, two minimum
Why buy it: a jack lifts and stands hold — never put a hand under a car without a rated pair of these in place.

Best for setting caliper bolts and wheel nuts to the real spec
- Covers wheel-nut and caliper-bracket torque ranges
- Audible click so you cannot over-tighten
- Holds calibration far better than a bargain unit
Why buy it: brake hardware has published torque values for a reason, and this is the affordable wrench that hits them.

Best for the sockets, ratchets and drivers a brake job actually needs
- 1/4", 3/8" and 1/2" drive sockets, SAE and metric
- Covers caliper slide bolts and common wheel nuts
- One box instead of a drawer of mismatched sockets
Why buy it: a complete socket-and-ratchet set means you are never stuck mid-job hunting for one missing size.
Prices are pulled from Amazon and were accurate as of Aug 22, 2026, 6:54 PM EDT. Product prices and availability are subject to change — the live price is shown on Amazon.