
Affiliate Disclosure
Some links on this page are affiliate links. As an Amazon Associate, we earn from qualifying purchases — at no extra cost to you. We do not buy, test, or physically handle the products we cover; our rankings come from aggregated owner reviews, ratings and expert consensus. Commissions never change our verdicts. How we rank & full disclosure.
Short version: a brake pad refresh is well within DIY reach on most cars — if you respect three things. Lift the car on rated jack stands (never a jack alone), torque every fastener to spec, and pump the pedal firm before you move. This is the hub for the whole job: deciding whether you even need pads, getting the gear, the actual swap, bedding-in, and knowing when to hand it to a shop. Always confirm jack points and torque values for your specific car.
First: Do You Actually Need New Pads?
Don't guess — measure. New pads carry ~10–12 mm of friction material; the replace point is around 3 mm, and under 2 mm is the danger zone. A high-pitched squeal that disappears when you brake is the wear-indicator tab doing its job. Grinding is metal-on-metal — stop driving. The full method is in when to replace brake pads, and the broader symptom triage (pulsing pedal, pulling, soft pedal) is in signs of worn brakes.
The Gear You Need
The buy-once kit: a trolley jack and two rated axle stands (see the jacking up a car hub for safe lifting), wheel chocks, a breaker bar and sockets, a piston-compression tool (a C-clamp for front, a wind-back tool for rear), a torque wrench, brake cleaner, and high-temp brake grease. The honest must-have vs nice-to-have split is in tools & kit.
Choosing the Right Pads
There is no single "best" pad — only the right pad for how you drive. Quiet ceramic for a daily, semi-metallic for spirited or towing, and proper performance compounds for a JDM build that sees the hills. Match the compound to your use first, then judge value. The matrix is in best brake pads, and the material trade-offs behind it are in ceramic vs semi-metallic vs organic.
Pads Only, or Pads and Rotors?
Rotors outlast several sets of pads — if they pass inspection. Measure against the minimum thickness stamped on the disc, and check for deep scoring, a raised edge lip, blue heat spots and runout. Fresh pads on a tired rotor wastes both. Full inspection guide: do you need new rotors.
The Swap, Step by Step
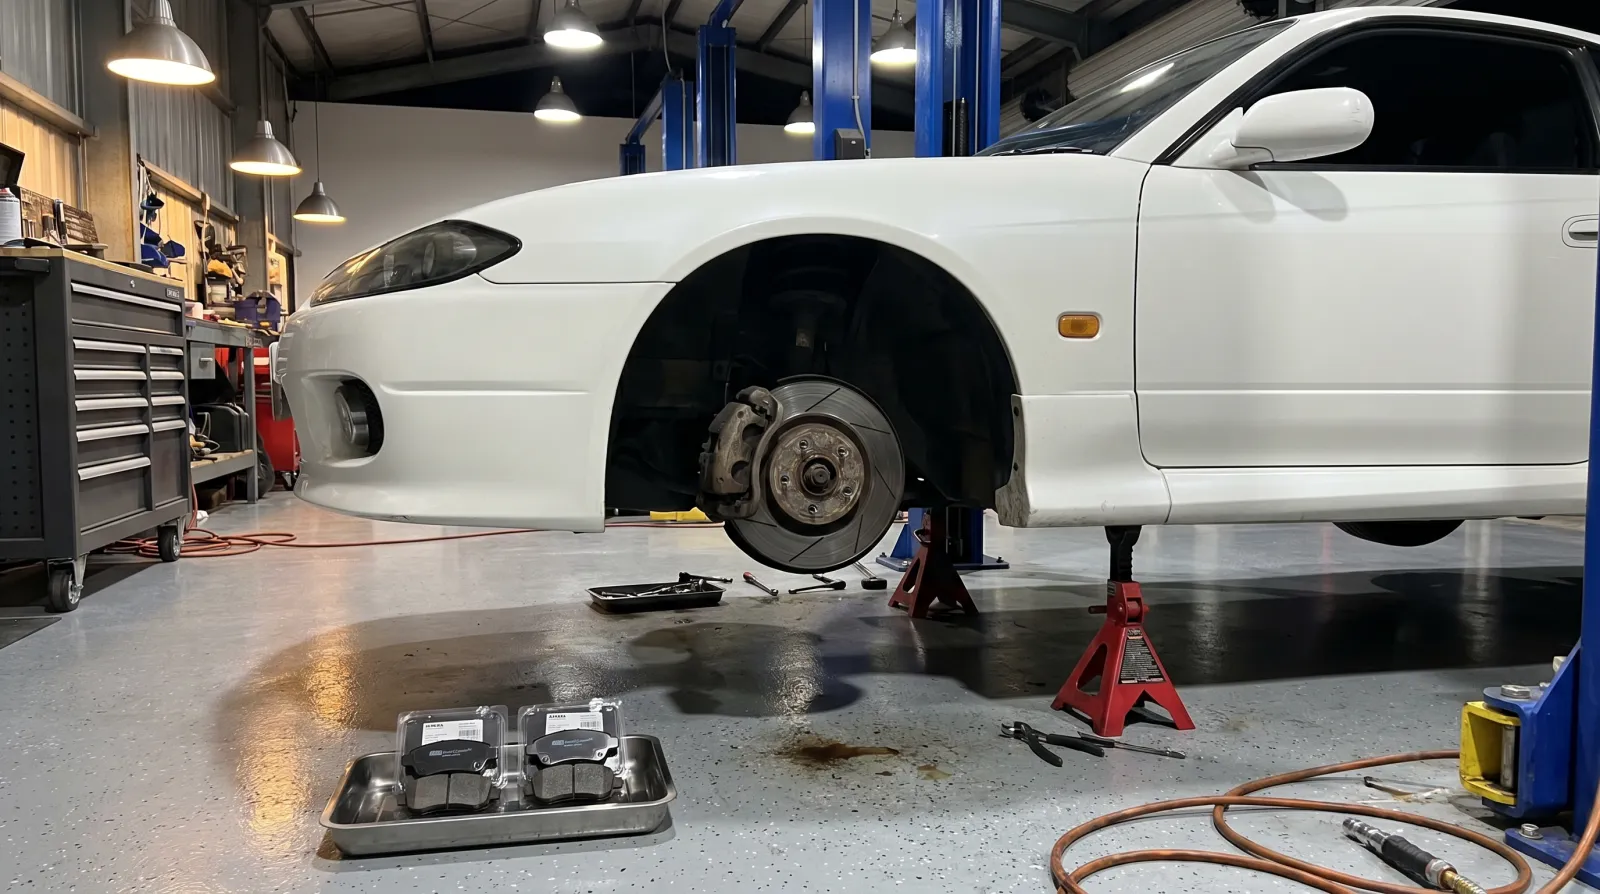
- Crack the wheel nuts, then lift onto rated stands and chock the grounded wheels.
- Remove the wheel, then the caliper slide bolts; hang the caliper by wire, never by the hose.
- Remove old pads, clips and shims; clean the bracket.
- Compress the piston — push (front) or wind back (rear). Watch the fluid reservoir.
- Fit new clips/shims, grease the contact points (never the friction face), install the pads.
- Refit the caliper and torque the bolts; refit the wheel and torque the nuts on the ground.
- Pump the pedal firm before moving the car.
The fully detailed walkthrough — front and rear — is in replace brake pads step by step. The trickiest sub-task gets its own page: compressing the caliper piston (including EPB service mode).
Brake Fluid & the Pedal Pump
Compressing the pistons pushes fluid back up to the reservoir — don't top it up first, and watch for overflow. You usually don't need to bleed unless you opened the system, but it's a good time to flush fluid older than two years. And always pump the pedal to firm before driving — the first press after compression goes to the floor. Detail in brake fluid & new pads.
Bedding In the New Pads
New pads need a controlled series of stops to lay down an even transfer layer — skip it and you risk glazing, judder and noise. Don't sit on hot brakes at a full stop. The procedure is in how to bed in new brake pads, and if you get noise afterwards, why brakes squeal sorts normal from faulty.
DIY or Pay a Pro?
A shop runs ~$180–$380 per axle; DIY parts are ~$70–$150. The first job rarely wins once you buy tools, but you're ahead by the second. Pay a pro if your car has an electronic park brake and you lack the tool, a caliper is seized, you can't lift safely, or you're not genuinely confident — brakes are not the place to learn under pressure. Honest numbers in DIY vs shop cost.
Ready to Start?
Confident and geared up? Work the tools list, then the step-by-step, take your time, and bed them in. The topical map below links every part of the job.