
Affiliate Disclosure
Some links on this page are affiliate links. As an Amazon Associate, we earn from qualifying purchases — at no extra cost to you. We do not buy, test, or physically handle the products we cover; our rankings come from aggregated owner reviews, ratings and expert consensus. Commissions never change our verdicts. How we rank & full disclosure.
Replacing your own brake pads is one of the most rewarding DIY jobs you can tackle in the garage. It saves real money, gives you confidence in what’s stopping your car, and takes most people under two hours once they’ve done it once. This guide walks you through the full procedure for front disc brakes, flags where rear brakes differ, and makes sure you don’t skip the steps that actually matter for safety.
This page is part of the Brake Pad Refresh hub — your home base for everything brake-related on Redline Garage.
Before You Start: Safety Non-Negotiables
Brakes keep you alive. There is no step in this guide more important than the safety setup at the beginning.
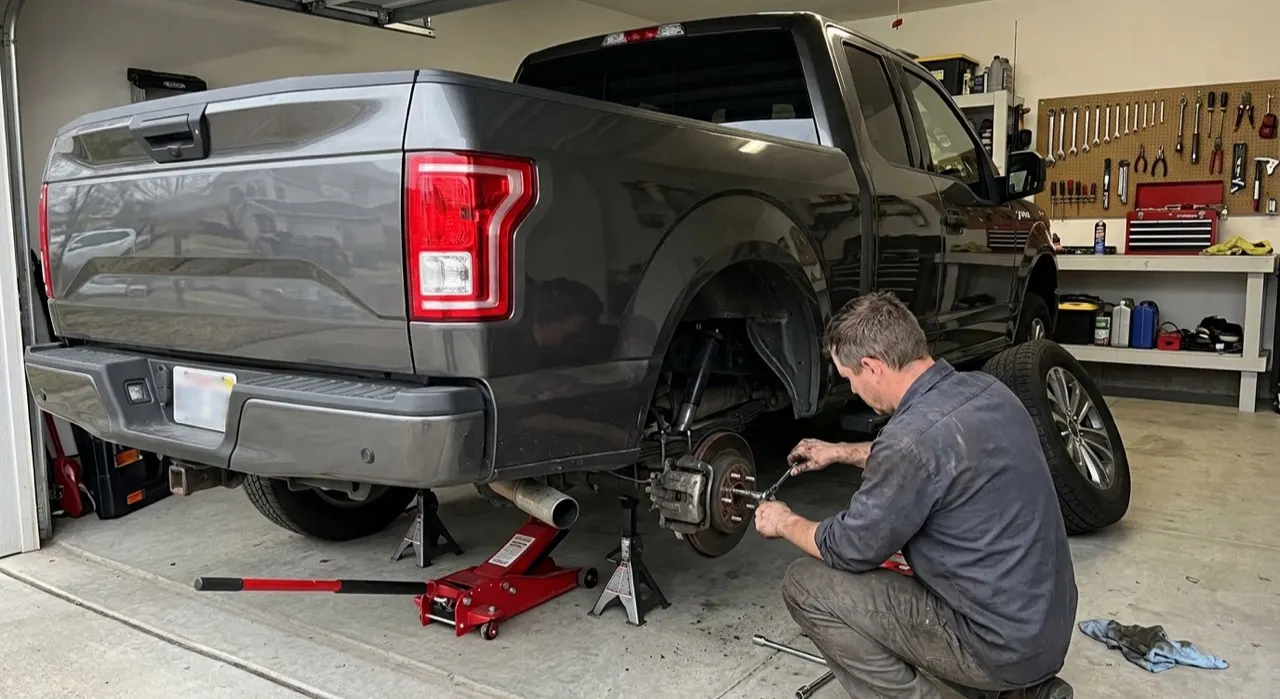
- Use rated jack stands, not just a hydraulic jack. A hydraulic floor jack can drop without warning. Your car must sit on jack stands rated for its weight before you put any part of your body near a wheel arch. Full details on safe lifting are in the jacking up a car guide.
- Chock the wheels that stay on the ground. If you’re working on the fronts, wedge the rear wheels with purpose-made wheel chocks — bricks are not a substitute.
- Work on a flat, firm surface. Gravel, grass, and camber are all no.
- Wear safety glasses. Brake dust is not something you want in your eyes.
- Never press the brake pedal while a caliper is removed. The piston will shoot out. You’ll understand why in a moment.
Tools You’ll Need
Full details are in the brake pad tools kit guide, but here’s the quick list for front pads:
- Floor jack + rated jack stands
- Wheel chocks
- Breaker bar or torque wrench with the correct socket for wheel nuts
- Socket set and combination spanners (typically 10–14 mm for caliper slide bolts)
- Piston compression tool or large C-clamp
- Wire brush or flat scraper
- Brake cleaner spray
- Copper grease or dedicated brake lubricant (ceramic paste also works)
- Soft wire or a caliper hanger hook
- Torque wrench
- Replacement pads (and new clips/shims if included)
Front Brake Pad Replacement: Step by Step
-
Loosen the wheel nuts before jacking
With the car still on the ground and the wheel chocks in place at the rear, crack each wheel nut loose with your breaker bar. Do not remove them yet — just break the initial resistance. Trying to loosen nuts while the wheel is in the air just spins it.
-
Jack the car and fit jack stands
Position your floor jack under the manufacturer’s recommended jack point (check your owner’s manual — the wrong spot can crush sill rails). Raise the car, then lower it onto jack stands positioned under rated chassis points. Give the car a firm push before you get underneath. If it rocks, reposition.
See the full procedure in our jacking up a car guide.
-
Remove the wheel
Spin out the wheel nuts by hand, pull the wheel clear and lay it flat under the sill as a secondary precaution. You now have clear access to the brake assembly.
-
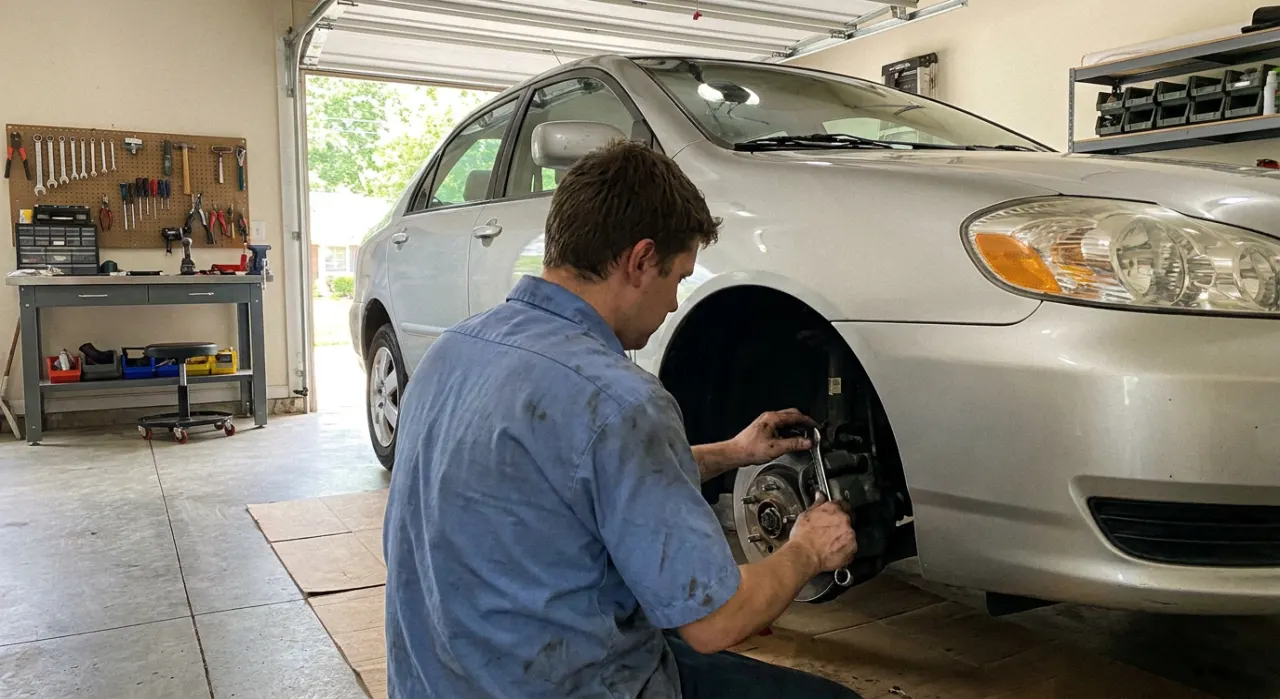
Remove the caliper slide bolts and pull the caliper
The caliper is the clamp-shaped housing that squeezes the pads against the rotor. It’s held by two slide bolts, usually on the back of the caliper. Remove both bolts, then wiggle the caliper free. It will have some resistance because the pads are still bedded against the rotor.
This is the step most guides rush. Take your time on caliper removal — rounding off a slide bolt here ruins your day.
-
Hang the caliper — never by the brake hose
The caliper is still attached to the car by the flexible rubber brake hose. Do not let it hang by the hose. The hose can crack internally, causing a brake fluid leak that may not be obvious until you’re mid-corner at speed. Use a piece of wire or a proper caliper hook to hang the caliper from the spring or strut. Keep the hose relaxed and un-kinked.
-
Remove the old pads, clips, and shims
Slide the old pads out of the caliper bracket. Note the orientation before they come out — some pads are directional. Remove any anti-rattle clips and shims (the thin metal plates behind the pads). Clean the bracket with brake cleaner and a wire brush, removing all rust, dust, and debris from the contact surfaces. This is the step most DIYers skip and then wonder why their new pads squeal.
-
Compress the caliper piston
New pads are thicker than worn ones. To get the caliper back over them, the piston must be pushed back into the bore. Place a piston compression tool — or a C-clamp with an old pad as a backing plate — against the piston face and slowly wind it in until it sits flush with the caliper body.
Watch the brake fluid reservoir. As the piston compresses, brake fluid is pushed back up the line into the reservoir. If the reservoir is overfull it will overflow. Remove a small amount with a turkey baster if needed. Never let it overflow onto paint — brake fluid strips it instantly.
For rear calipers, this step is different — more on that below.
-
Fit new clips and shims
Install the new anti-rattle clips into the caliper bracket abutments. Most quality pad kits include these — use them. They hold the pads correctly and reduce noise. If your kit includes new shims, fit them to the backs of the pads now.
-
Apply brake lubricant to contact points
Apply a thin smear of copper grease or ceramic brake lubricant to the metal-to-metal contact points: the abutment surfaces on the bracket where the pad ears sit, and the back face of the shims. Keep all lubricant away from the pad friction material and the rotor surface. Contaminated pads and rotors will not stop the car properly. A small amount of grease in the wrong spot can ruin both pads and rotor.
-
Install the new pads
Slide the new pads into the bracket. The pad with the wear indicator — usually a small metal tab — typically goes on the inside (piston side). Check your pad kit instructions if in doubt. The pads should sit flush and slide freely with slight hand pressure.
-
Refit the caliper and torque the slide bolts
Lift the caliper back over the pads and rotor. Start the slide bolts by hand to avoid cross-threading, then tighten to the manufacturer’s torque specification with a torque wrench. Typical values range from 25–35 Nm for slide bolts and 80–120 Nm for caliper bracket bolts, but always check your vehicle’s service data. Under-torqued caliper bolts can cause the caliper to shift under braking. Over-torqued bolts can strip threads or crack the caliper ear.
-
Refit the wheel and torque the wheel nuts
Lift the wheel back onto the hub, thread the nuts on by hand in a star pattern, then lower the car off the jack stands. Once the weight is on the ground, torque the wheel nuts to spec in the same star pattern. Most passenger vehicles sit between 100–130 Nm, but your wheel nut spec trumps that general figure.
-
Pump the brake pedal before you move
This is the step that catches people out. With the piston compressed back into the caliper, the pedal will go straight to the floor the first time you press it. Before driving the car, sit in the driver’s seat and pump the brake pedal firmly 10–15 times until it feels solid and high. You’re moving the piston back out to contact the new pads. Skipping this and reversing out of the garage means you have no brakes. The car will not stop.
Repeat the full procedure on the opposite front wheel. Always replace brake pads in axle pairs — never one side only.
Rear Brake Pads: Key Differences
The front pad procedure above does not apply directly to most rear calipers. There are two important differences:
Wind-back pistons
Many rear calipers — especially on JDM vehicles with integrated parking brake mechanisms — have pistons that must be wound back (rotated clockwise while being pushed in) rather than simply compressed. A standard C-clamp will not work and can damage the piston. You need a caliper wind-back tool kit. The full technique is covered in the caliper piston wind-back guide.
Electronic parking brake (EPB) service mode
If your vehicle has an electronic parking brake — common on cars from the late 2000s onward — the rear caliper piston is motor-driven. You cannot compress or wind back the piston manually without first putting the EPB into service mode via a scan tool. Attempting to force the piston back will destroy the actuator motor. Check whether your car has EPB before you start.
Bedding In Your New Brake Pads
New pads need to be bedded in to transfer an even layer of friction material onto the rotor surface. Skipping this can cause uneven deposits, vibration, and reduced stopping power. The process involves a series of controlled stops from moderate speed — not emergency stops, not highway speeds.
The full bedding procedure is in the bedding-in new brake pads guide. Follow it before you commute.
Do You Also Need New Rotors?
Fitting new pads to worn or lipped rotors reduces pad life and braking performance. If your rotors are below minimum thickness, deeply scored, warped, or have a noticeable lip at the outer edge, replace them at the same time. See do I need new rotors for the full inspection guide.
Torque Reference and the Pedal Pump Warning
Two points that are worth repeating because they cause the most problems:
- Torque your fasteners. Slide bolts, bracket bolts, and wheel nuts all have specifications. A torque wrench is not optional on brake work — it’s what separates a professional job from a liability. Look up your vehicle’s specifications in a workshop manual or a reputable database before you start.
- Pump the pedal to full pressure before moving the car. Every time. Without exception. If you compress the piston and then drive without pumping, the pedal will not build pressure fast enough to stop the vehicle. This is not theoretical — it happens in driveways and carparks every week.
If you’re unsure about any part of this process, the Brake Pad Refresh hub has individual guides for each sub-task. Brake work done carefully and correctly is well within DIY reach. Brake work done in a hurry is not.
Recommended Products

Best for quiet, clean, low-dust daily driving
- Very low dust
- Near-silent braking
- Long pad life
- OE-quality feel
Why buy it: the quietest, cleanest daily-driver pad — a genuine upgrade over tired OE pads when you have the caliper off anyway.

Best for stronger bite for spirited driving
- Carbon-fiber ceramic
- Strong cold bite
- Low dust for the grip
Why buy it: more stopping power without the noise or dust of race pads.

Best for OE-quality on a budget, hardware included
- Quiet ceramic/semi-met
- Includes hardware & shims
- Great price
Why buy it: OE-grade quiet braking with the clips and shims in the box — exactly what you want fitting a fresh set.

Best for reliable everyday value
- One-piece design
- Quiet operation
- Widely available
Why buy it: a dependable, quiet everyday pad at a low price.
Prices are pulled from Amazon and were accurate as of Aug 22, 2026, 6:54 PM EDT. Product prices and availability are subject to change — the live price is shown on Amazon.