
Affiliate Disclosure
Some links on this page are affiliate links. As an Amazon Associate, we earn from qualifying purchases — at no extra cost to you. We do not buy, test, or physically handle the products we cover; our rankings come from aggregated owner reviews, ratings and expert consensus. Commissions never change our verdicts. How we rank & full disclosure.
Here’s where a lot of DIY brake jobs go sideways. You pull the old pads, grab whatever’s at hand to push the piston back, and then you hear a crunch. Or worse — you force it, reassemble everything, and find out later the piston seal is toast. Compressing the caliper piston is one of the most misunderstood steps in a brake pad refresh, and it costs you nothing to do it right.
The short version: front calipers get pushed straight in; rear calipers with integrated park brakes get screwed in clockwise; electronic park brake calipers need to be put into service mode first. Use the wrong technique on the wrong caliper and you will damage it. This guide explains all three situations in plain language, so you know exactly what you’re dealing with before you pick up a tool.
Why You Have to Compress the Piston at All
New brake pads are thicker than the worn ones they replace — that’s the whole point. The caliper piston has been gradually extending outward over thousands of miles to keep the old, thinning pads in contact with the rotor. By the time the pads are worn to replacement point, the piston is sitting well out of its bore.
To fit new pads, you need to push that piston back into the caliper body so there’s enough gap to slot the rotor in between. There is no shortcut around this step. Every time you see instructions that say “compress the piston,” this is what they mean.
One thing to watch before you start: as the piston retracts, the brake fluid it was displacing has to go somewhere. It heads straight back up the brake line and into the master cylinder reservoir under the hood. If that reservoir is already full — or if you topped it up recently — it will overflow when you push the piston back. Either crack the bleeder nipple slightly to direct fluid out through a hose into a catch container, or syringe a little fluid out of the reservoir before you start. More on managing your fluid is in our brake fluid guide.
Front Calipers: The Straight Push
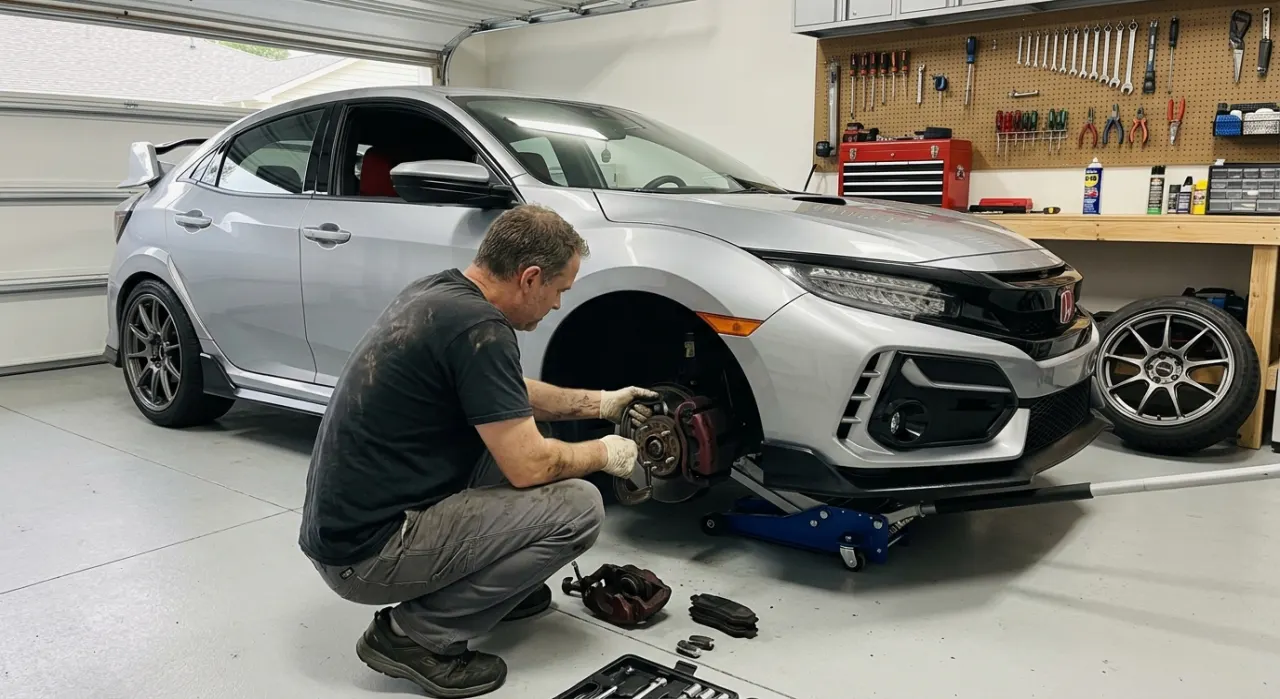
Most front calipers are sliding or floating calipers with a single piston that pushes straight out toward the rotor. These are the straightforward ones.
To retract a front piston, you push it straight back into the bore using even, steady pressure. The two most common tools for this are:
- C-clamp: Place one end on the back of the caliper body (the solid part behind the piston), and position the screw end on the face of the piston. Tighten the clamp slowly and the piston walks back in. Simple, effective, cheap.
- Piston spreader or pad spreader tool: A dedicated tool that spans the caliper opening and applies equal pressure. Marginally more controlled than a C-clamp.
Critical point: always use an old brake pad as a pressure plate. Never press a metal tool directly against the piston face. The piston is made from phenolic resin or steel with a polished face, and a hard metal point will crack or gouge it. An old pad spreads the load across the piston surface and protects it. If you don’t have an old pad to hand, a flat piece of timber works as a substitute.
Apply pressure slowly and evenly. You are not trying to hammer it home — a steady turn of the C-clamp every few seconds is enough. Watch the rubber piston boot (the accordion-style seal around the piston) as you go. It should fold inward neatly as the piston retracts. If it starts to bulge, twist, or get pinched between the tool and the caliper, stop and reposition. A torn piston boot means the seal is compromised and brake fluid will leak. The caliper will need to be rebuilt or replaced.
Once the piston is fully seated, check the boot is seated cleanly in its groove all the way around before you install the new pads. Full pad installation steps are in our step-by-step brake pad replacement guide.
Rear Calipers With Integrated Park Brakes: Screw In, Don’t Push
This is where most people get it wrong, and it can be an expensive mistake.
Many rear calipers — particularly on vehicles made from the late 1990s onward — use the piston mechanism to apply the parking brake as well as the foot brake. Inside the caliper, a screw drives the piston outward when the park brake is applied. Because of this internal thread, the piston is not designed to be pushed straight in. If you try to force it with a C-clamp, you will damage the internal thread and the caliper is gone.
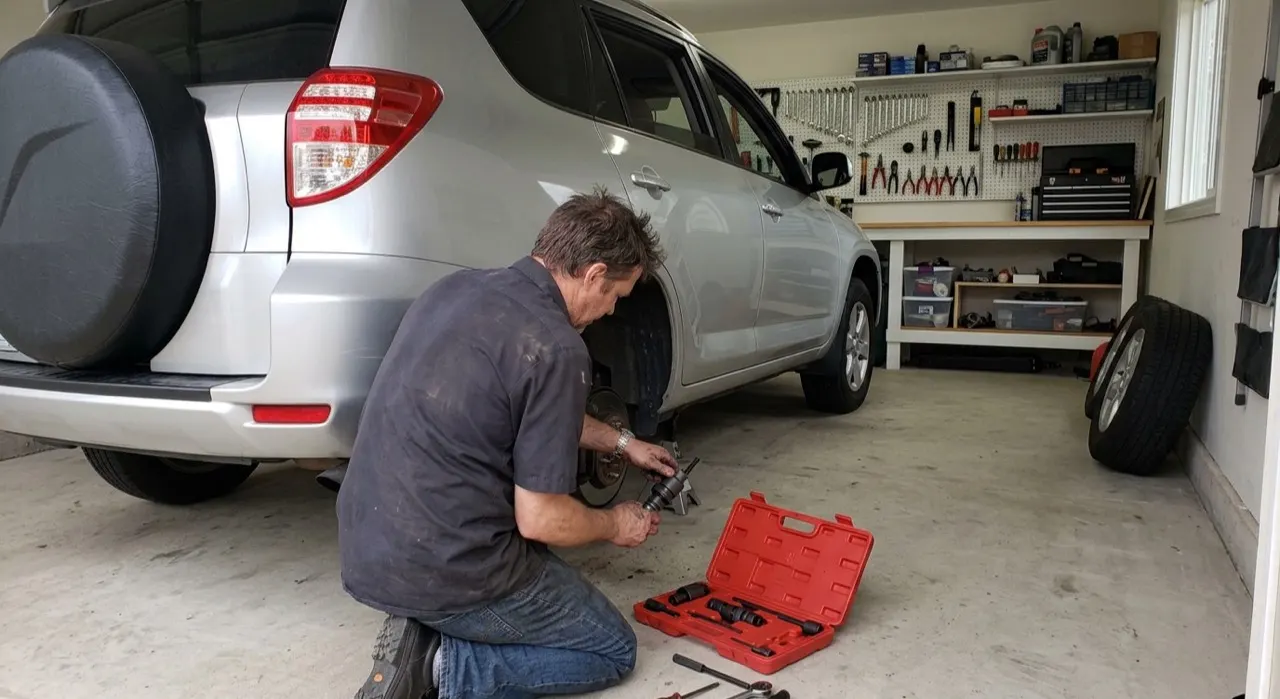
To retract a threaded rear piston, you need a wind-back tool (also called a brake piston cube or caliper wind-back kit). These are available from most auto parts stores for under $50, and they are worth every cent. The tool has interchangeable adaptors that engage the slots or pegs on the face of the piston.
The correct motion is clockwise rotation while applying inward pressure simultaneously. This is important — you are screwing the piston back into the bore, not just spinning it. Apply light inward pressure as you turn. You will feel it thread its way back in with each rotation.
Signs you have a threaded rear piston:
- There are two slots, notches, or pegs on the face of the piston (these are for the wind-back adaptor to engage)
- The vehicle has a cable-operated or integrated mechanical park brake on the rear
- A C-clamp will not compress the piston no matter how hard you try
If you are unsure, look up your specific make, model, and year before you start. Your brake pad tools checklist also covers wind-back kit selection in more detail.
Electronic Park Brake (EPB) Rear Calipers: Service Mode First
Electronic park brakes are increasingly common on vehicles made from roughly 2010 onward. Instead of a cable, an electric motor inside the caliper applies and releases the park brake. This changes the procedure entirely.
You must put the EPB into service mode (also called maintenance mode) before you attempt to retract the piston. If you do not, the motor will resist your wind-back efforts, and forcing it can strip the motor gears or blow the EPB fuse. In some cases, forcing a non-serviced EPB caliper will damage the motor assembly entirely, which turns a $50 pad job into a $500+ caliper replacement.
There are two ways to enter service mode depending on your vehicle:
- OBD2 scan tool with EPB function: Many mid-range scan tools (the type that go beyond basic code reading) have an EPB service mode option in their special functions or actuation menus. You connect to the OBD2 port, navigate to the EPB service function, and the tool will retract the motor-driven piston automatically to its service position. This is the cleanest method.
- Manual procedure (vehicle-specific): Some vehicles have a manual procedure that can be done without a scan tool, usually involving a combination of ignition position, parking brake button holds, or OBD2 connector jumper sequences. These are highly model-specific — check a model-specific workshop manual or a reputable forum for your exact vehicle before attempting this.
Once in service mode, the EPB piston typically retracts automatically (if using a scan tool), or it may then allow manual wind-back with a standard wind-back tool. After you finish installing the new pads, you will need to use the scan tool again to “initialise” or “reset” the EPB so it knows where the piston home position is. Skipping this step will result in a park brake that does not apply correctly.
If you do not have access to a compatible scan tool, this is one scenario where it is genuinely worth having the job done by a workshop with the right equipment, or borrowing a tool from a parts store loan program.
Protecting the Piston Boot: The One Thing You Cannot Afford to Skip
Whatever type of caliper you are working with, keep one eye on the piston boot throughout the compression process. This rubber boot is the only thing keeping brake fluid in and road contamination out of the piston seal area.
Common ways it gets damaged during compression:
- The tool edge catches and tears the boot as the piston retracts
- The boot gets folded under the piston and pinched
- Aggressive pressure causes the boot to pop out of its retaining groove
Prevention is simple: go slowly, watch the boot at every stage, and stop immediately if anything looks wrong. If you finish the job and notice the boot is torn, cracked, or no longer seated properly, replace the caliper or at minimum rebuild it with a caliper seal kit before driving.
Quick-Reference Summary
- Front floating/sliding caliper: Push straight in with C-clamp or piston spreader. Use an old pad as a pressure plate. Watch the boot.
- Rear caliper with integrated park brake: Screw in clockwise with a wind-back tool. Inward pressure plus clockwise rotation simultaneously.
- Electronic park brake rear caliper: Put into service mode via scan tool first, then follow the procedure. Initialise after pad install.
- All types: Watch the reservoir for fluid overflow. Crack the bleeder or remove a small amount of fluid beforehand.
Get this step right and the rest of the job comes together cleanly. Rush it or use the wrong method and you are up for a caliper. Take the extra five minutes to confirm which type of caliper you have — it is the most important call you will make on this job.
Recommended Products

Best for quiet, clean, low-dust daily driving
- Very low dust
- Near-silent braking
- Long pad life
- OE-quality feel
Why buy it: the quietest, cleanest daily-driver pad — the set most people should be fitting once the piston is wound back.

Best for OE-quality on a budget
- Quiet ceramic/semi-met
- Includes hardware & shims
- Great price
- Widely available
Why buy it: OE-grade quiet braking with the hardware and shims included, so you refresh the clips at the same time as the pads.

Best for stronger bite for spirited driving
- Carbon-fiber ceramic
- Strong cold bite
- Low dust for the grip
- Bolt-on upgrade
Why buy it: more stopping power without the noise or dust of race pads — a sensible step up when you have the caliper open.

Best for reliable everyday value
- One-piece design
- Quiet operation
- Widely available
- Low cost per set
Why buy it: a dependable, quiet everyday pad at a low price — the safe default for a straightforward front-caliper refresh.
Prices are pulled from Amazon and were accurate as of Aug 22, 2026, 6:54 PM EDT. Product prices and availability are subject to change — the live price is shown on Amazon.