
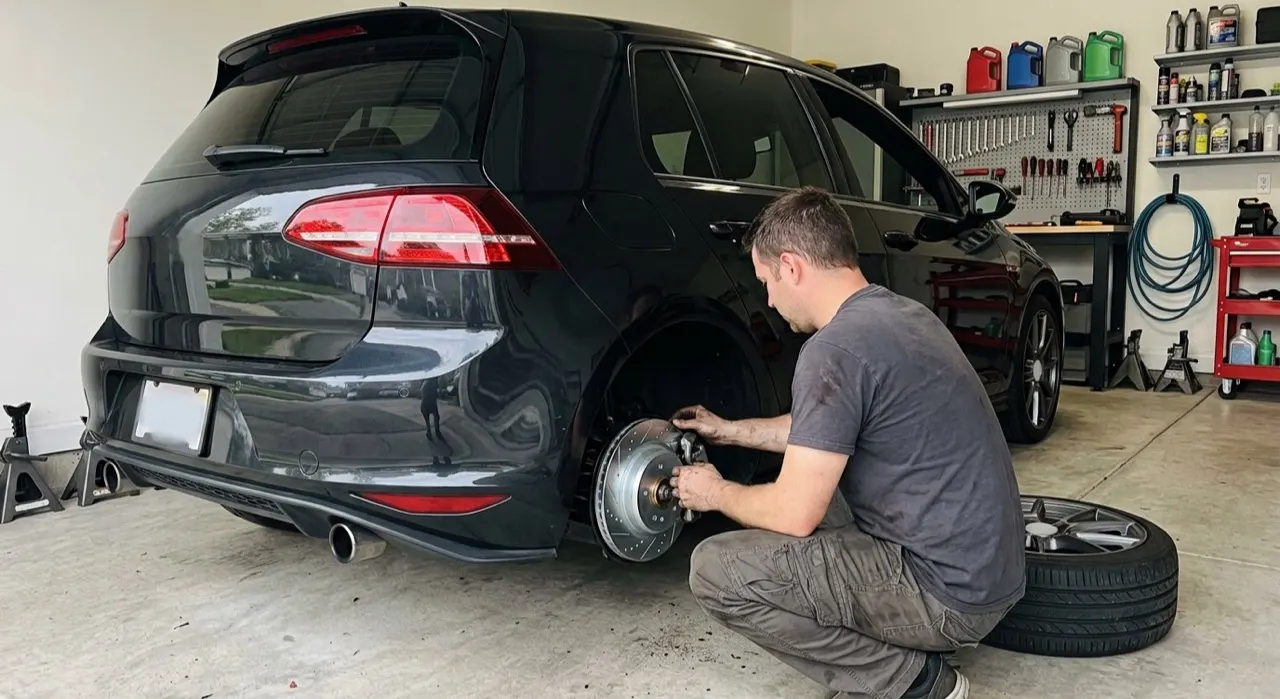
Affiliate Disclosure
Some links on this page are affiliate links. As an Amazon Associate, we earn from qualifying purchases — at no extra cost to you. We do not buy, test, or physically handle the products we cover; our rankings come from aggregated owner reviews, ratings and expert consensus. Commissions never change our verdicts. How we rank & full disclosure.
Short answer: not always. New brake pads do not automatically mean new rotors. But fitting fresh pads to worn-out, warped or undersized discs is a safety problem — and a waste of good pads. This guide walks you through exactly how to decide, rotor by rotor, before you spend a cent.
If you are still figuring out whether your brakes need attention at all, start with our Brake Pad Refresh hub for the full picture. Already know you need pads? Then this page helps you decide whether the rotors come out of the equation or out of the bin.
The Honest Answer First
The myth that you must always replace rotors with pads is pushed by workshops that make money on parts and by drivers who have been burned once by skipping the check. The truth is more nuanced.
Rotors are designed to last through several pad changes. On many everyday vehicles, a quality rotor that has been properly bedded in will outlive two or three sets of pads. If your discs are within spec, smooth, and straight, keeping them is the right call. If they are not, no amount of new pad material will fix the problem — and you will be back under the car within weeks.
The job is to check, not to assume.
How to Inspect Your Rotors
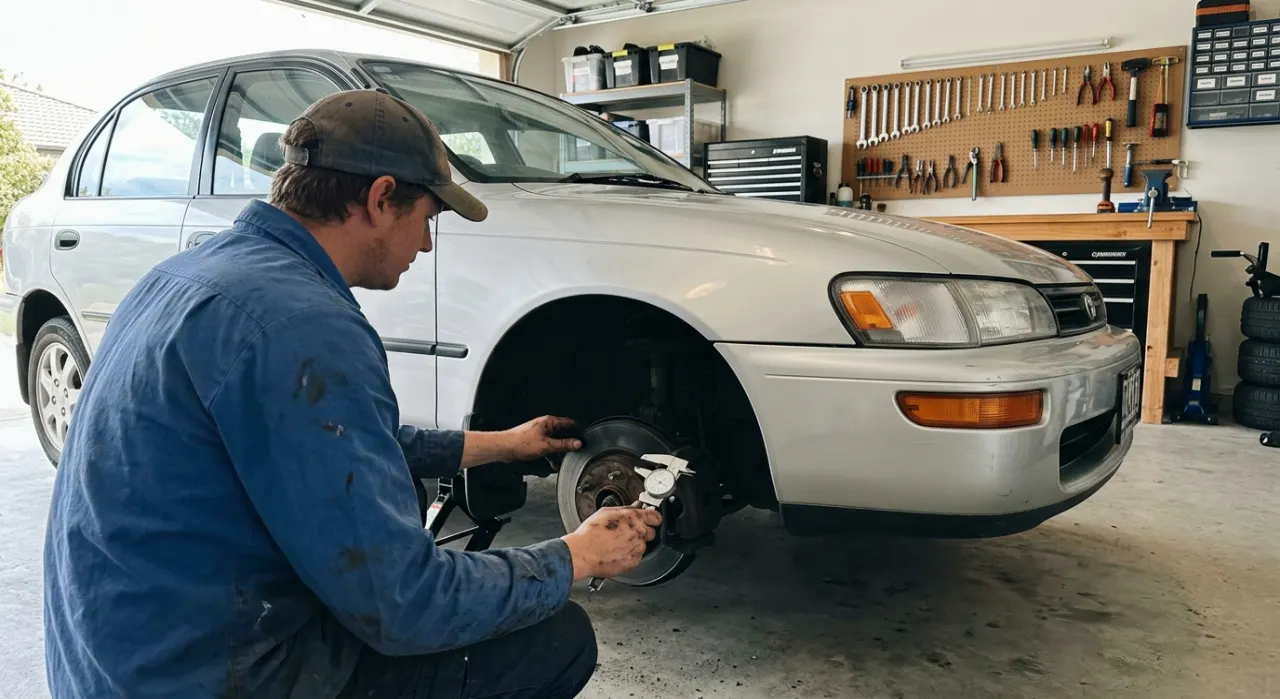
Do this before you order anything. You need a micrometer (a vernier calliper is acceptable for a rough check but a micrometer is more accurate), a straightedge or dial indicator for runout, and good lighting. Lift the car safely on stands, remove the wheel, and work through each point below.
1. Check Minimum Thickness
Every rotor has a minimum thickness value stamped or cast into its hat or edge — something like MIN TH: 22mm. This is not a suggestion. Dropping below minimum thickness reduces the rotor's ability to absorb and dissipate heat, which is how brakes stop working when you need them most.
Measure across the disc face at four to six points around the circumference using your micrometer. If any measurement is at or below the minimum, the rotor must be replaced. No exceptions.
If you cannot find the stamped figure, your vehicle's workshop manual or the rotor manufacturer's specification sheet will list it. Do not guess.
2. Look for Scoring and the Lip
Run your fingernail across the rotor face. Light surface marks from normal pad contact are fine. Deep grooves — channels you can catch a fingernail in — are not. They reduce pad contact area, generate noise, and can cause uneven brake bias.
Look at the outer edge of the disc. If you can feel or see a raised ridge — a lip where the rotor extends past the worn section — that lip tells you exactly how much material has worn away from the centre. A lip larger than about 1.5 mm is a strong indicator the disc is approaching or past its service life.
3. Check for Blue Heat Spots and Discoloration
Blue or purple spots on the rotor face are a sign that the disc has been overheated at specific contact points. This causes localised hardening of the iron, known as hot spotting or heat cracking. Harder patches wear differently than the surrounding material and create thickness variation, which is what produces the pulsing or judder you feel through the brake pedal under heavy application.
A small amount of surface rust on a car that sits for a few days is normal and will clear on the first few brake applications. Heavy blue-black or rainbow discoloration across the disc face is not normal and points to a disc that has seen sustained abuse or a sticking caliper.
4. Test for Warping and Runout
The classic symptom of a warped rotor is brake judder — a pulsing vibration felt through the pedal and sometimes the steering wheel when you brake from highway speed. It is easy to confuse with pad taper, wheel bearing play, or steering geometry issues, so confirm it properly.
Mount a dial indicator against the rotor face and spin the disc slowly by hand. More than 0.05 mm of lateral runout (some manufacturers allow up to 0.07 mm) means the rotor is out of true. On older vehicles it is sometimes possible to reposition the rotor on the hub by one or two bolt holes to find a better runout figure, but if it is already at its minimum thickness, machining it flat will only take it further below spec.
True warping — a physically bent disc from heat — is less common than pad material transfer, which produces the same symptoms. Either way, the test is the same and the result is the same: the disc needs machining or replacing.
5. Assess Corrosion
Surface rust clears itself. Heavy corrosion that has pitted the disc surface, eaten into the vanes of a vented rotor, or built up significantly around the hat and inner edge is a structural concern. Vented rotors with blocked or corroded cooling channels are less effective at heat dissipation — the exact thing they are there to do.
If a rotor is rusty enough that you are concerned, clean what you can and re-measure. If pitting is visible on the braking surface after cleaning, replace the disc.
Resurfacing vs Replacing
There was a time when machining a rotor on a brake lathe was the default move. Rotors were thick enough to have material to spare, and resurfacing was cost-effective. That calculus has changed.
Modern rotors from most production cars — especially small to mid-size vehicles — are made lighter and thinner from the factory. By the time they show enough wear to need machining, many are already close to or at minimum thickness. Removing another 0.5 mm to 1.5 mm to clean them up leaves almost no safety margin.
Resurfacing still makes sense on thick-spec rotors on trucks, performance vehicles, and some European cars with generous tolerances, particularly when the disc is geometrically straight but has a scored face. If you are uncertain, have a machinist measure the disc first and confirm how much metal remains after turning. If the finished thickness will be within 0.5 mm of minimum, buy new rotors. The price difference is usually not significant enough to justify the compromise.
Why Replacing Pads and Rotors Together Makes Bedding-In Easier
When you fit new pads to a used rotor, the fresh pad material has to conform to a surface that already has a transfer layer from the previous pad compound. This can cause uneven friction, noise, and a longer bedding period. The pads may never seat perfectly on a heavily grooved or lipped disc.
New pads on new rotors give you the cleanest possible starting point. The bedding process — which we cover in detail in our guide on bedding in new brake pads — deposits a uniform friction material transfer film across a flat, consistent rotor surface. The result is consistent, predictable stopping power and longer life for both components.
If your rotors pass every check above, new pads on used rotors is fine. If there is any doubt, the small extra cost of a rotor set is worth the clean slate.
Matching Pad Material to Rotor Type
Not every pad compound works equally well with every rotor material. This matters more than most people realise.
- Organic (NAO) pads are soft, quiet, and low-dust. They are easy on rotor surfaces and suit cast-iron rotors in daily-driver, low-stress applications. They wear faster than other compounds and do not handle high heat well.
- Semi-metallic pads run hotter and bite harder. They are more aggressive on rotor surfaces but provide better performance in varied conditions and are the most common OEM choice for mid-size and larger vehicles.
- Ceramic pads are low-dust, low-noise, and produce consistent friction over a wide temperature range. They sit at the firmer end of street compound and are well-matched to quality cast-iron rotors. They can be harder on rotor surfaces than organics over the long term.
- Performance or track compounds require rotors that can handle extreme heat. Fitting a high-bite compound to a standard rotor on a road car will shorten rotor life, increase judder risk, and may cause noise issues.
When in doubt, match OEM pad specification to OEM-equivalent rotors. If you are upgrading for performance reasons, research the specific compound and rotor pairing rather than mixing at random.
When Pads Alone Are Fine
To be direct: if your rotors pass every check in this article, replacing pads alone is the correct decision. You do not need to spend on rotors to do the job properly.
Pads-only replacement is appropriate when:
- Rotor thickness is well above minimum at all measured points
- The disc face is smooth with no significant scoring or lip
- There is no blue discoloration or heat spotting
- Runout is within manufacturer tolerance
- There is no structural corrosion on the disc or vanes
- There is no brake judder under normal stopping
In this situation, clean the disc face with brake cleaner, install your new pads, follow the bedding procedure, and move on. That is what the check is for.
Safety Note
Brakes are the single most safety-critical system on your vehicle. If you are not confident measuring rotor thickness accurately, or you find measurements close to the minimum and are unsure, have a qualified mechanic verify your assessment before you drive the car. A rotor failure at speed is not recoverable. The cost of a second opinion is nothing compared to that.
For a complete walkthrough of the full pad replacement process, see our step-by-step brake pad replacement guide. And if you are still trying to establish whether your brakes are due for attention, signs of worn brakes covers the symptoms in plain language.
Recommended Products

Best for quiet, clean, low-dust daily driving
- Very low dust
- Near-silent braking
- Long pad life
- OE-quality feel
Why buy it: the quietest, cleanest daily-driver pad — a genuine upgrade to fit once your rotor check passes.

Best for OE-quality on a budget
- Quiet ceramic/semi-met
- Includes hardware & shims
- Great price
- OE-grade feel
Why buy it: OE-grade quiet braking with the hardware included — the sensible value pick for a straight pad swap.

Best for stronger bite for spirited driving
- Carbon-fiber ceramic
- Strong cold bite
- Low dust for the grip
- Street-friendly
Why buy it: more stopping power without the noise or dust of race pads — pair with rotors in good shape.

Best for reliable everyday value
- One-piece design
- Quiet operation
- Widely available
- Low cost
Why buy it: a dependable, quiet everyday pad at a low price when you just need fresh friction material.
Prices are pulled from Amazon and were accurate as of Aug 22, 2026, 6:54 PM EDT. Product prices and availability are subject to change — the live price is shown on Amazon.