
Affiliate Disclosure
Some links on this page are affiliate links. As an Amazon Associate, we earn from qualifying purchases — at no extra cost to you. We do not buy, test, or physically handle the products we cover; our rankings come from aggregated owner reviews, ratings and expert consensus. Commissions never change our verdicts. How we rank & full disclosure.
Brake pads are the most frequently replaced safety component on any car. They take punishment every single time you slow down, and the margin between “fine” and “dangerously worn” is only a few millimeters. Get this decision wrong and you’re looking at rotor damage, extended stopping distances, or a complete loss of braking force at the worst possible moment.
This page is part of the Brake Pad Refresh hub — your complete guide to DIY brake maintenance done right. Here we focus on the single most important question: when to replace brake pads, based on real measurements and honest warning signs, not guesswork.
Brake Pad Thickness: The Numbers That Matter
Every brake pad is built around a steel backing plate. On top of that plate sits the friction material — the part that actually clamps against your rotor. That friction layer starts life around 10–12 mm thick on most OEM pads, though some performance compounds start thinner or thicker depending on the compound design.
Here is how to read the numbers:
- 10–12 mm — New pad. Full life ahead.
- 6–7 mm — Mid-life. Monitor at next service.
- 3 mm — Replacement threshold. Do not delay. Book the job now.
- 2 mm or less — Danger zone. Pull the car off the road if at all possible. You are one hard stop away from metal-on-metal contact.
- 1 mm or less — The backing plate is grinding your rotor. You have already caused rotor damage. Stop driving immediately.
The 3 mm mark is not arbitrary. Below that point the friction material heats up far faster than it was designed to, brake fade sets in sooner, and you have almost no buffer before the backing plate contacts the rotor disc.
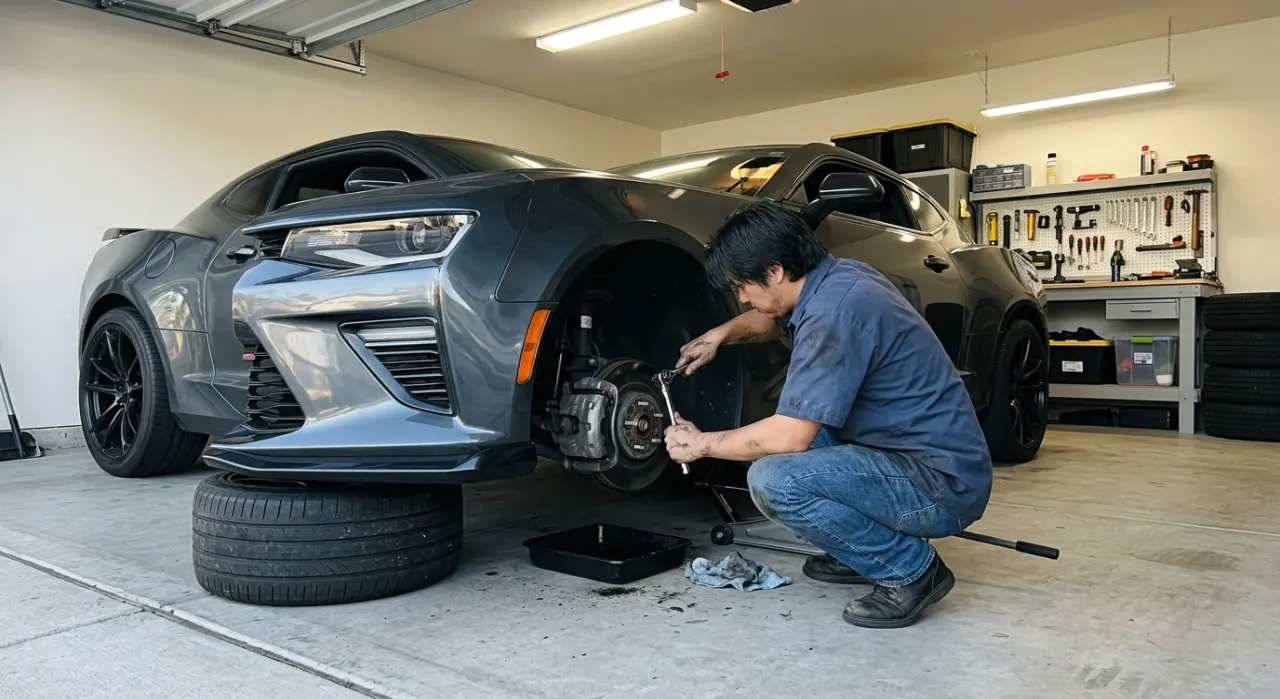
The Wear Indicator: Your Built-In Warning System
Most brake pads sold since the 1970s include a metal squeal tab — a small spring-steel clip riveted or bonded to the backing plate at a calculated height. When the friction material wears down to roughly 2–3 mm, that tab contacts the spinning rotor and produces a high-pitched squeal or chirping noise, typically when the brakes are not applied.
That noise is intentional. It is an alarm, not a defect. If you hear intermittent squealing that stops when you press the brake pedal, your brake pad squeal indicator tab has made contact. You have a short window — days to a couple of weeks at most, depending on driving load — before you reach metal-on-metal.
Important caveats about the squeal tab:
- Not every budget pad includes one. Cheap aftermarket pads sometimes omit it.
- Rust, dust, or a recently wet rotor can also cause squealing. Clear skies after rain? Give it a day before you panic.
- Some vehicles have an electronic wear sensor instead — a wire embedded in the pad that grounds out on the rotor and triggers a dashboard warning light. Same principle, different delivery mechanism.
How to Inspect Brake Pad Thickness
Quick Check Through the Wheel Spokes
You can get a rough read without removing anything:
- Park on level ground, wheels straight, engine off.
- Look through the wheel spokes at the rotor and caliper assembly.
- The outer brake pad is visible pressed against the outer face of the rotor.
- If the friction material looks thinner than a matchbook (roughly 3 mm), treat it as a red flag.
This check is a screening tool only. Lighting is poor, angles are awkward, and you cannot see the inner pad at all. A wheel-off inspection is the only accurate method.
Proper Inspection With the Wheel Off
This is the definitive check, and it is not complicated:
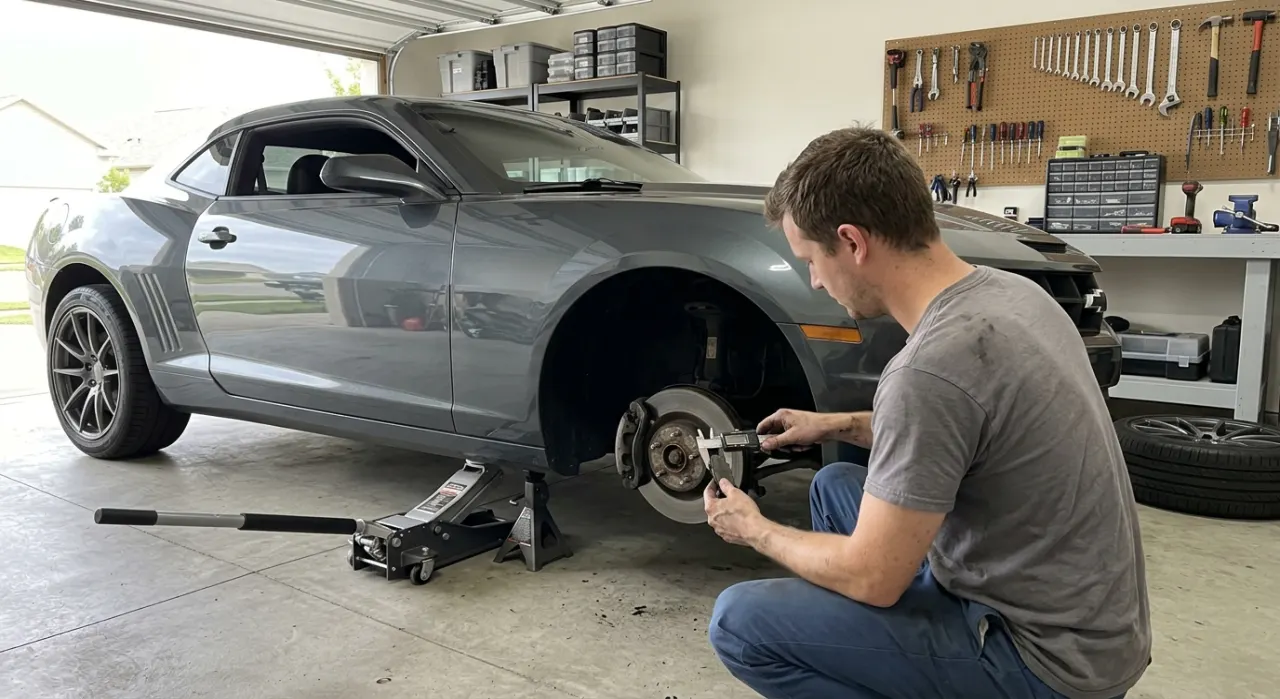
- Jack the vehicle, support it on a rated axle stand — never work under a car on a jack alone.
- Remove the wheel.
- Look at both the inner and outer pad through the caliper window.
- Use a brake pad thickness gauge or digital vernier caliper to measure the friction material only — do not include the backing plate in your measurement.
- Measure at the thinnest point. Pads wear unevenly; the inner pad almost always wears faster than the outer.
- Record both pad measurements for each corner before reinstalling the wheel.
While the wheel is off, also look at the rotor surface. If you can see a raised lip around the rotor edge, that lip represents the original rotor thickness — everything inside it has been worn away. Heavy grooving, heat cracks, or a lip deeper than 1.5 mm means the rotor needs assessment too. Read our full guide on whether you need new rotors before you button everything back up.
Mileage Intervals Are a Guide, Not a Rule
You will see “replace every 30,000 miles” quoted constantly. Treat that as a rough benchmark, not a schedule. Real-world pad life is driven by factors the odometer cannot measure:
- Driving style: Hard braking from highway speed is far harder on pads than engine-braking through suburban traffic. A performance driver can chew through pads in 9,000 miles. A gentle commuter might get 48,000 miles from the same pad.
- Pad compound: Standard OEM semi-metallic pads last longer than ceramic compounds under heavy use but generate more dust. Track-oriented pads bite hard but wear faster on the street. Always check the manufacturer’s stated life range for your specific compound.
- Front vs. rear: Front pads wear faster on virtually every car. The front brakes handle 60–80% of stopping force because weight transfers forward under braking. Expect to replace fronts roughly twice as often as rears on most vehicles. On rear-biased performance cars or vehicles with rear brake bias for towing, check rears more frequently.
- Terrain: Hilly or mountainous driving accelerates wear significantly compared to flat highway cruising.
- Vehicle weight: Heavier vehicles — lifted 4x4s, pickups with payloads, SUVs — demand more from each braking event.
The only honest replacement interval is the one your caliper measurement tells you. Inspect pads every 6,000–9,000 miles or at every tire rotation, whichever comes first.
Warning Signs Beyond the Squeal Tab
Your car will usually tell you when something is wrong. Do not ignore these signals:
- Continuous metal grinding: A harsh grinding or scraping sound when braking — especially if it started after the squeal tab was ignored — means the backing plate is now in direct contact with the rotor. Stop driving and arrange an inspection immediately. See the full list of signs of worn brakes and why they are a safety issue.
- Increased stopping distance: If you notice the car taking noticeably longer to slow down, or needing more pedal pressure than usual, worn pads are one of the likely causes.
- Pedal pulsation: A pulsing or vibrating sensation through the brake pedal under moderate braking often indicates warped or damaged rotors, sometimes caused by worn pads that allowed the backing plate to cut grooves into the rotor surface.
- Pulling to one side: If the car drifts left or right when you brake, one pad may be worn more severely than the other, or a caliper may be sticking.
- Dashboard warning light: On vehicles with electronic wear sensors, a brake warning light is direct confirmation the pads have reached their minimum limit.
The Go / No-Go Decision
This is not a judgement call that requires a mechanic’s opinion. The numbers are clear:
- Above 4 mm: Go. Monitor at your next scheduled inspection.
- 3–4 mm: Schedule replacement within the next two to four weeks. Do not extend long highway drives or track days.
- 2–3 mm: Replace this week. No deferring.
- Below 2 mm: No-go. Either replace today or significantly limit driving to essential, low-speed journeys until you can. If you hear grinding, stop driving entirely.
When you replace pads, always replace both sides of the axle at the same time. Mismatched pad thickness across an axle creates uneven braking force and can cause the car to pull under braking. Ready to do the work yourself? Follow our step-by-step brake pad replacement guide for a safe, correct DIY job.
A Note on Safety-First Decisions
Brake pads are not a component where you squeeze extra life out to save a few dollars. Pad sets are one of the most affordable wear items on a vehicle. The cost of delaying replacement is a destroyed rotor (often two to four times the price of the pads alone), reduced braking performance when you need it most, and a real safety risk to yourself and everyone else on the road.
Measure. Note the reading. Act on what the measurement tells you. That is the entire job.
Recommended Products

Best for quiet, clean, low-dust daily driving
- Very low dust
- Near-silent braking
- Long pad life
- OE-quality feel
Why buy it: the quietest, cleanest daily-driver pad — a genuine upgrade when your measurement says it is time to replace.

Best for OE-quality on a budget
- Quiet ceramic/semi-met
- Includes hardware & shims
- Great price
Why buy it: OE-grade quiet braking with the hardware included — the sensible replacement set for most cars.

Best for stronger bite for spirited driving
- Carbon-fiber ceramic
- Strong cold bite
- Low dust for the grip
Why buy it: more stopping power without the noise or dust of race pads.

Best for reliable everyday value
- One-piece design
- Quiet operation
- Widely available
Why buy it: a dependable, quiet everyday pad at a low price.
Prices are pulled from Amazon and were accurate as of Aug 22, 2026, 6:54 PM EDT. Product prices and availability are subject to change — the live price is shown on Amazon.