
Affiliate Disclosure
Some links on this page are affiliate links. As an Amazon Associate, we earn from qualifying purchases — at no extra cost to you. We do not buy, test, or physically handle the products we cover; our rankings come from aggregated owner reviews, ratings and expert consensus. Commissions never change our verdicts. How we rank & full disclosure.
Brake pads are one of the most common service items on any car, yet the price difference between doing it yourself and paying a shop can be surprisingly wide. This page puts real numbers beside each option — using indicative USD ranges — so you can make a clear-eyed decision rather than a guess.
One thing upfront: brakes are safety-critical. If you have any doubt about your ability to do this job correctly, paying a professional is not a failure. It is the right call. We will tell you exactly when that applies.
What a Shop Typically Charges (Per Axle)
Most American shops quote brake pad replacement per axle — front or rear — because that is how the work is structured. Prices vary by state, shop type, and vehicle. The ranges below are indicative only; always get a written quote before authorizing work.
- Economy independent workshop: $180 – $280 per axle (parts + labor)
- Mid-range independent / specialist: $250 – $380 per axle
- Dealership / prestige brand: $350 – $600+ per axle
- National chain (eg. Midas, Meineke): $199 – $350 per axle, often with brake fluid included
Rotors are usually quoted separately. If your rotors need machining or replacement — and they often do when pads are worn out — add another $80–$180 per axle for machining, or $120–$300 per axle for replacement rotors installed. For a full four-wheel brake job on a mid-size sedan, a shop bill of $700–$1,200 all-in is common.
Where the Labor Money Actually Goes
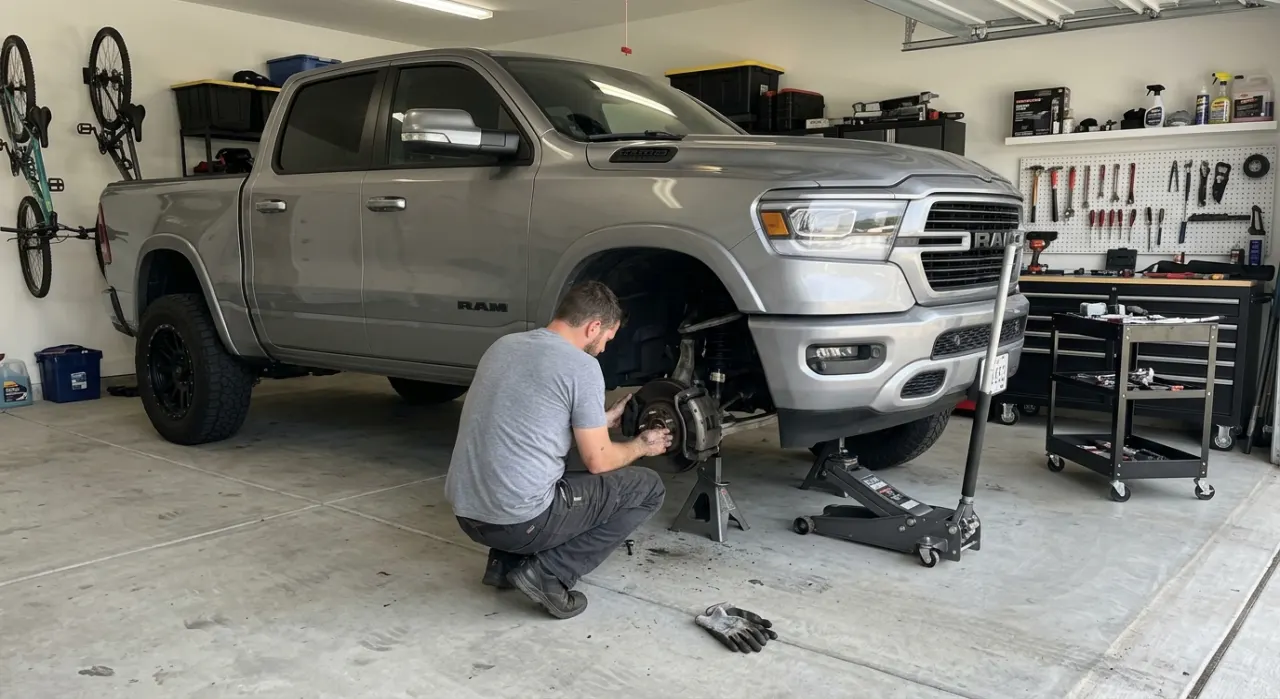
Shop labor in the U.S. typically runs $120–$180 per hour. A competent technician can swap pads on a straightforward car in 45–90 minutes per axle. That sounds fast, but you are also paying for:
- The hoist time and bay overhead
- Tools that cost the shop thousands of dollars (electronic parking brake reset tools alone run $300–$800)
- A licensed mechanic whose work carries professional liability
- Parts sourced through trade channels with workshop warranty coverage
- A test drive and brake bed-in verification
None of that is padding. It is the actual cost of a professional service environment.
DIY Parts-Only Cost
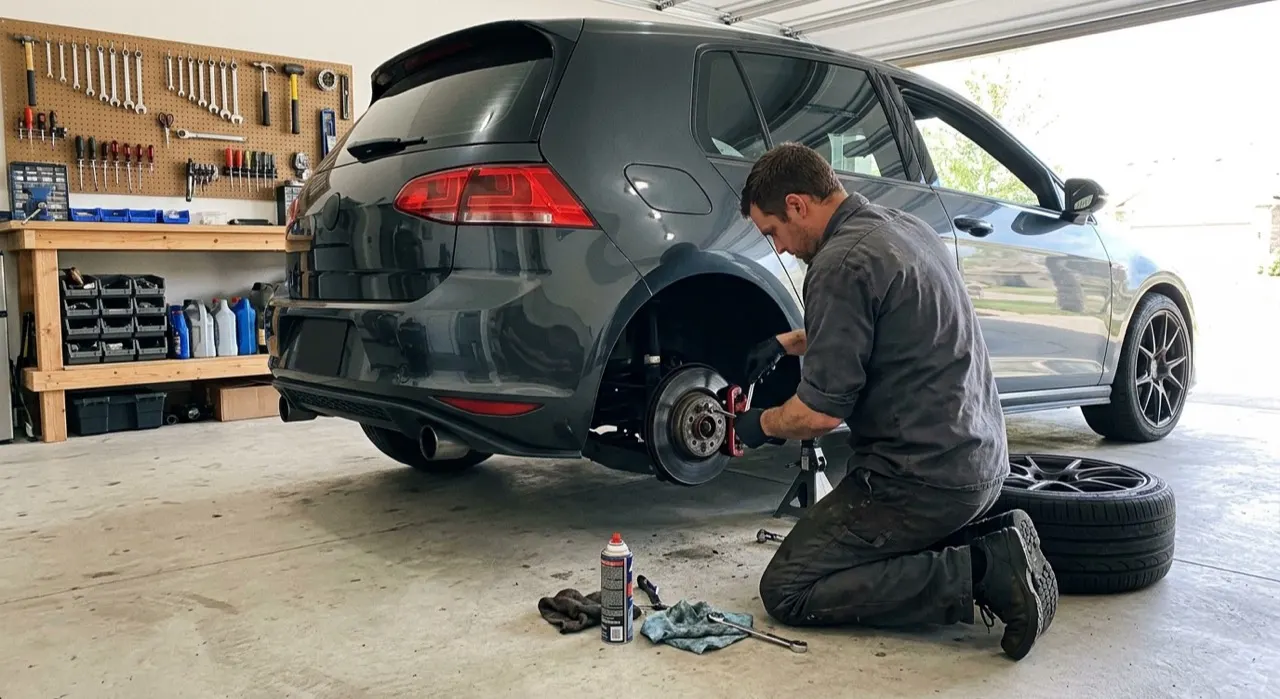
When you do it yourself, you pay for parts only. Labor is your time.
- Budget pads (organic, economy brands): $35 – $75 per axle set
- Mid-range pads (semi-metallic, reputable brand): $70 – $130 per axle set
- Performance / OEM-equivalent pads: $120 – $250 per axle set
- Replacement rotors (if needed): $60 – $180 per rotor, depending on vehicle
For a typical front axle pad swap on a common Japanese or Korean car, expect to spend $80–$140 on quality parts. That is the core saving. See our brake pad comparison guide for brand-by-brand recommendations.
The One-Off Tool Cost
If you do not already have the tools, you need to factor them in honestly. A basic but competent setup for pad replacement costs roughly:
- Floor jack + jack stands: $120 – $280 (if you do not own these)
- Breaker bar and socket set: $60 – $120
- Brake caliper piston wind-back tool: $25 – $60
- Torque wrench: $60 – $120
- C-clamp or caliper press (basic compression for non-EPB calipers): $15 – $40
- Brake cleaner and copper grease: $20 – $35
Total first-up tool investment: roughly $300–$650 if you start from nothing. That sounds like a lot, but these tools are reusable across dozens of future jobs. Our complete brake pad tools guide breaks down exactly what you need, what is optional, and where to get good value.
The Honest Break-Even Point
Here is the maths on a typical front axle job using mid-range parts:
| Scenario | Cost | Notes |
|---|---|---|
| Shop quote (parts + labor) | $280 | Indicative mid-range, front axle only |
| DIY Job 1 (parts + tools) | $480–$750 | Tool cost included; no saving on first job |
| DIY Job 2 (parts only) | $100 | Tools already owned; ~$180 saving vs shop |
| DIY Job 3 and beyond | $100 | Full saving compounds each time |
| Cumulative saving by job 3 | ~$260+ | Tools now paid off; pure savings ongoing |
The honest takeaway: DIY rarely saves money on the first brake job once you account for tools. By the second job, you are ahead. By the third, the tools have paid for themselves and you are banking real money every time. If you own a car long-term or plan to service more than one vehicle, DIY makes strong financial sense.
DIY vs Shop: Full Comparison
| Factor | DIY | Shop |
|---|---|---|
| Typical cost (front axle, mid-range) | $100–$150 parts only | $250–$380 all-in |
| Time required | 2–4 hours (first time) | Wait + drop-off/collect |
| Skill requirement | Moderate mechanical confidence | None required |
| Tools needed | $300–$650 first up, then free | Included in labor rate |
| Safety responsibility | Entirely yours | Workshop holds professional liability |
| Warranty on work | Parts warranty only (on your claim) | Labor + parts warranty via workshop |
| EPB (electronic parking brake) support | Requires specific tool; adds cost | Workshop has tool; no extra charge |
| Break-even point | ~2nd job onwards | Not applicable |
The Non-Money Factors
Time
Your first brake job will take 2–4 hours, possibly longer if you hit a seized bolt or need to bleed a line. By the third or fourth time, most people are done in under two hours. That time has value. Only you can decide what your Saturday afternoon is worth.
Skill and Learning Curve
Brake pad replacement is one of the more accessible DIY jobs on a modern car. If you can follow instructions carefully, work methodically, and know when something does not look right, you can learn this. That said, “accessible” does not mean “zero consequence if done wrong.” Know the difference before you start. Our step-by-step brake pad replacement guide walks through every stage in plain language.
Safety Responsibility
When you service your own brakes, you own the result entirely. If the job is done correctly, that is completely fine. If something is wrong — a caliper bolt not torqued to spec, a piston not fully seated, a brake line kinked during caliper rotation — you are the one who finds out at the worst possible moment. Take that seriously. Check our brake safety warning signs guide to understand what “done correctly” actually means in practice.
Warranty
A workshop warranty covers both parts and labor. If a caliper seizes again within the warranty period, the shop fixes it at no charge. When you DIY, you can chase a parts warranty on a failed pad or rotor, but there is no labor warranty — that second job is on your time again.
When Paying a Professional Is the Smart Call
There is no shame in knowing your limits. Brakes are not the place to figure things out under pressure. Pay a workshop if any of the following apply:
- Your car has an electronic parking brake (EPB) and you do not have the reset tool or software access. Without this, you physically cannot compress the rear pistons and will damage the caliper trying.
- You have a seized caliper, seized slide pins, or a weeping brake line. These move the job from “pad swap” to “brake system repair” and the skill and parts requirements change significantly.
- You do not have a safe lifting setup. A car supported on a trolley jack alone with no stands underneath is not a safe workspace. Full stop.
- You are not confident — and we mean genuinely confident, not “I watched a video so I reckon.” If doubt is present, it is present for a reason.
- The vehicle is used to transport others regularly and you have no prior experience with brake work.
None of these situations mean brakes are forever out of reach for DIY. They mean this particular job, right now, goes to a professional.
Where to Go From Here
If you are confident and ready to do the job yourself, the next step is straightforward. Work through our tools checklist to make sure your kit is sorted, then follow the step-by-step guide at your own pace. Take your time, torque everything to spec, and do a proper bed-in before putting the car back into normal use.
If you have decided a shop is the right call for this one, you are still ahead for reading this page. You know what a fair quote looks like, you know what questions to ask, and you know what is included in a proper brake service. That knowledge is worth something every time you walk into a workshop.
Recommended Products
If you've decided to go DIY, this is the kit that turns the break-even maths above in your favour — well-rated pads plus the reusable tools that pay for themselves from the second job on. Pads are fitment-specific, so always confirm the exact part number fits your vehicle before buying.

Best for a quiet, low-dust OEM-quality pad on the second job onward
- Ceramic compound — quiet, low brake dust
- Includes hardware and lubricant in the box
- One of the most-reviewed DIY pad lines
- Fitment is vehicle-specific — confirm the part number fits your car
Why buy it: the high-consensus DIY pad — owners rate it for quiet, clean braking, and the included hardware makes the home job easier.
Best for the smoothest, quietest bite from a premium ceramic pad
- Ultra-premium ceramic — praised for smooth, silent stops
- Very low dust keeps wheels clean
- Enthusiast favourite for daily comfort
- Application-specific — check the fitment for your vehicle
Why buy it: the comfort pick — reviewers single it out for near-silent, low-dust braking when you want better than stock.
Best for raising the car quickly and safely at home
- Low-profile aluminum — lighter to move around
- Dual-pump rapid rise to save time
- Reusable across every future job
- A jack lifts — always drop onto rated stands before you work
Why buy it: the reusable lift that pays for itself — the tool that turns the first brake job into a break-even by the second.

Best for never getting under a car on a jack alone
- 3-ton pair — the non-negotiable safety item
- Ratcheting height with locking pin
- Enormous review base behind them
- Use on firm level ground, both sides, every time
Why buy it: the item you never skip — a jack can fail, stands are what keep you alive under the car.

Best for torquing caliper and lug bolts to spec
- Click type — set the value and feel it release
- 10–150 ft-lb covers caliper and lug torque
- One of the best-reviewed budget torque wrenches
- Brakes are safety-critical — torque to the manufacturer spec
Why buy it: cheap insurance against an under-torqued caliper — the tool that makes a DIY brake job actually safe.
Prices are pulled from Amazon and were accurate as of Aug 22, 2026, 6:54 PM EDT. Product prices and availability are subject to change — the live price is shown on Amazon.
Either way, return to the Brake Pad Refresh hub for the full series — pads, rotors, tools, safety checks, and more.