
Affiliate Disclosure
Some links on this page are affiliate links. As an Amazon Associate, we earn from qualifying purchases — at no extra cost to you. We do not buy, test, or physically handle the products we cover; our rankings come from aggregated owner reviews, ratings and expert consensus. Commissions never change our verdicts. How we rank & full disclosure.
Short version: Clay bar decontamination is the step between washing and polishing that most people skip — and it's the one that makes everything after it work. A wash removes loose dirt, but bonded contaminants stay stuck in your clear coat, making the paint feel gritty. Clay grabs and pulls them out, leaving the surface glass-smooth. Do the baggie test to check, use plenty of lubricant, and always clay before you polish, wax or coat.
What bonded contamination actually is
Wash your car, dry it, then run your fingertips lightly over a panel. Feel that faint roughness, like very fine sandpaper? That's not dirt — you already washed that off. That's bonded contamination: microscopic particles that have embedded themselves into the top layer of your clear coat and won't budge with soap and water.
It comes from everywhere. Brake dust and rail dust (tiny hot metal particles that literally fuse to your paint), industrial fallout, tree sap mist, pollen, tar specks and paint overspray. Over months and years it builds up, and it's the reason your "clean" car still doesn't feel smooth. This is exactly the stuff a clay bar is built to remove — and it's why decontamination matters as much as washing.
The baggie test: do you even need it?
Before you buy anything, find out if your paint is actually contaminated. The baggie test takes ten seconds:
- Wash and dry the car so you're only feeling bonded stuff, not loose grit.
- Put your hand in a thin plastic sandwich bag. The bag amplifies texture your bare fingers gloss over.
- Glide your fingertips lightly across a horizontal panel like the hood or roof.
Glassy and smooth? You're good — skip claying this time. Bumpy, gritty or rough? Your paint is contaminated and clay will transform it. In my experience, almost every car that's more than a few months old and isn't garage-kept fails this test, even the ones people swear are spotless.
Why it has to come before polishing
Here's the part that makes this non-negotiable: if you polish over bonded contamination, you drag those gritty particles across your paint under the pad — adding fresh scratches and swirls exactly when you're trying to remove them. Claying first gives you a dead-smooth canvas so the polish only works on the defects you're targeting, not on grit you left behind.
The same logic applies to protection. Wax, sealant and ceramic coatings bond far better to clean, smooth paint. Coat over contamination and you're sealing the grit in and getting weaker, shorter-lived protection. That's why serious detailers treat claying as the mandatory bridge between the washing and polishing stages.
What you need
- A clay bar or clay mitt/towel. Traditional bars are cheap and effective; synthetic clay mitts and towels are faster and reusable, though slightly less aggressive.
- Clay lubricant. A dedicated clay lube or a generous spray of quick detailer. Never clay dry — lubrication is what stops the clay from marring your paint.
- Microfiber towels to wipe each section as you go.
Clay comes in different grades from fine to aggressive. For a normal maintenance decon, a fine or medium grade is all you need — aggressive clay is for heavily neglected paint and leaves more marring behind.
How to clay a car, step by step
- Work on a clean, cool car in the shade. Heat dries the lube too fast.
- Knead the clay flat into a patty that fits your palm.
- Spray the panel generously with lubricant — you want it slick, not just damp.
- Glide the clay back and forth with light pressure in straight lines. You'll feel it grabbing and dragging at first; as the contamination lifts, it starts to glide smoothly. That smooth glide is your signal that the section is clean.
- Fold and knead the clay often to expose a fresh, clean face. If you see it getting dirty or picking up grit, fold it in. A dirty bar surface is what causes scratches.
- Wipe each section with a clean microfiber to remove lube residue, then move on.
- Never reuse a dropped bar. If it hits the ground, bin it — one embedded stone will scratch every panel you touch.
Work panel by panel and re-do the baggie test at the end. The paint should feel like glass.
What to do right after claying
Claying leaves bare, exposed paint with no protection — and it can leave very light marring, especially with aggressive clay. So the moment you finish, you follow up. If you're doing a full detail, this flows straight into polishing to remove any marring and restore gloss, then protecting with wax, sealant or ceramic. If you're just doing a decon-and-protect (no correction), skip straight to wax or sealant. Whatever you do, don't leave freshly clayed paint bare — that's an open door for contamination to bond right back. Our full paint correction guide shows where claying fits in the bigger process.
The honest verdict
Claying is the most underrated step in detailing. It's cheap, it's genuinely easy, and the moment you feel that glass-smooth finish for the first time you'll wonder why you ever skipped it. Do the baggie test to see if you need it, use plenty of lube, keep the bar clean, and always clay before you polish or protect. It's the quiet step that makes the flashy ones — polishing, waxing, coating — actually deliver. If your main goal is killing swirls, pair this with our swirl removal guide for the full one-two.
Recommended Products

Best for gloss and removing light marring after claying
- Glaze-rich finishing polish
- Removes light swirls
- Deep, wet-look gloss
- Works by hand or machine
Why buy it: the natural next step after claying — stunning gloss and light-marring removal by hand or DA for about $13.

Best for heavier swirls and scratches
- Strong cut
- Still finishes well
- Cheap
- Hand or machine
Why buy it: the cutting partner for heavier swirls and scratches once your clayed paint is glass-smooth.
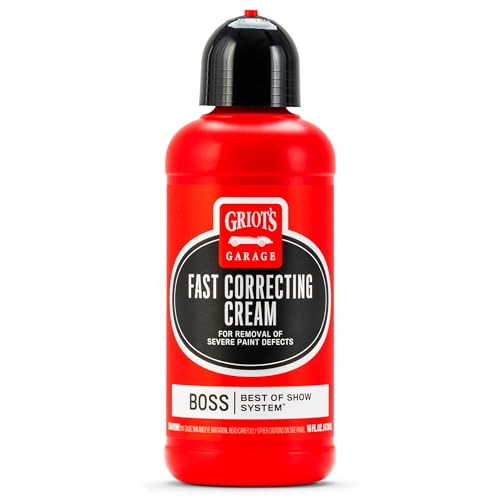
Best for machine polishing on a DA
- Excellent on a dual-action
- Consistent cut
- Good gloss
- Low dust
Why buy it: superb, consistent results on a DA polisher for the correction pass that follows decontamination.

Best for a versatile all-in-one
- Adjustable compound-to-polish
- Strong cut and good finish
- Low dust
- Pro favorite
Why buy it: a versatile hybrid that cuts and finishes in one — handy when you clay and correct in the same session.
Prices are pulled from Amazon and were accurate as of Aug 22, 2026, 6:54 PM EDT. Product prices and availability are subject to change — the live price is shown on Amazon.