

Affiliate Disclosure
Some links on this page are affiliate links. As an Amazon Associate, we earn from qualifying purchases — at no extra cost to you. We do not buy, test, or physically handle the products we cover; our rankings come from aggregated owner reviews, ratings and expert consensus. Commissions never change our verdicts. How we rank & full disclosure.
Short version: The dressing is the last five minutes of an engine bay detail, and it is the part everyone gets wrong. Skip the wet-look sprays that sling grease onto your driveway. Wipe a thin coat of a water-based satin dressing onto cool, dry plastics and hoses, buff off the excess, and keep it off belts and friction surfaces. Done right, the bay looks factory-fresh, not like it was hosed in cooking oil.
What a dressing actually does
Cleaning an engine bay gets it clean. Dressing is what makes it look finished. After you degrease and rinse, the plastics, hoses, and covers dry out to a dull, chalky gray. A dressing restores the deep color and adds a light protective layer that helps repel dust and moisture. Think of it exactly like trim restorer on your exterior bumpers, because chemically it is often the same idea.
Here is the honest part most product pages leave out: the goal is not shine. When I first started detailing bays I chased that mirror-wet look you see in videos, and every single time it backfired. The gloss dripped onto the block, smoked on the next drive, and pulled dust like a magnet. A satin finish reads as clean and cared-for. A wet finish reads as someone who overdid it.
Water-based vs solvent-based
This is the one decision that matters most, so I will keep it simple.
- Water-based dressings are what I reach for in the engine bay ninety percent of the time. They lay down a natural satin sheen, they do not sling, and they will not dry out or crack your rubber over months. The tradeoff is they do not last quite as long as a solvent product, but since re-application takes five minutes that hardly matters.
- Solvent-based dressings last longer and bond harder, but they are glossier, they can smell strong in an enclosed bay, and the aggressive carriers can degrade rubber and soft plastics with repeated use. In an engine bay full of hoses and connectors, that risk is not worth it for me.
My rule: water-based for the bay, save the solvent stuff for exterior trim if you want maximum durability there.
What I run and what I avoid
I keep this deliberately generic because good dressings come and go, and I would rather teach you what to look for than sell you a bottle.
What I run: a water-based trim and plastic dressing that dries to a satin, non-greasy finish and specifically says it is safe on rubber and vinyl. Aerosol versions are handy for getting into tight spots you cannot reach with a rag. A dedicated engine dressing is nice but honestly a good exterior trim dressing does the same job for less money.
What I avoid: anything marketed as high-gloss or wet-look for the bay, cheap tire shines with heavy silicone, and any product that leaves a tacky feel after it dries. Tacky means it never fully cured, and it will grab every speck of dust for the next month.
If you want a proper roundup of the current top-rated products, see our ranked picks over on the best engine degreaser guide, which pairs the degreaser and dressing that work well together.
How to apply it properly
The whole trick is thin and even. More product is not more protection, it is just more mess.
- Make sure everything is cool and dry. Dressing over damp plastic traps water and leaves cloudy streaks. Dressing a warm engine flashes the product off before it can level.
- Decant onto an applicator, not the surface. Spray your dressing onto a microfiber applicator or a folded microfiber towel first, then wipe it on. Spraying directly into the bay overshoots onto the belt, the alternator, and connectors where you do not want it.
- Work panel by panel. Do the fuse box cover, then the hoses, then the plastic engine cover, one section at a time so you can see your coverage.
- Buff the excess. Come back with a clean dry microfiber and wipe down everything you dressed. This is the step that turns greasy into satin. If it feels slick to the touch afterward, you left too much on.
- Skip the belt, pulleys, and any friction surface. Dressing on a serpentine belt can make it squeal or slip. Keep it strictly on the cosmetic plastics and hoses.
Where dressing fits in the whole job
Dressing is the final step, and it only looks good if the steps before it were done right. The order is always: cover the sensitive electronics, degrease, agitate, rinse gently, dry, then dress. If you dress over a bay that was not properly cleaned, you are just sealing grime under a shiny coat and it will look worse in a month.
For the full routine from cover to finish, read how to clean an engine bay. Before any of that, make sure you know exactly what needs bagging in what to cover in the engine bay, because a dressed bay means nothing if you shorted the fuse box in the process. And if you are still nervous about water near the engine at all, our take on whether it is safe to pressure wash an engine will settle it.
How often to re-dress
On a garaged weekend car, once every couple of months keeps it looking sharp. On a daily driver, plan on a quick touch-up whenever you do a full wash, because heat cycling and road spray fade the plastics faster. The good news is that once the bay is clean, re-dressing is genuinely a five-minute job with an applicator and a spray bottle. You are not degreasing again, just refreshing the color.
The bottom line
A well-dressed engine bay is one of those details that quietly tells people you actually care about the car. Keep it satin, keep it thin, keep it water-based, and keep it off the belt. That is genuinely the whole game. Do the cleaning right, spend five minutes with a good water-based dressing and a couple of microfiber towels, and you get a bay that looks like it just rolled off the line, without a single drip on your garage floor.
Recommended Products
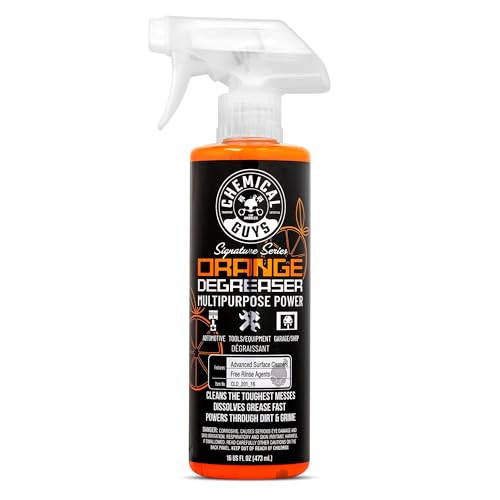
Best for most engine bays and general degreasing
- Citrus-based, cuts grease without harsh fumes
- Dilutable — one bottle stretches a long way
- Safe on painted metal, plastic and rubber
- Rinses clean without a greasy residue
Why buy it: the clean-first half of the job — it lifts the grime so your satin dressing lands on genuinely clean plastics instead of sealing grease under a coat.
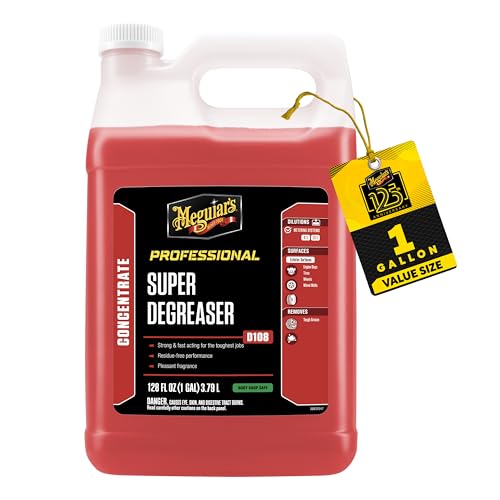
Best for dilutable pro-grade cleaning
- Highly concentrated — dilutes to taste
- Professional-strength on baked-on grime
- Versatile across the whole car
- Excellent cost-per-use once diluted
Why buy it: dilute it strong for a nasty bay or weak for a quick pre-dress wipe-down — one bottle does the work of several.

Best for one cleaner for everything
- Non-toxic, biodegradable formula
- Dilutable for engine bays or household use
- Very widely available and inexpensive
- Low-fume and gentle on hands
Why buy it: the jack-of-all-trades that preps a bay perfectly, then cleans the rest of the garage — cheap enough to keep a jug on the shelf.

Best for neglected, filthy, decades-of-grime bays
- Aggressive solvent-based cut
- Clings to vertical surfaces while it works
- The old-school standard for filthy engines
- Aerosol reaches tight spots
Why buy it: the heavy artillery for a first deep clean — shift years of baked-on grease before you ever reach for the dressing.
Prices are pulled from Amazon and were accurate as of Aug 22, 2026, 6:54 PM EDT. Product prices and availability are subject to change — the live price is shown on Amazon.