
Affiliate Disclosure
Some links on this page are affiliate links. As an Amazon Associate, we earn from qualifying purchases — at no extra cost to you. We do not buy, test, or physically handle the products we cover; our rankings come from aggregated owner reviews, ratings and expert consensus. Commissions never change our verdicts. How we rank & full disclosure.
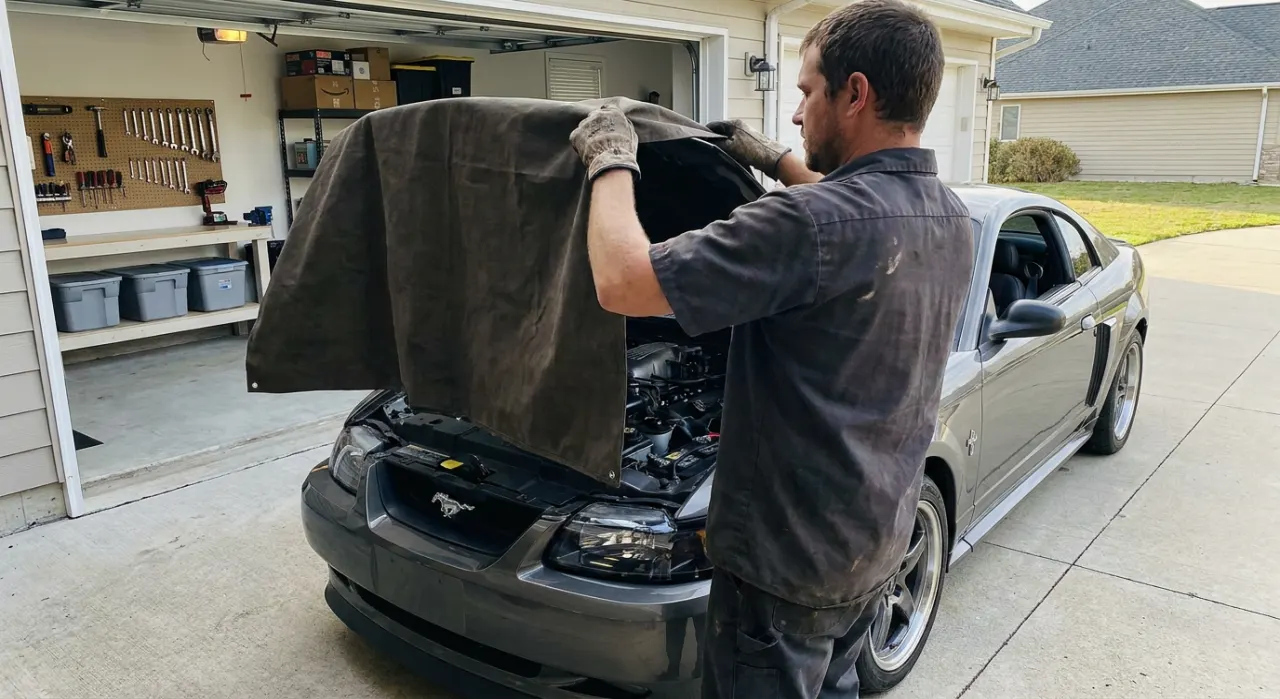
Short version: Before any water touches your engine bay, spend five minutes covering the parts that hate it. The must-cover list is short: the air intake, the alternator, exposed fuse and relay boxes, the battery and terminals, and any open or aftermarket connectors. Plastic bags, wrap, and a few rubber bands are all you need. This is the single highest-leverage habit in engine bay detailing, and it is the exact step careless people skip right before something goes wrong.
Why this step matters more than any product
You can buy the best degreaser and the fanciest dressing on the market, but none of it protects your car during the wash. Covering does. Modern engine bays tolerate rain and splash all day long because factory components are sealed for it. What they are not built for is water being pushed directly into spots that are meant to stay dry, or a seal that fails without you noticing.
Covering is cheap insurance. It takes a few minutes, it costs almost nothing, and it turns the riskiest part of the job into a non-event. I have never once regretted bagging something. I have heard plenty of stories from people who wished they had.
The exact parts to cover
Here is my standard checklist, roughly in order of how much I care about each one.
- The air intake. This is the big one. Water drawn into the intake can head for the cylinders, and hydrolock can genuinely wreck an engine. Find where your engine breathes, usually a large tube leading to the airbox, and cap or bag it. If you have a cold-air intake with an exposed filter, this is doubly important.
- The alternator. It is an electrical generator with openings, and soaking it directly is asking for trouble. It usually sits low and to one side. Shield it from direct spray with a bag or wrap.
- Exposed fuse and relay boxes. If the lid seals fully with a gasket, it is designed to keep water out and is generally fine. If it is cracked, loose, or does not close flush, bag it. Aftermarket add-on boxes almost always need covering.
- The battery and its terminals. Water on the terminals invites corrosion. You do not usually need to disconnect it, just keep direct water off the top and the posts with a bag.
- Open or aftermarket electrical connectors. Factory sealed connectors shrug off splash, but any connector that is exposed, damaged, or added later should be protected. When you are unsure whether one is sealed, treat it as if it is not.
What to cover with
You do not need special gear. Raid the kitchen.
- Plastic sandwich or freezer bags for boxes and connectors, held on with rubber bands.
- Plastic wrap for wrapping around odd shapes and the alternator.
- Aluminum foil for molding over awkward contours that a bag will not sit on.
- Rubber bands or small clips to keep everything from blowing off during the rinse.
The only requirement is that it is waterproof and it stays put. Cheap and simple beats fancy here every time.
What you probably do not need to cover
To keep this in perspective, plenty of the bay is fine to get wet. The block, the covers, most hoses, sealed factory connectors, and the general metalwork all tolerate water and are the whole reason you are washing in the first place. Do not go so overboard that you bag the entire engine and cannot actually clean anything. The point is to protect the handful of genuinely sensitive items, then wash the rest normally.
Covering is step one, not the whole story
Bagging the sensitive parts removes most of the risk, but how you rinse still matters. Even with everything covered, you want low pressure held far back rather than a close-range blast, because a determined high-pressure jet can find its way past a bag or defeat a seal. We break that down in is it safe to pressure wash an engine, and the short version is that low-and-far is your friend.
Once you have covered up, the rest of the job follows a clear sequence: cool, degrease, agitate, rinse, dry, and dress. That full routine lives in how to clean an engine bay. And when it is clean and dry, the finishing touch is a thin coat of dressing on the plastics, covered in our engine bay dressing guide. If you would rather buy your brushes and products as a bundle, our engine bay detailing kit breakdown covers what is worth it.
Take the covers off last, and dry first
One small habit that saves headaches: leave your bags on until the surrounding areas are rinsed and mostly dry. If you pull them off while everything around is still dripping, you can trickle water straight into the spot you just protected. Dry the bay, blow out the crevices, then peel the covers off. If you want a proper degreaser to make the whole job easier, our ranked engine degreaser picks are where I would start.
The bottom line
Covering the engine bay is the least glamorous step and the most important one. Bag the intake, alternator, exposed fuse boxes, battery terminals, and open connectors with nothing more than kitchen plastic and rubber bands. It costs you five minutes and zero dollars, and it turns the scary part of engine bay detailing into a total non-issue. Do this every single time, without exception, and you will never have a wash-day horror story to tell.
Recommended Products
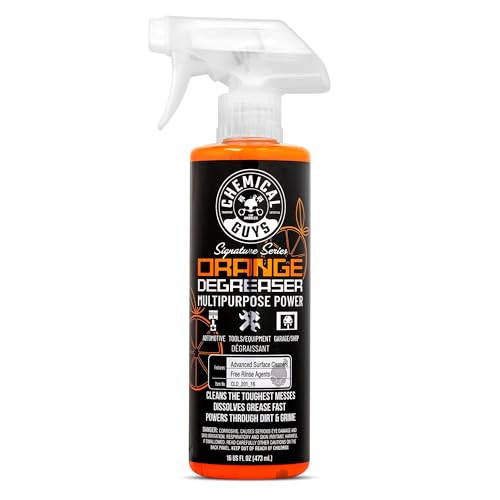
Best for most engine bays once the sensitive parts are covered
- Citrus-based, cuts grease without harsh fumes
- Dilutable — one bottle stretches a long way
- Safe on painted metal, plastic and rubber
- Rinses clean without a greasy residue
Why buy it: the best balance of cutting power and safety — strong enough for a filthy bay, gentle enough that you're not worried about your plastics once everything's bagged up.
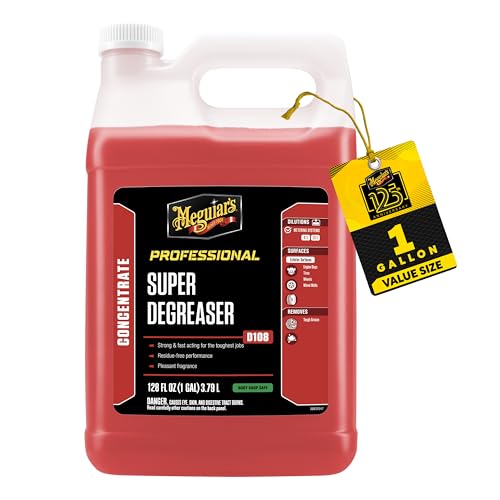
Best for dilutable pro-grade cleaning on a budget
- Highly concentrated — dilutes to taste
- Professional-strength on baked-on grime
- Versatile across the whole car, not just the bay
- Excellent cost-per-use once diluted
Why buy it: dilute it strong for a nasty bay or weak for general use — that flexibility makes one bottle do the work of several, which is why it wins on value.

Best for one cleaner for the bay and the rest of the garage
- Non-toxic, biodegradable formula
- Dilutable for engine bays or household use
- Very widely available and inexpensive
- Low-fume and gentle on hands
Why buy it: the jack-of-all-trades — dilute it right and it degreases a covered-up bay perfectly, then cleans the rest of your garage too, all for very little money.

Best for quick, targeted spot cleaning with no mixing
- Ready-to-use, no mixing required
- Foaming action clings where you spray
- Precise trigger for targeted grime
- Trusted, widely available formula
Why buy it: no dilution, no fuss — point, spray, wipe. For quick touch-ups and targeted grease around the parts you've protected it's the most convenient bottle to keep on the shelf.
Prices are pulled from Amazon and were accurate as of Aug 22, 2026, 6:54 PM EDT. Product prices and availability are subject to change — the live price is shown on Amazon.