
Affiliate Disclosure
Some links on this page are affiliate links. As an Amazon Associate, we earn from qualifying purchases — at no extra cost to you. We do not buy, test, or physically handle the products we cover; our rankings come from aggregated owner reviews, ratings and expert consensus. Commissions never change our verdicts. How we rank & full disclosure.
Short version: Your door and window rubber goes gray, hard and cracked for the same reason your plastic trim does, the sun cooks the oils out of it. But rubber needs feeding, not just coating. Clean the seals, work a flexible rubber conditioner into them, let it soak in, and wipe the excess. Done a few times a year this keeps seals soft, black, quiet and watertight, and it stops your doors freezing shut in winter.
Rubber seals are the unsung heroes of a car. They keep out wind noise, rain, dust and cold, and they let your doors close with that satisfying solid thunk. But because they live right at the edge of every panel, fully exposed, they take a brutal amount of sun and weather. When people restore their trim they almost always forget the rubber, and that is a shame because tired seals cause real problems, not just cosmetic ones.
What actually happens to rubber seals
Automotive weatherstripping is rubber loaded with oils and plasticizers that keep it soft and springy. UV light and heat break those down over time, exactly the same photodegradation that turns your bumpers gray. As the oils leach out, the rubber goes from supple black to hard, chalky gray. Hard rubber does not seal well, it cracks, and porous cracked rubber soaks up water.
That is where the practical problems come from. Hard seals let in wind noise and let water leak past. Porous seals absorb moisture that freezes in winter and welds your door shut, sometimes even tearing the seal when you yank the door open. If you want the fuller picture of why UV does this to your car's rubber and plastic, we explain the whole oxidation story in why black trim goes gray. The cause for rubber is identical.
Why rubber needs feeding, not coating
This is the key difference from restoring hard plastic. A plastic trim restorer often works by bonding a hard film to the surface. That is great for a bumper but wrong for a seal, because a seal has to flex, compress and spring back every single time you open a door. A hard coating would just crack off.
Rubber wants a conditioner that penetrates and feeds oils back into the material, restoring flexibility from within, plus a water-repellent surface layer. Silicone-based rubber conditioners are the classic choice because silicone stays flexible across a huge temperature range and repels water. This is why you should not just grab your hard-trim restorer for the seals. The approach is genuinely different, and we get into that distinction more in trim restorer vs dressing.
What you need
- An all-purpose cleaner or plain car shampoo to clean the seals first.
- A soft detailing brush to work into the ribs and channels of the rubber.
- A dedicated rubber or silicone conditioner. Rubber-specific products beat generic dressings here.
- A foam applicator or clean microfiber to apply and buff.
Step one: clean the seals properly
Rubber seals collect a surprising amount of grime, dead skin of old dressings, pollen and road film. Spray them with a diluted APC or your car shampoo and gently agitate with a soft brush. Get into the ribs and the channel where the door meets the seal. Wipe them clean with a microfiber and let them dry. Conditioner soaks in far better on clean, dry rubber, so do not rush this.
Take the chance to inspect while you clean. Note any seals that are cracked all the way through, torn, or pulling away from the body. Conditioning helps hardness and surface crazing, but it cannot repair a seal that is structurally split. Those need replacing, and it is worth knowing before you spend time treating them.
Step two: feed the rubber
Apply your rubber conditioner to a foam applicator and work it into the seal along its length. You want the rubber to actually drink it in, so be generous on badly dried-out seals and give it a minute. Do the door seals on the body and the matching seals on the door itself. Do not forget the trunk and hood seals, and the sunroof channel if you have one, since those are just as exposed.
Work methodically around the car. On very hard, gray seals you may see them visibly darken and soften as the conditioner soaks in, which is genuinely satisfying. For badly neglected rubber, a second application after the first soaks in makes a real difference.
Step three: wipe the excess
Give the conditioner a few minutes to penetrate, then wipe off any excess with a clean microfiber. You do not want gloppy residue sitting on the seal where it can transfer onto the paint or your clothes when you get in. A properly done seal looks deep black and satin, feels supple, and is not greasy to the touch. Buffing off the excess leaves that clean finish.
The winter payoff
The single best time to condition your seals is heading into cold weather. Conditioned rubber stays flexible in the cold and repels the water that would otherwise freeze in the pores and glue your doors shut. If you have ever fought a frozen car door on a January morning, this five-minute job is the fix, and it works because you are restoring the water-repellency and flexibility the sun stripped out over summer.
Keeping seals healthy
Rubber seals are not one-and-done. Because they are so exposed, they need topping up a few times a year, more often if you park outside in harsh sun or cold. The good news is that once they are clean, re-conditioning takes five minutes. Fold it into the same rhythm you use for the rest of your trim, which we lay out in protect trim long-term, and your seals will stay soft, quiet and watertight for the life of the car.
Do not neglect the rubber when you restore your trim. Soft, black, healthy seals keep the cabin quiet and dry, keep your doors working smoothly in every season, and honestly they finish the look. A restored bumper next to a cracked gray door seal always looks half-done. Do both and the whole car reads as cared-for.
Recommended Products
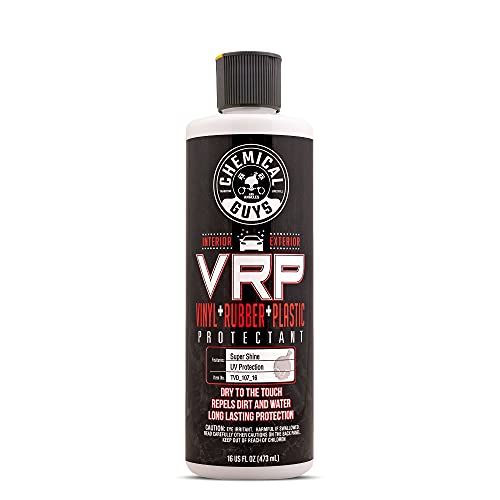
Best for trim, tires and rubber seals in one bottle
- Works on vinyl, rubber and plastic alike
- Dilutable for a natural or glossy finish
- UV protection built into the formula
- Big bottle covers many jobs
Why buy it: the do-it-all pick that is explicitly rubber-safe — a flexible dressing with built-in UV protection, exactly what a seal that has to flex and compress needs rather than a hard coating.

Best for the blackest, most natural-looking finish
- Restores an incredibly deep, uniform black
- A little goes a very long way
- No greasy residue or sling onto paint
- Stays flexible on rubber and plastic
Why buy it: nothing matches the depth of black it delivers, and it wipes on without greasy sling — a tub lasts years of seal and trim applications.

Best for a fast refresh between deeper conditionings
- Wipe-on applicator for a fast, clean job
- Restores color in a single easy pass
- No dry time drama or streaking
- Flexible finish safe on seals
Why buy it: the quickest way to knock the gray off soft rubber in five minutes flat — a flexible dressing that will not crack off the way a hard-trim coating would.
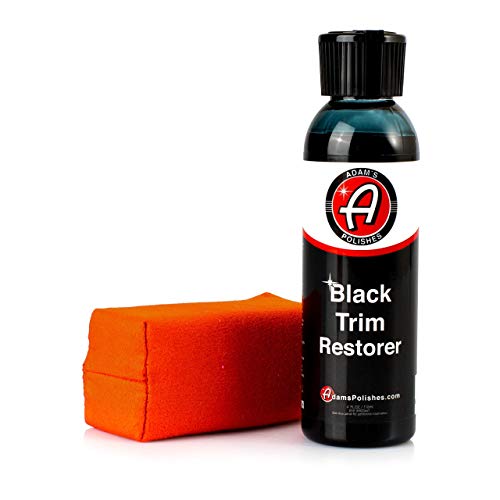
Best for enthusiasts who want a long-lasting satin finish
- Rich, long-lasting satin black finish
- Includes applicator for clean control
- Consistent, high-quality formula
- Stays pliable on rubber seals
Why buy it: a premium finish that splits the difference between a dressing and a coating — long-lasting and easy to apply while staying flexible enough for weatherstripping.
Prices are pulled from Amazon and were accurate as of Aug 22, 2026, 6:54 PM EDT. Product prices and availability are subject to change — the live price is shown on Amazon.