
Affiliate Disclosure
Some links on this page are affiliate links. As an Amazon Associate, we earn from qualifying purchases — at no extra cost to you. We do not buy, test, or physically handle the products we cover; our rankings come from aggregated owner reviews, ratings and expert consensus. Commissions never change our verdicts. How we rank & full disclosure.
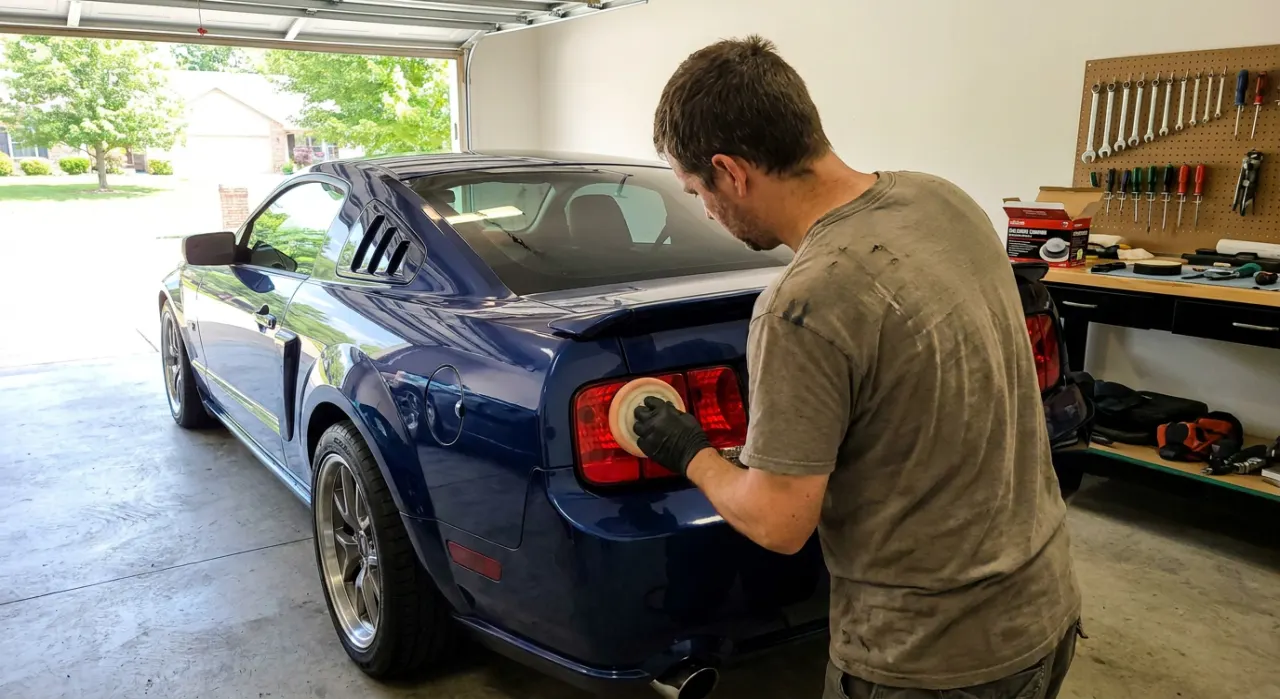
Short version: Foggy tail lights restore exactly like headlights — sand, compound, polish, seal — because they're the same UV-degrading polycarbonate. The twists: red lenses disguise oxidation so it creeps up on you, the haze is usually lighter so you can start with a finer grit, and deep dye fade may not fully return. Seal them afterward, same as headlights, and they'll stay clear.
Everyone obsesses over foggy headlights, but the lights at the back deserve the same love — and honestly, dull tail lights make a car look tired from every angle. The good news is that if you can restore a headlight, you already know how to restore a tail light. It's the same job with a couple of small tweaks. Here's what carries over and what to watch for.
Same plastic, same problem
Tail lights are made from the same polycarbonate as your headlights, and they fog for the same reason: UV from the sun breaks down the factory coating, then oxidizes the plastic underneath into a haze. If that story sounds familiar, it's because we tell it in full in why headlights fog up. The chemistry doesn't care which end of the car it's on.
Because the cause is identical, the cure is too. You remove the oxidized layer, restore clarity, and reseal. Which means the entire method from our full headlight restoration guide applies here — I'll just point out where tail lights differ.
The red-lens trap
Here's the first tweak, and it's a sneaky one. Red and smoked lenses hide oxidation. On a clear headlight, yellowing is obvious and you fix it early. On a red tail light, the haze blends into the color, so it quietly builds until the lens looks dull, cloudy or slightly pinkish and washed-out. By then the oxidation can be more advanced than it looks.
So inspect them properly. Look at the tail lights in bright, angled sunlight and run a finger across the surface. If they feel rough or look milky and lifeless compared to when the car was new, they're oxidized and worth restoring — even if it's less dramatic than a yellow headlight.
Usually a lighter touch
The second tweak: tail-light haze is often milder than headlight fog, because the tail lights typically face less direct overhead sun than the hood-mounted headlights that stare at the sky all day. That means you can frequently start with a finer grit — or even skip sanding entirely and go straight to compound and polish if the haze is light.
Do the fingernail test. If the lens is smooth and only lightly cloudy, try compound-and-polish first. If it's genuinely rough or heavily oxidized, step into wet-sanding, starting finer than you would on a bad headlight and climbing the grits — the same progression logic from our wet-sanding guide. The cross-hatch technique and "keep it wet" rules all carry over unchanged.
The process, quickly
Assuming light-to-moderate oxidation, here's the tail-light run-through:
- Wash and dry the lens so no grit gets trapped under your pad or paper.
- Tape off the surrounding paint and trim — tail lights sit right against painted panels, so masking matters.
- Sand only if needed, wet, starting fine, climbing the grits until the surface is a uniform frost. Skip this for light haze.
- Compound and polish to bring back the deep, glossy red. This is where a dull lens comes alive again.
- Seal with a UV sealant. Same non-negotiable step as headlights.
One honest limitation
Restoration removes surface oxidation and brings back gloss and depth, and for most faded tail lights that's a dramatic improvement. But if the red dye or tint itself has faded deep into the plastic from years of UV, restoration can't fully re-saturate that color — you're polishing the surface, not re-dyeing the plastic. In those rare cases the lens will look far better and clearer, but might not return to showroom-red. That's a limit of the material, not a failure of technique. If a lens is that far gone, weigh it against replacement using our DIY vs pro cost breakdown.
Yes, seal these too
I'll say it once more because it's the step people skip everywhere: restoring a tail light strips the UV coating just like a headlight, so bare plastic will re-oxidize without protection. Apply a UV sealant after polishing. The upside is that tail lights often bake in slightly less direct sun, so a good seal can hold nicely. We cover sealant choices and application in sealing headlights so they stay clear — it all applies to the back of the car too.
Why it's worth doing
Beyond looks, there's a real safety and legality angle. Hazed, faded tail lights dim your brake and signal lights, making you harder to see for the driver behind — exactly when you least want to be, in rain or at night. Badly faded lenses can even fail a safety inspection in some areas. Restoring them is a cheap afternoon that makes your car both look sharper and stop-signal brighter.
So don't let the back of the car go neglected. Same plastic, same UV problem, same four-step fix — with a lighter touch and a watchful eye for oxidation hiding under the red. Clear, glossy tail lights finish the job that clear headlights start.
Recommended Products
Best for a complete, long-lasting result
- 3-stage sand, clarify & seal
- UV sealing wipe included
- Enough product for lenses front and rear
- Proven lasting results
Why buy it: the only common kit with a proper UV seal step — so a restored tail light actually stays clear.

Best for fast drill-powered results
- Uses your drill for speed
- Sanding discs + compound
- Very even finish
Why buy it: the fastest, most even clear-up if you own a drill — works the same on a red tail lens as a clear headlight.
Best for the most durable protection
- Ceramic coating finish
- Wipe-on, no sanding on light haze
- Strong UV durability
Why buy it: a ceramic top-coat that resists re-yellowing and re-hazing longer than most.

Best for the cheapest capable kit
- Cheapest complete kit
- Compound + sealing wipes
- Widely available
Why buy it: the lowest-cost kit that still includes a sealing step.
Prices are pulled from Amazon and were accurate as of Aug 22, 2026, 6:54 PM EDT. Product prices and availability are subject to change — the live price is shown on Amazon.