
Affiliate Disclosure
Some links on this page are affiliate links. As an Amazon Associate, we earn from qualifying purchases — at no extra cost to you. We do not buy, test, or physically handle the products we cover; our rankings come from aggregated owner reviews, ratings and expert consensus. Commissions never change our verdicts. How we rank & full disclosure.
Short version: Restoring faded trim is 80 percent prep and 20 percent application. Wash it, degrease it back to bare plastic, mask the paint, apply a thin even coat of a real trim restorer, let it cure, and wipe any excess. Do that and you get months of deep black instead of a week of shine. Skip the degrease and you are just wiping oil onto oxidized plastic.
Whether it is a beat-up commuter or a garaged weekend car, the trim-restoration process is the same every time. The plastic on your bumpers, mirror caps and cowl is unpainted textured polymer. UV cooks the surface, the plasticizers leach out, and it turns that chalky gray we all hate. The good news is the plastic itself is fine underneath. You are not repainting anything, you are stripping the dead oxidized layer and laying down fresh UV protection.
What you actually need
You do not need a huge kit. Here is the honest short list:
- An all-purpose cleaner (APC) diluted, or a dedicated trim prep. This does the heavy lifting.
- Isopropyl alcohol (IPA) at around 50 percent, or a panel wipe, for the final degrease.
- A stiff detailing brush to work cleaner into the textured grain.
- Automotive masking tape to protect the paint edge.
- The restorer itself plus a foam applicator or nitrile gloves.
- A few clean microfiber towels.
If you want to see which restorers actually last through months of weather rather than looking good for a week, we ranked a stack of them head to head on our top picks page for the best trim restorer. That is the money decision, so it is worth a look before you buy.
Step one: wash the whole area first
Do not skip straight to the trim. Wash the car, or at least the panels around the trim, with your normal car shampoo. You want road film, dust and loose grime off the surface before you start degreasing. If you go at dirty trim with a degreaser you just grind the grit into the grain. Rinse and let it dry, or dry it with a towel.
While you are here, take a close look at the trim under good light. If it is only lightly gray you can go straight to degreasing. If it is heavily chalked and white, you will get better bonding by scrubbing it with your APC and a brush first to knock off the worst of the dead layer.
Step two: degrease back to bare plastic
This is the step that separates a one-week result from a one-year result. Old trim is loaded with the ghosts of every dressing and quick-detailer you ever sprayed near it, plus leached-out oils. A real restorer needs clean, dry, oil-free plastic to grab onto.
Spray your diluted APC onto the trim, agitate it with the stiff brush working across the grain, and wipe it off with a clean towel. Then follow up with an IPA wipe or panel prep to strip any remaining oils. The trim should look flat and dull gray when you are done, almost worse than when you started. That flat, thirsty look is exactly what you want. It means the surface is truly clean and ready to drink up protection.
If you are curious about the science of why the plastic went gray in the first place, we break the UV and oxidation story down in plain English over on why black trim goes gray. Understanding it makes the prep make sense.
Step three: mask the paint
Run a strip of automotive masking tape along the paint edge next to the trim. Permanent restorers are aggressive and they will stain or haze paint if they wander. Two minutes of taping saves you from chasing a stain across a fender later. Do the mirror bases, the edge of the cowl, and anywhere trim meets a painted panel.
Step four: apply thin and even
Less is more. Put a small amount of restorer on your foam applicator, or gloved fingertip for tight spots, and spread it in thin overlapping passes. You are not trying to flood the surface. A thin, even film cures better and never gets that sticky, over-applied feel. Work one panel at a time so nothing dries unevenly.
Get into the texture. Textured trim has thousands of tiny valleys and if you only coat the high points you get a blotchy finish. A light dab-and-drag motion with the applicator pushes product into the grain. On rubber and around seals, be deliberate rather than fast.
Step five: let it cure, then wipe the excess
Most permanent restorers need to sit for anywhere from a few minutes up to overnight depending on the product. Read the label, because this is the one place the products genuinely differ. After the flash time, gently wipe off any excess that has not bonded with a clean dry microfiber. This levels the finish and prevents the streaks that people blame on the product when it was really over-application.
Then leave it alone. Do not wash the car for at least 24 hours, and ideally keep it dry while the coating fully hardens. This curing window is where the durability comes from.
One thing that trips everyone up
If you are getting frustrated that your results never last, the culprit is almost always product choice, not technique. There is a real and important difference between a restorer that chemically bonds and a dressing that just sits on top and shines. We wrote a whole plain-English comparison on trim restorer vs dressing because this single misunderstanding is behind ninety percent of the disappointment out there. If your last fix faded in a week, read that before you blame yourself.
Do not forget the rubber
While you have everything out, the rubber door and window seals deserve the same love. They crack and gray from the same UV, and a dried-out seal lets in wind noise and water. The prep is a little different because rubber wants a feeding conditioner rather than a hard coating. We cover exactly how in restore rubber seals.
Keeping it black
A good restoration is not one-and-done forever, but the maintenance is minimal. Wash normally, avoid harsh solvents on the trim, and top it up on a simple schedule. Get the rhythm right and you basically never see gray again. We lay out the full maintenance approach in protect trim long-term.
That is the whole job. It is not hard, it is not expensive, and the transformation from chalky gray to deep satin black is one of the most satisfying wins in detailing. Nail the prep, apply thin, let it cure, and you will wonder why you drove around with gray bumpers for so long.
Recommended Products
The product is the money decision — here's what we'd reach for depending on how faded your trim is. We rank on aggregated owner reviews rather than our own testing, and prices are indicative — check the live listing.

Best for owners who want to fix it and forget it
- Ceramic coating that bonds to the plastic
- Aims for a year-plus of protection, not weeks
- Comes with prep wipe and applicator
Why buy it: the durability pick — after a proper degrease this is the one that keeps trim black through real weather.

Best for the blackest, most natural-looking finish
- Deep, matte, non-greasy black
- A little goes a long way
- Detailer favourite for faded plastic
Why buy it: the look-first choice — the most natural deep black once the plastic is clean and dry.
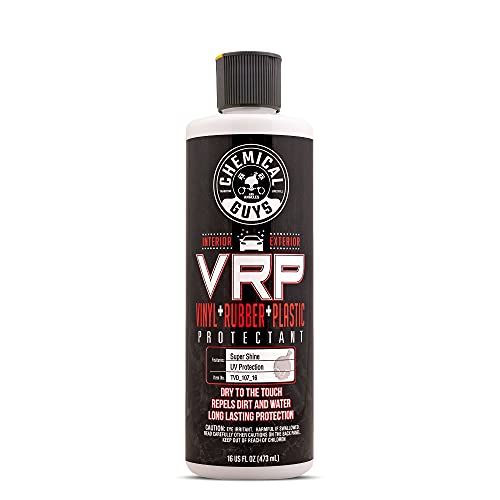
Best for trim, tires and interior plastics in one bottle
- Works on trim, tires and interior plastic
- Dilutable for different sheen levels
- Excellent value for the volume
Why buy it: the do-it-all bottle — best for lighter fading and easy upkeep between deeper restorations.
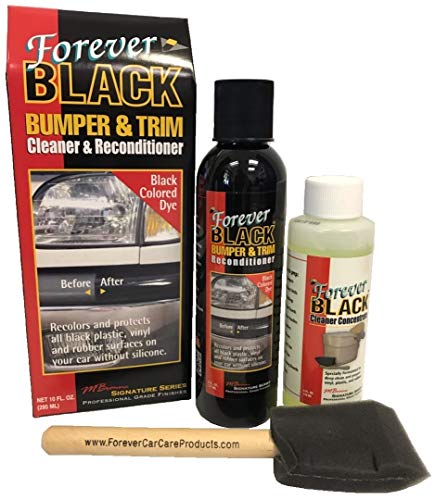
Best for badly faded trim that needs real recoloring
- Dyes rather than just dresses the plastic
- Foam applicator built into the cap
- Brings chalky grey trim back to black
Why buy it: when trim is too far gone for a restorer alone, a dye actually recolors it — the rescue option.
Prices are pulled from Amazon and were accurate as of Aug 22, 2026, 6:54 PM EDT. Product prices and availability are subject to change — the live price is shown on Amazon.