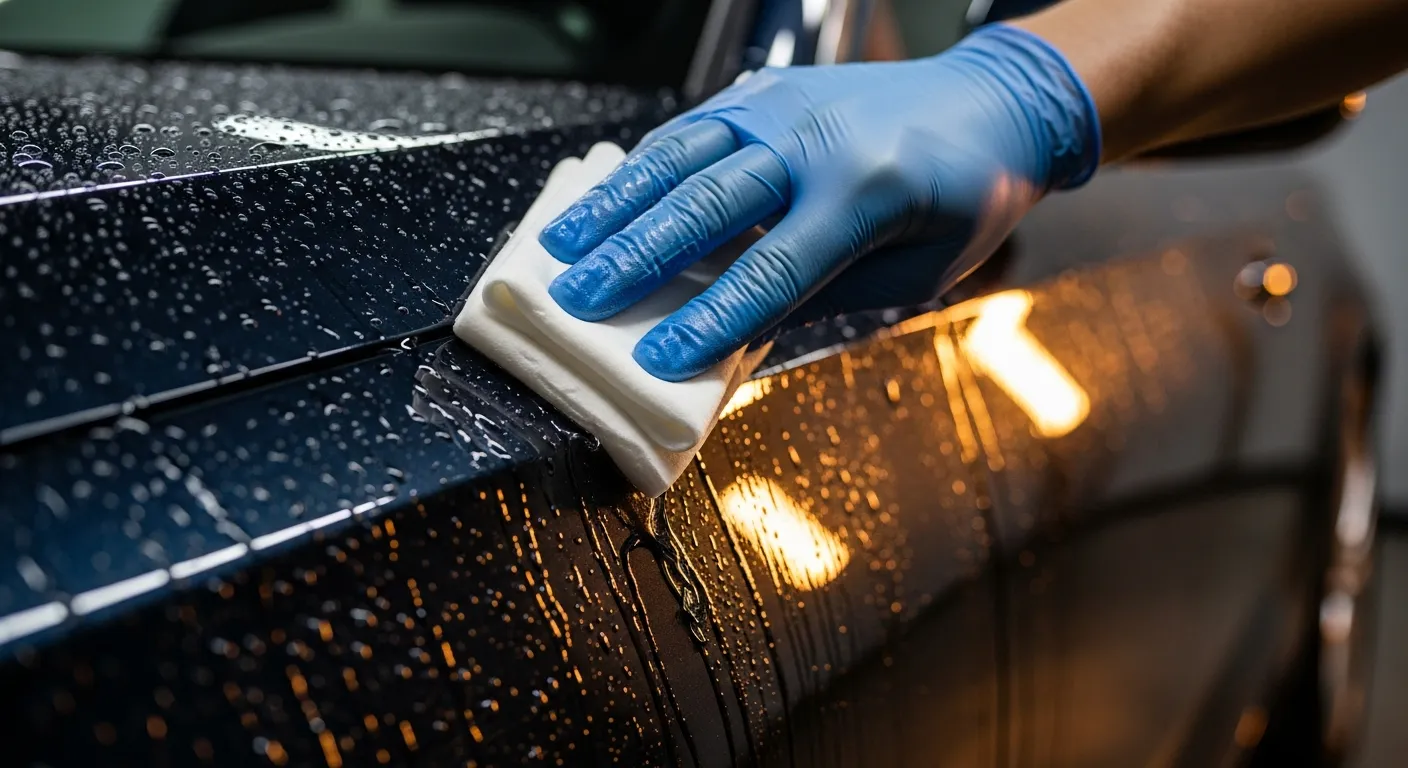
The step between washing and polishing
Most people wash their car, dry it, and call it clean. It looks clean. But run your fingertips over the paint and you'll often feel a fine grit that no amount of shampoo shifts. That's bonded contamination — and removing it is a separate step called decontamination, which sits squarely between washing and polishing in any proper detail.
We treat decon as the unglamorous middle child of detailing. It's the step everyone skips because the car already looks fine, and it's the step that quietly ruins the two steps that come after it. Wax over gritty paint and it won't bond evenly. Polish over embedded iron and you drag those particles across the clear coat. Coat over a contaminated surface and the ceramic fails early. Get decon right and everything downstream gets easier.
The feel-the-grit test
You don't need a lab to know whether your paint needs decontaminating. Wash and dry the car, then slip your hand into a clean plastic sandwich bag and glide your fingertips lightly across a horizontal panel — the hood or roof are worst-affected because they catch the most fallout. Bare skin is too soft to feel the difference; the thin plastic amplifies every bump.
Glassy-smooth means you're done. Rough, bumpy or sandpapery means bonded contaminants are sitting proud of the clear coat, and it's decon time. This one test tells you more than any product label, and it takes ten seconds.
Clay bar vs iron remover vs tar remover
Newcomers assume one product does the whole job. It doesn't — decon is really three jobs, and each has its own tool.
Iron removers are the chemical option. You spray them on, they react with embedded metallic particles — brake dust, rail dust, industrial fallout — and bleed a lurid purple as those particles dissolve. Then you rinse. No contact, no marring, no effort. This is the safest first pass and the one we reach for on any car that's spent time near traffic or trains. Start with our iron remover guide to pick one.
Bug and tar removers are solvents built for the sticky stuff — road tar flung up behind the wheels and protein-based bug splatter baked onto the front end. These dissolve on contact where a clay bar would just smear and load up. Match the solvent to the mess with our bug and tar remover breakdown.
Clay bars are the mechanical finisher. After the chemicals have done their work, a lubricated clay bar physically shears off whatever's left — overspray, tree sap flecks, stubborn grit — and leaves the surface truly glass-smooth. Our how to clay bar a car walkthrough covers the technique, and the best clay bar kit guide covers the gear.
The order that actually works
Sequence matters more than product choice. A good two-bucket wash comes first — you never want to clay over loose dirt, because you'll just grind it into the paint. Then chemical decon: iron remover across the whole car, tar and bug remover spot-treated where needed. Rinse thoroughly. Only then do you clay, on a still-wet or freshly re-lubricated panel, working in straight lines and kneading the bar to a clean face whenever it loads up.
Skip the wash and you clay over grit. Skip the chemicals and you make the clay bar do work it's bad at, wearing it out fast. Do it in order and each step removes a different layer of contamination, leaving the next step less to fight.
Why decon decides your results
Here's the thing detailers understand that most owners don't: decontamination is prep, and prep is where the outcome is decided. When you polish, you're refining a surface — if that surface has grit embedded in it, you're polishing grit into your clear coat. When you protect, whether with wax or a ceramic coating, the product bonds to whatever's on the surface. Bond it to contamination and it flakes early.
This is doubly true before coating. A ceramic that should last two years can fail in months if it was laid over contaminated paint, which is exactly why we wrote a dedicated piece on decon before ceramic. The coating is only ever as good as the surface underneath it.
Where to start
If you're new to this, don't overthink it. Grab a decent clay bar kit — most come with the lubricant you need — run the feel-the-grit test, and clay the car after your next wash. You'll feel the difference immediately, and it'll change how you think about every wash after. From there, add an iron remover for the metallic fallout a clay bar struggles with, and a tar remover for the sticky stuff. Three products, in the right order, and your paint will be genuinely clean for the first time.
Affiliate Disclosure
Some links on this page are affiliate links. If you buy through them we may earn a small commission at no extra cost to you. It never changes our verdicts — we only recommend gear we would run on our own cars. Read the full disclosure.