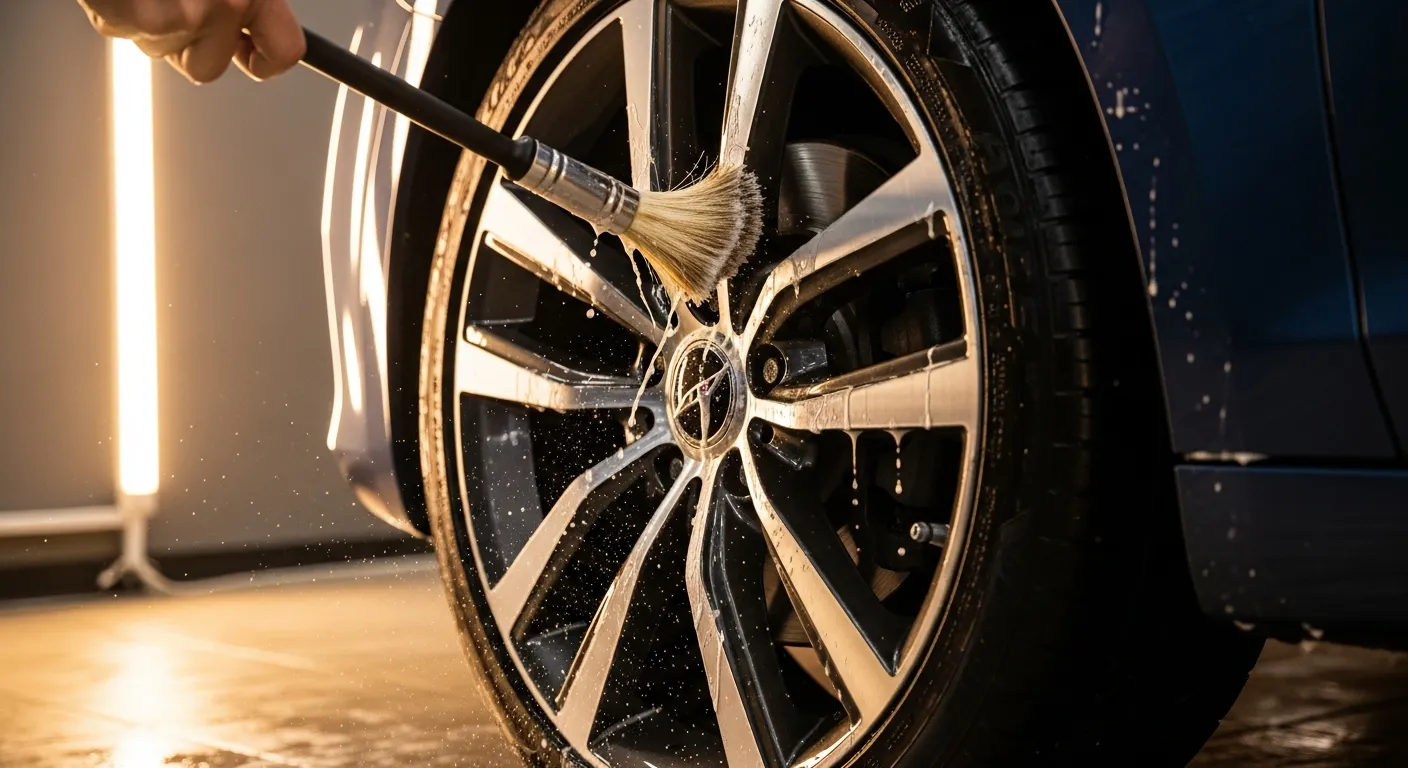
Short version: clean wheels are the fastest way to make a car look cared-for, and they are also the easiest detailing win to get wrong. Use the right cleaner for your finish, a dedicated brush, and a rinse-early habit, and you will spend less time scrubbing and more time driving.
Wheels take more abuse than any other surface on your car. Brake dust is not just dirt: it is hot metal particles and pad material that embed into the finish and, if left alone, actually etch the clear coat. Add road grime, tar, and iron fallout, and your wheels are quietly corroding while the rest of the car still looks fine. This hub walks you through cleaning them safely, keeping them clean longer, and picking gear that earns its spot in your garage.
Why Wheels Are the Detail That Gets Noticed
Walk around any car meet and the sharpest builds all share one thing: spotless wheels. It is the detail your eye lands on first, because the wheels sit at the visual center of the car and they are always moving. Dirty wheels make a freshly washed car look neglected; clean wheels make an average wash look professional. That is the whole reason we start beginners here.
There is a mechanical reason to care, too. Brake dust is abrasive and slightly corrosive. Left on hot metal week after week, it pits and etches the finish, and once a wheel is etched, no cleaner brings it back. Regular cleaning is not vanity: it is protecting the surface. Pair a good wash routine with our two-bucket method and your whole car stays healthier.
Wheel Cleaner Chemistry, Explained Simply
Wheel cleaners fall into three camps. Acidic cleaners dissolve brake dust and mineral deposits fast, which is why detail shops love them, but they can etch clear coat and stain polished or chrome finishes if used carelessly. Alkaline cleaners lift grease and road film and are gentler, though heavy contamination shrugs them off. pH-neutral cleaners are the safe middle ground: mild enough for any finish, effective enough for weekly maintenance.
The fourth category is the game-changer: iron removers, sometimes called fallout removers. These use a chemical that bonds specifically to iron particles and turns purple as it reacts, then rinses the contamination away without scrubbing. They are pH-balanced and safe on nearly every finish. For most people, a pH-neutral cleaner for weekly work plus an iron remover every month or two is the sweet spot. Dig deeper in our guide to iron removers for wheels and the finish-specific breakdown at wheel cleaner by finish.
The Safe Cleaning Routine
Order matters. Always do the wheels first, before you wash the body, so you are not flinging brake dust and grit onto clean paint. Work on cool wheels in the shade: cleaner that dries on a hot rim streaks and can etch. Rinse loose grit off first, spray your cleaner, and give it a minute to work before you touch a brush. Agitate the face, then the barrel and lug areas, then rinse from the top down.
Use a quality wheel cleaner and dedicated tools: a soft face brush, a long barrel brush, and a detailing brush for lug nuts. Never let a wheel brush touch your paint afterward. Our full walkthrough lives at how to clean wheels, and the brush selection is broken down in wheel detailing brushes. The whole process takes ten minutes once you have a rhythm.
Tires: Dressing Done Right
Clean wheels deserve fresh tires, but tire shine is where most people overdo it. The greasy, dripping look comes from spraying dressing straight onto the rubber and walking away. The fix is simple: scrub the tire clean with an all-purpose cleaner first so the dressing bonds evenly, then apply with a foam applicator pad rather than spraying. That single change kills the sling that flecks your paint on the first drive.
Your dressing choice matters too. Water-based dressings give a natural satin finish and are cleaner to apply, while solvent-based dressings last longer and shine harder but can sling and dry out rubber over time. We compare them honestly in tire shine: water vs solvent, walk through technique in how to apply tire shine, and rank the bottles worth buying in best tire shine.
Make It Last: Sealing and Protection
The real trick to clean wheels is not cleaning harder, it is making dirt struggle to stick in the first place. A wheel sealant or ceramic coating adds a slick, heat-resistant barrier so brake dust rinses off instead of bonding. After coating a set of wheels, most people find a quick rinse handles ninety percent of the grime, and heavy cleaners become a rare event rather than a weekly fight.
Coatings shine on wheels because the surface gets hot, and ceramic handles heat far better than wax. Apply it to genuinely clean, decontaminated wheels for the best bond. We cover the whole process in protect wheels with ceramic. Combine that with a habit of rinsing brake dust off between washes and staying on top of brake dust, and your wheels will look detailed with a fraction of the effort.
Where to Start
If you are new here, do not buy everything at once. Start with one solid wheel cleaner and a proper wheel brush: that pair alone transforms your wheels this weekend. Once your cleaning routine is dialed in, add an iron remover for a monthly deep clean and a tire dressing to finish the look. When you are ready to stop fighting brake dust for good, a ceramic coating is the upgrade that pays you back every wash. Build it in that order and every step actually gets used.
Affiliate Disclosure
Some links on this page are affiliate links. If you buy through them we may earn a small commission at no extra cost to you. It never changes our verdicts — we only recommend gear we would run on our own cars. Read the full disclosure.