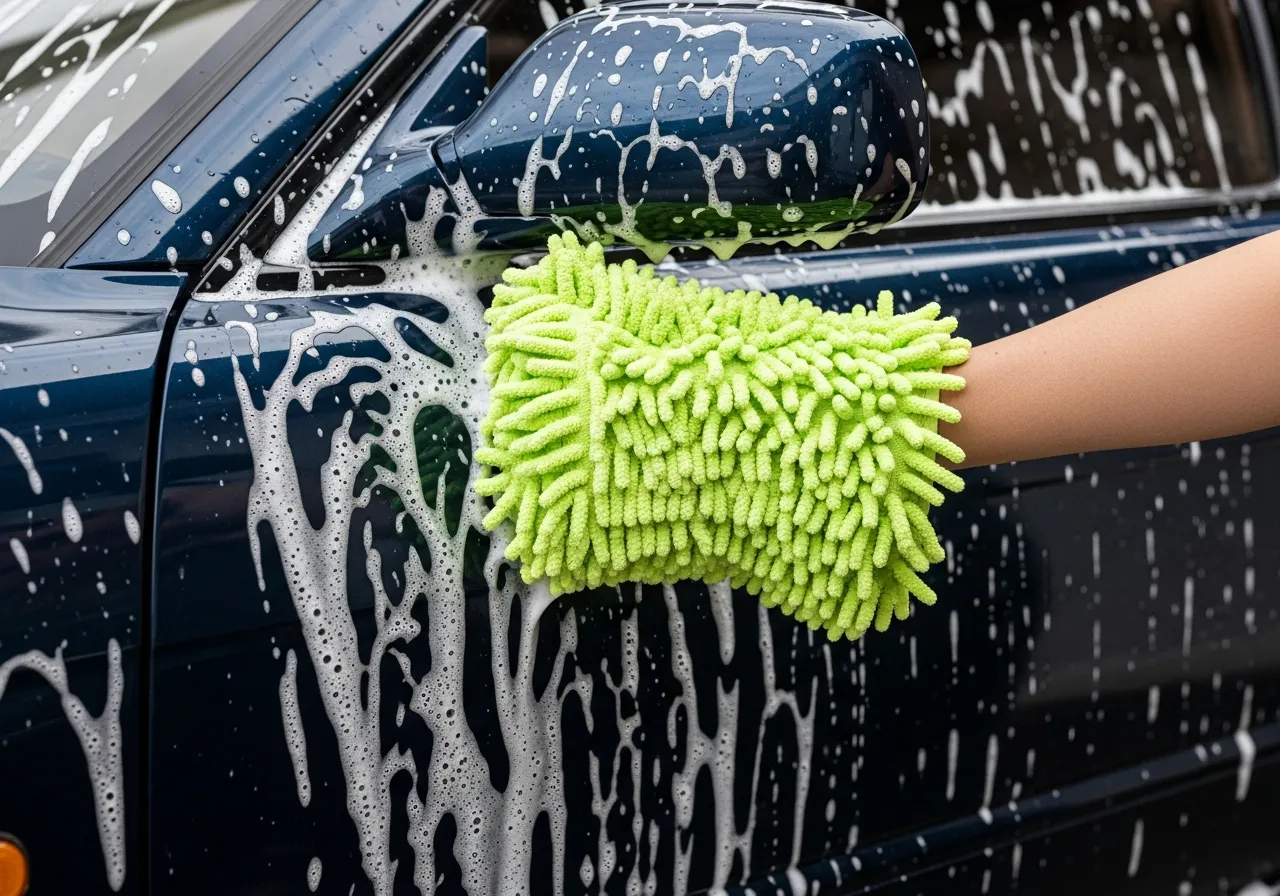
Short version: most of the fine scratches and swirl marks on a car's paint don't come from the road — they come from careless washing. The good news is that a genuinely swirl-free wash is easy once someone shows you the method and the two or three bits of gear that matter. This hub is that walkthrough, plus our tested picks for the mitt and soap that make the difference.
Washing is the first step of the whole detailing process — get it right and everything after it (decon, polish, wax, coating) goes better. Do it wrong and you're just adding scratches for the polish stage to remove.
Why Technique Matters More Than Products
Paint gets swirled when hard little particles of grit are dragged across it. Every washing decision comes down to one goal: lift dirt off the surface and carry it away from the paint rather than grinding it back in. That's the entire logic behind the pre-rinse, the two buckets, a plush mitt that traps grit deep in its fibres, and plenty of slick soap for lubrication. Nail the technique and even modest gear gives a swirl-free result.
The Core Method
Rinse first to knock off loose grit. Wash top-to-bottom (the lower panels are dirtiest) using the two-bucket method — one suds bucket, one rinse bucket, both with grit guards. Use a soft microfiber wash mitt, work in straight lines not circles, and rinse the mitt in the clean bucket before every reload. Then rinse the car and dry with a clean microfiber towel. The full step-by-step lives in how to wash a car.
The Gear That Actually Matters
You need surprisingly little: a plush microfiber or chenille mitt (never a sponge — here's why), a pH-neutral car shampoo that lubricates and won't strip your wax, two buckets with grit guards, and a clean drying towel. That's the whole scratch-free kit. Our best wash mitt test names the one we reach for.
The Mistakes That Scratch Paint
Dish soap (strips wax), a household sponge (traps and grinds grit), one bucket of increasingly dirty water, wiping in circles, and letting the car air-dry into water spots. Every one is avoidable — the full list and fixes are in car washing mistakes and how to prevent swirl marks.
The Wash-Safe Gear, in Detail
You don't need much, but each piece earns its place. The wash mitt is the one item that touches your paint on every pass, so it's worth getting right — a plush chenille microfiber mitt pulls grit deep into its fibres and away from the clear coat, where a flat sponge just drags it across the surface. Our best wash mitt test explains why, and wash mitt vs sponge shows the scratch difference under the light. The soap matters nearly as much: a dedicated pH-neutral car shampoo lubricates the surface so the mitt glides and grit is less likely to scratch, and unlike dish soap it won't strip your wax — the best car wash soap guide covers the ones we rate. Round it out with two grit-guarded buckets, a separate mitt and bucket for the filthy wheels, and a clean drying towel so you don't undo your careful work with water spots on the way out — see how to dry a car for that final step.
Waterless and Rinseless: When Low-Water Washing Is Safe
Not every wash needs a hose. On a lightly dusty car, a rinseless wash (a lubricating solution you wipe on and off, no rinse) or a waterless wash (a spray-and-wipe product for very light dust) can be genuinely safe and far quicker — ideal for apartment dwellers, drought restrictions, or a mid-week freshen-up. The critical caveat: these methods are only safe on light contamination. Use them on a genuinely dirty, gritty car and you'll drag that grit across the paint and induce exactly the swirls you're trying to avoid. When the car is properly dirty, go back to the pressure-rinse and two-bucket method. Our rinseless vs waterless guide explains which to reach for and when each crosses the line into risky.
Where Washing Fits in the Detailing Process
Washing is the foundation everything else is built on. A great wax, polish or ceramic coating only performs on a clean, swirl-free surface — and a careless wash actively adds the marring that the polish stage then has to remove. Get the wash right and you protect the work you've already put in and set up the next step for success. The full detailing order runs wash → decontaminate (clay) → correct (polish) → protect (wax or ceramic), and if you're maintaining an already-protected car, a regular safe wash is often all it needs between details. Think of it less as a chore and more as the step that decides how good every other step can look.
Where to Start
Read the two-bucket method, grab a proven wash mitt and soap, and you've got a swirl-free wash sorted. Once the car's clean, the next step is protection — head to car wax or ceramic coating. The topical map below links every part of the wash.
Affiliate Disclosure
Some links on this page are affiliate links. If you buy through them we may earn a small commission at no extra cost to you. It never changes our verdicts — we only recommend gear we would run on our own cars. Read the full disclosure.