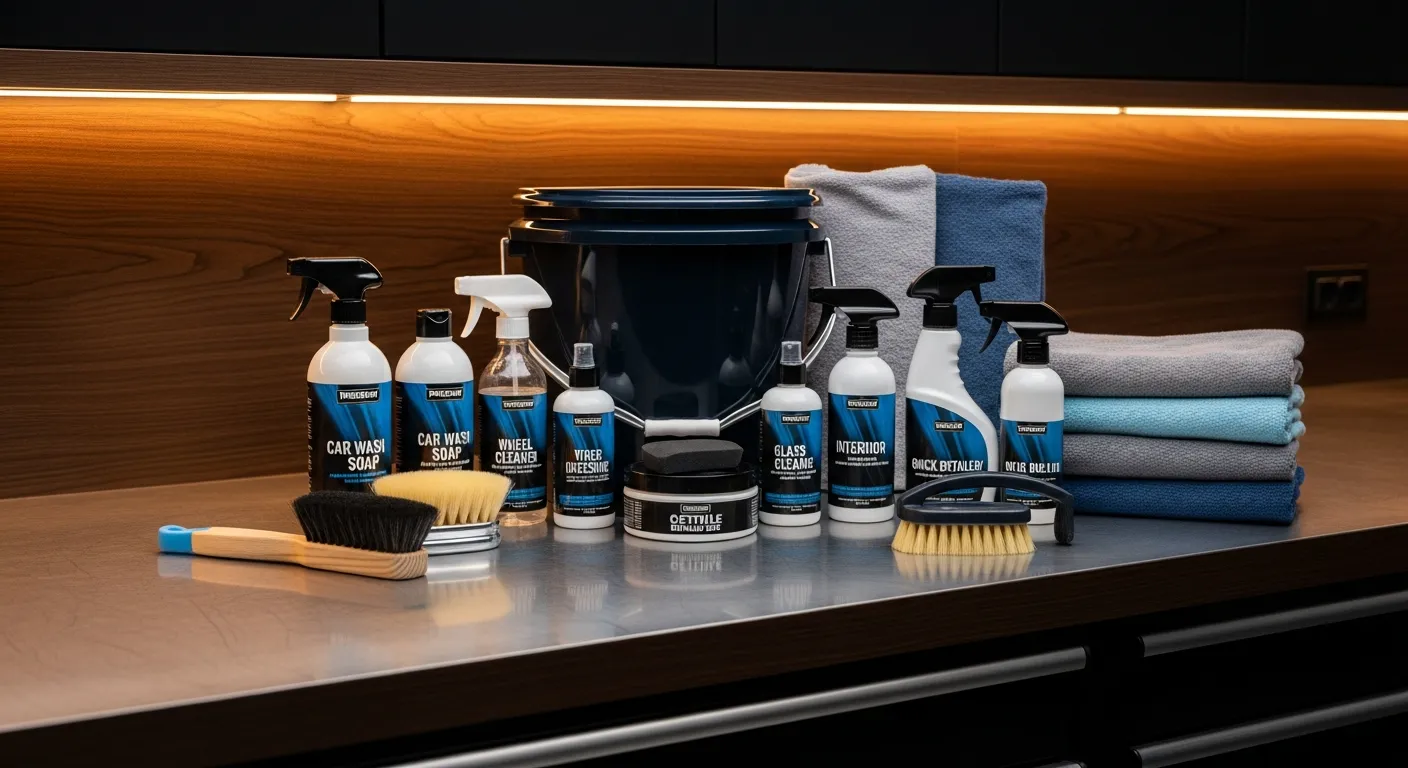
If you have just decided to take care of your own car properly, the hardest part is not the work — it is figuring out what to buy without ending up with a shelf full of half-used bottles you never touch again. This guide walks you through the whole picture: every job a real detail involves, what product does that job, and roughly what order it all happens in. Think of it as the map. Each stop on the map links out to a deeper guide where we name our actual picks.
A car detail breaks down into five honest jobs, plus the tools that make them possible. Get one product for each job and you can detail a car from filthy to glossy without any gaps. Everything else is upgrades. Here is how the whole thing fits together.
1. Washing — get the dirt off without adding scratches
Washing sounds simple, but it is where most swirl marks are born. The goal is to lift grit off the paint and carry it away, not grind it in circles. That means a dedicated car shampoo (never dish soap, which strips wax) and a soft wash mitt instead of a sponge or old rag. A two-bucket setup — one with soapy water, one with clean rinse water — keeps grit out of your mitt between panels.
Want to make washing safer still? A foam cannon lays down a thick pre-wash layer that softens and loosens dirt before your mitt ever touches the paint. It is the single biggest upgrade a beginner can make to a swirl-free wash. If you want the full method, our washing your car hub covers technique start to finish.
2. Decontamination — pull out what washing leaves behind
After a wash the paint looks clean but often is not. Run your fingertips over it and you will feel roughness — that is bonded contamination: brake dust, rail dust, tree sap and industrial fallout that soap cannot remove. This is the step beginners skip and later wonder why their wax will not last. An iron remover sprays on and dissolves metal particles (it famously bleeds purple), and a clay bar or clay mitt shears off the rest so the paint feels like glass. Our decontamination hub explains exactly when and how to do it.
3. Polishing and correction — fix the paint before you seal it
Polishing is where you decide how far down the rabbit hole you want to go. A light polish or all-in-one product removes fine swirls, water spots and oxidation, restoring clarity and depth. Beginners can apply a mild polish by hand for a real improvement; deeper correction with a machine is a skill you grow into. The key rule: whatever protection you apply next locks in whatever the paint looks like now, so it pays to correct first. The full method lives in our polishing and correction hub.
4. Protection — lock in the finish
Now that the paint is clean and corrected, you seal it. This is the layer that makes water bead, keeps dirt from bonding, and gives that deep wet look. Your options run from a classic carnauba wax (warm glow, easy to apply, lasts weeks) to a synthetic sealant (longer lasting, slick) to a ceramic coating (months to years of protection, more commitment to apply). For a first kit, a good spray sealant or paste wax is the sweet spot — forgiving, fast and genuinely protective.
5. Interior — the half most people forget
A gleaming exterior with a grimy cabin is only half a detail. Interior work is mostly a good vacuum plus a versatile cleaner that handles dash, door cards, plastics, vinyl and cloth without leaving a greasy shine. Add a glass cleaner that does not streak and a soft brush for vents and seams, and the inside comes up as fresh as the paint. Our interior cleaner pick and the wider interior detailing hub cover surfaces, leather and odor.
6. Tools and towels — the quiet difference-makers
You can have the best products in the world and still ruin a finish with the wrong towel. Cheap terry cloth and paper towels drag grit across paint; quality microfiber towels lift it safely. You will want a few grades: plush ones for buffing wax, waffle-weave for glass, and a big drying towel for after the wash. Round it out with two buckets, grit guards, soft applicator pads and a detailing brush or two. See our essential detailing tools guide for the short, honest list.
Kit or piece it together yourself?
Here is the honest answer. If this is your first detail, a well-chosen all-in-one kit is almost always the smarter buy — the maker has matched the shampoo, decon, polish, wax and cleaners so they work together, and usually tosses in towels and applicators, all for less than buying each piece alone. Once you have run a few details and know which steps you actually repeat, buying your favorites in larger bottles gets cheaper per wash. We lay out the exact trade-offs in kit vs buying separately, and if budget is the deciding factor, our detailing under $100 setup shows how far a small budget really goes.
Quality over quantity
One warning as you shop: do not be seduced by the kit with the most bottles. A 30-piece bundle sounds like value, but half of it is often duplicate applicators and single-use sachets you will never restock. A tighter kit with six genuinely good products beats a crowded one every time. The beginner detailing checklist keeps you focused on the steps that matter, in the right order, so you buy for the process rather than the marketing.
Where to go from here
You now have the full map. The fastest path for most beginners is a single well-rounded kit to cover every job at once, then upgrading individual pieces — a better wash mitt here, a nicer wax there — as you learn what you enjoy. Start with our tested kit rankings below, then follow the links into whichever job you want to master first.
Affiliate Disclosure
Some links on this page are affiliate links. If you buy through them we may earn a small commission at no extra cost to you. It never changes our verdicts — we only recommend gear we would run on our own cars. Read the full disclosure.