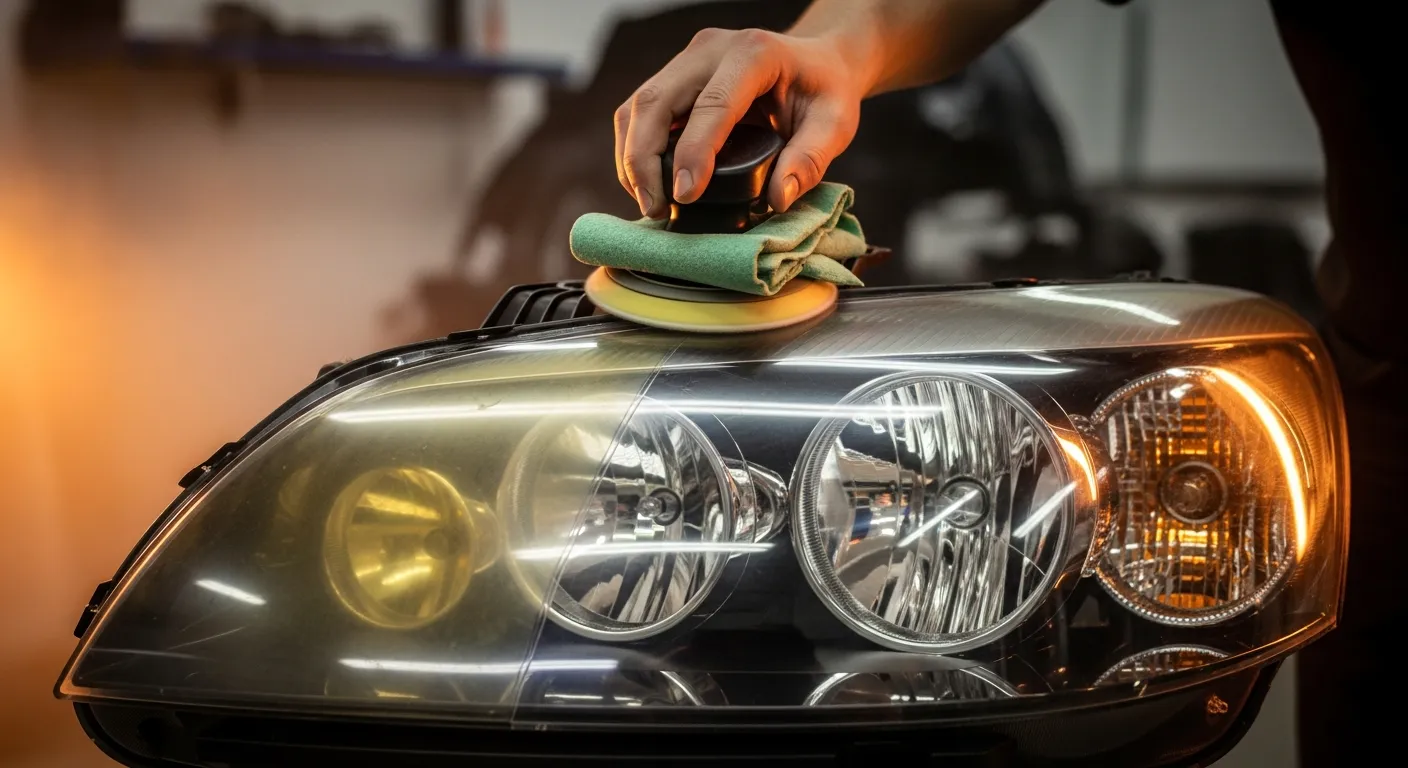
Short version: foggy, yellowed headlights are one of the cheapest, most satisfying fixes in car care — a $20 kit and an hour of work can make a tired car look years younger and see far better at night. The catch is that most people miss the one step that makes it last. This hub covers why headlights haze, how to restore them properly, and the best kits we tested.
Cloudy headlights aren't just ugly — they cut your night-time visibility and can fail a roadworthy inspection, so restoring them is a safety win as much as a looks one.
Why Headlights Fog Up in the First Place
Modern headlights are moulded from polycarbonate plastic with a thin factory UV-protective coating. That coating takes the sun's punishment for years — until it wears through. Once it fails, UV light attacks the bare plastic underneath, and that's what you see as the yellow, cloudy, oxidised haze. Understanding this is the whole key to a lasting fix: because it's UV damage, any restoration that doesn't re-apply UV protection at the end is just resetting a clock that starts ticking again immediately. More on the science in why headlights fog up.
The Restoration Process (and the Step Everyone Skips)
Proper restoration is three stages: sand off the damaged top layer with progressively finer wet-sanding grits, polish/compound the lens back to clarity, and — the critical part — seal it with a UV protectant or ceramic coating. The sanding and polishing is what makes headlights clear again; the UV sealant is what makes it stay clear for years instead of hazing back in weeks. Skipping the seal is the single reason most DIY jobs and every toothpaste hack fail. The full method is in how to restore headlights, and for heavily oxidised lenses the wet-sanding guide covers grit progression.
Kits, Drills and Hacks
A good restoration kit bundles the sandpaper grits, compound and — on the best ones — a proper UV sealant, so you get everything in one box. Drill-attachment kits speed things up and give a more even finish. And the famous toothpaste hack? It's a mild abrasive that buffs off light haze for a few days — fine for a photo, useless for a lasting result. Buy a real kit; the good ones cost under $25.
Restore or Replace?
Restore first, almost always. For the usual foggy, yellowed lens, a kit clears it for $10–$25 versus $50–$150 at a detailer or $200–$1,000+ to replace the assembly — see the full cost breakdown. Only replace when the lens is cracked, there's water inside the housing, or the reflector has failed. A cheap kit that saves a four-figure headlight is one of the best-value jobs you can do to a car.
Where to Start
Read how to restore headlights, grab a proven restoration kit that includes a UV sealant, and don't skip the sealing step. The topical map below links every part of the restoration process.
Affiliate Disclosure
Some links on this page are affiliate links. If you buy through them we may earn a small commission at no extra cost to you. It never changes our verdicts — we only recommend gear we would run on our own cars. Read the full disclosure.