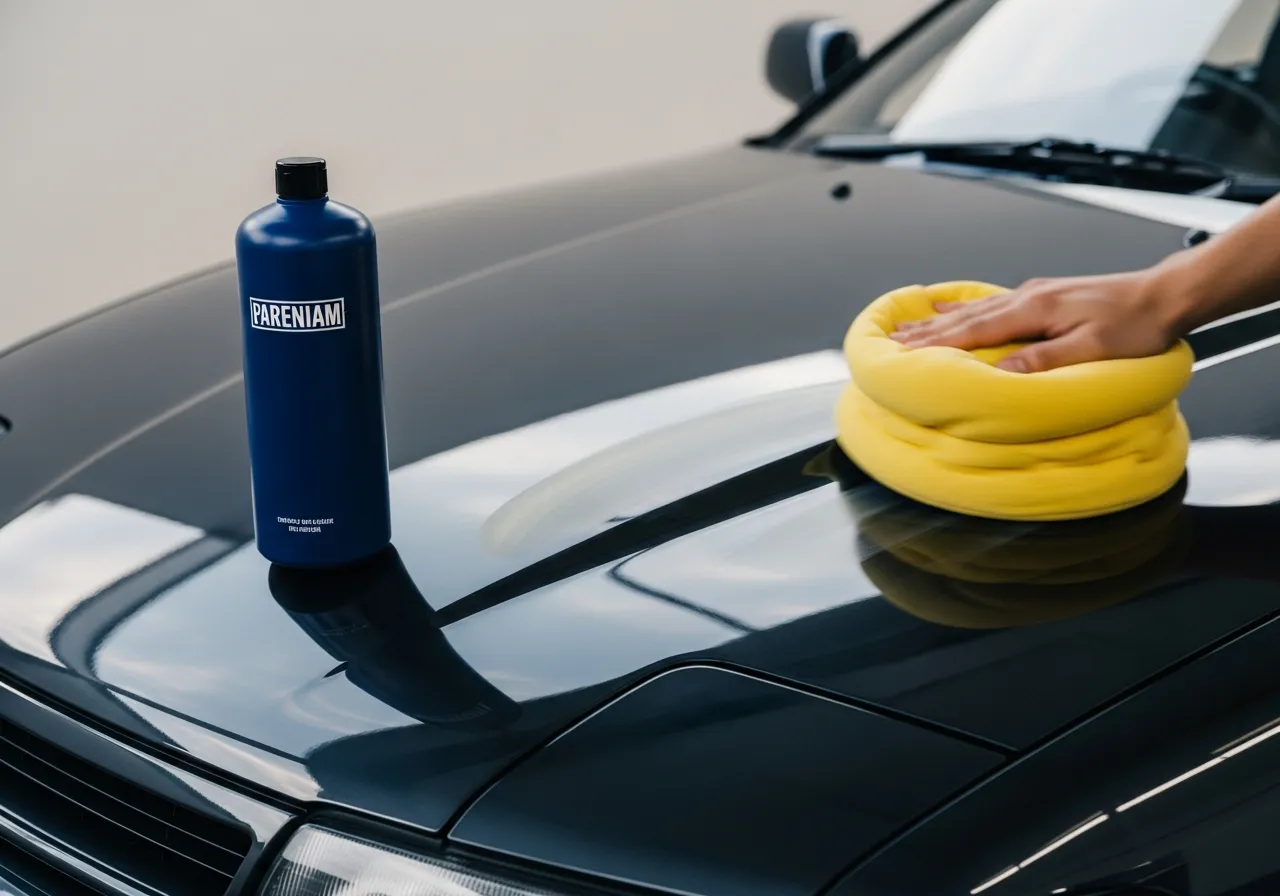
Short version: polish is the step that actually fixes your paint. Where wash removes dirt and wax adds protection, polish uses fine abrasives to cut away swirl marks, light scratches and oxidation — bringing back the deep, mirror gloss that makes dark paint look wet. This hub covers how to polish by hand or machine, the decontamination step that comes first, and the best polishes and buffers we tested.
Polishing is the correct stage of a detail — it comes after washing and clay decontamination, and before you protect the paint with wax or a ceramic coating. Never coat over un-corrected paint — you'll just seal the swirls under glass.
What Polishing Actually Does
Polish is a mild abrasive in a carrier. As you work it with a pad, it levels the very top of the clear coat — shaving down the raised edges around swirls and scratches until light reflects evenly again. That's why a polished panel looks so much glossier: you've physically made the surface smoother. Because you're removing clear coat, polishing is a "do it when needed, not every wash" job — typically once or twice a year, or when swirls build up.
Prep Comes First: Wash & Clay
Never polish dirty or contaminated paint — you'll grind grit into the finish. Wash thoroughly, then run a clay bar to pull out bonded contamination you can feel but not see. Only then is the paint ready to polish. Skipping decontamination is the fastest way to add scratches during the polish step.
By Hand or By Machine
You can polish by hand for light defects, but a dual-action (DA) polisher does a far better, more even job with less effort — and its random orbital motion makes it beginner-safe, unlike a rotary buffer. Pair it with the right pad and the right cut level for your defects. The full method is in how to polish a car.
How Far to Take It
Most people want a "one-step" polish — a single product that corrects the majority of light swirls and finishes glossy in one pass. Heavier defects need a multi-step approach: a cutting compound first, then a finishing polish. Our paint correction guide covers how far to push it at home, and removing swirl marks walks the whole process. Just remember: you can only polish out what's in the clear coat — deep scratches need other fixes.
Compound, Polish or Glaze: Which You Need
The word "polish" hides three different products with different jobs, and picking the wrong one wastes effort. A compound is the most abrasive — it cuts hard to remove heavier swirls, scratches and oxidation, but leaves a slightly hazy finish that needs refining afterward. A polish is finer: it removes light defects and, crucially, restores gloss and clarity, which is why a finishing polish is the all-rounder most people should start with. A glaze doesn't correct at all — it fills and enhances for a wet, deep look before you seal, ideal for show days or older single-stage paint. Serious correction often runs compound first to cut, then polish to finish; light jobs need only a finishing polish. Our compound vs polish vs glaze guide shows exactly which to reach for based on how bad your paint is.
Pads Matter as Much as the Polish
The pad you pair with a polish changes the result as much as the product itself. Cutting pads (usually firmer foam or microfiber) add bite for heavier correction; polishing pads balance cut and finish for most work; finishing pads (soft foam) lay down the final gloss with almost no cut. Run a mild polish on a cutting pad and you get more correction than the bottle suggests; run a strong compound on a finishing pad and you get less. That combination — product plus pad — is how experienced detailers dial in exactly the right amount of cut for the defects in front of them. Beginners should start with a polishing pad and a mild finishing polish, then step up only if the swirls don't come out. The full colour-coding and foam-vs-microfiber breakdown is in our polishing pads explained guide.
How Much Clear Coat Can You Safely Remove?
Because polishing works by shaving off a microscopically thin layer of clear coat, there's a natural limit to how often and how aggressively you can do it. Modern clear coats are only a few thousandths of an inch thick, and every heavy correction uses some of that up — polish too often or too aggressively and you risk thinning the clear coat to the point where it can fail. The practical rules: correct only when needed (once or twice a year at most for a well-kept daily), use the least aggressive product and pad that removes the defect, and protect the paint afterward so swirls don't return and force another correction sooner. This is also why prevention matters — a careful wash routine keeps swirls from building in the first place, so you polish far less often. Our paint correction guide covers how far to safely take a correction at home, and polishing mistakes covers the errors — like burn-through and holograms — that damage clear coat.
Where to Start
Read how to polish a car, grab a proven polish and a beginner-safe DA polisher, and always seal your work afterward with wax or ceramic. The topical map below links every part of the correction process.
Affiliate Disclosure
Some links on this page are affiliate links. If you buy through them we may earn a small commission at no extra cost to you. It never changes our verdicts — we only recommend gear we would run on our own cars. Read the full disclosure.