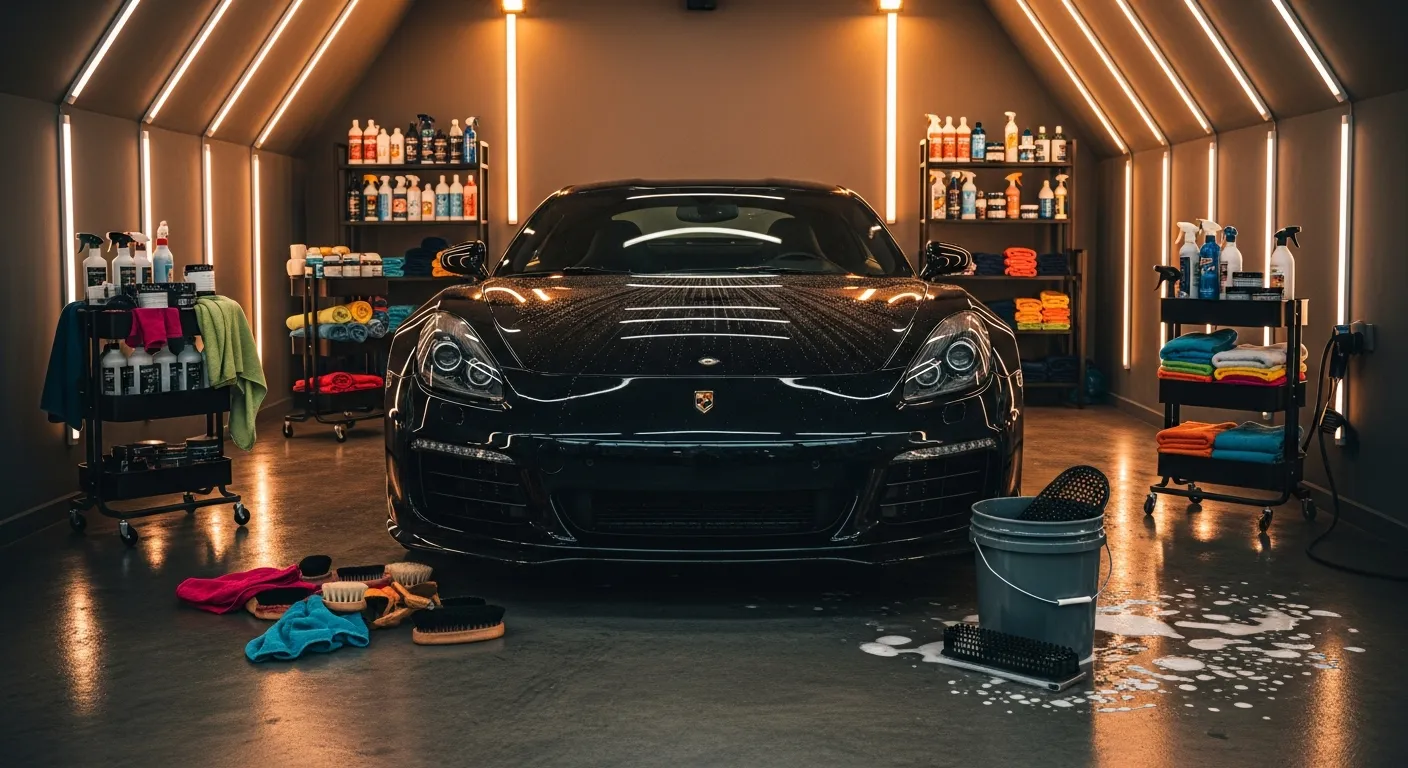
Detailing a car is not one skill — it is a sequence. Do the steps in the right order and each one sets up the next: a clean panel takes decontamination better, decontaminated paint polishes cleaner, and polished paint holds protection longer. Do them out of order and you end up redoing work, or worse, locking dirt under a coat of wax. This guide is the definitive overview of the whole process, start to finish, with each stage linking to a deeper hub when you are ready to master it.
The golden rules that hold the whole thing together: work top to bottom and dirtiest-first, keep clean surfaces away from dirty ones, and never let one stage undo the last. With that in mind, here is the full process — exterior first, then interior.
The Exterior Process, In Order
Step 1: Wheels and tires first
Wheels are the filthiest part of the car, caked in brake dust and road grime, so they go first — before you get any wash water on the paint. Cleaning them last would fling grit and cleaner onto panels you just finished. Get the wheels, tires and wheel wells done, then move up to the body. The full method lives in our wheels and tires hub.
Step 2: Rinse
A thorough rinse knocks off loose dirt and dust so it cannot get dragged across the paint in the next steps. A pressure washer makes this far more effective, blasting grit out of panel gaps and badges that a hose just dribbles past.
Step 3: Foam pre-wash
Before any mitt touches the paint, lay down a thick layer of foam. A foam cannon coats the car in cleaning solution that clings, softens and lifts stubborn dirt so much of it rinses away on its own. This single step prevents more swirl marks than almost anything else you can do.
Step 4: Hand wash
Now the contact wash. Using the two-bucket method — one soapy, one clean rinse — and a soft wash mitt, work top to bottom, rinsing the mitt often so you are never grinding trapped grit into the paint. This is where a careful technique pays off for years. Our washing your car hub covers it in full.
Step 5: Decontamination
Wash the car and it looks clean, but bonded contamination — brake dust, fallout, sap — is still stuck to the paint. An iron remover dissolves metal particles and a clay bar or mitt shears off the rest, leaving the surface glass-smooth and ready to correct or protect. Skip this and your wax will not bond or last. See the decontamination hub for how and when.
Step 6: Correct and polish
With the paint truly clean, you can address swirls, hazing and water spots. A polish, by hand for light work or machine for real correction, restores clarity and depth. This is the stage that turns "clean" into "wow," and because the next step seals in whatever the paint looks like now, it is worth doing before you protect.
Step 7: Protect
Finally, lock it all in. A wax, sealant or ceramic coating makes water bead, keeps dirt from bonding and gives that deep, wet finish. A carnauba wax is warm and easy; a sealant lasts longer; a ceramic coating protects for months to years if you are ready for the commitment. Whichever you choose, this is the layer that makes every earlier step last.
The Interior Process, In Order
Step 1: Declutter
Pull out floor mats, trash and personal items first. You cannot clean surfaces you cannot reach, and starting with an empty cabin makes every following step faster.
Step 2: Vacuum
Vacuum seats, carpets, mats and every crevice before you introduce any liquid. Cleaning wet carpet just turns dust into mud, so dry debris comes out first — then you can shampoo mats separately if they need it.
Step 3: Clean surfaces
Wipe down the dash, console, door cards, vents and plastics with an interior or all-purpose cleaner and a soft microfiber, working top down so drips land on surfaces you have not done yet. The interior detailing hub covers surface-by-surface technique.
Step 4: Condition leather and vinyl
Once surfaces are clean, treat leather and vinyl with a conditioner to keep them supple and protected from UV cracking. Do this after cleaning, never before, so you are not sealing grime into the material.
Step 5: Glass
Do the glass near the end, after surface cleaning, so any overspray or dust settling during earlier steps does not land on freshly cleaned windows. Use a proper glass cleaner and a waffle-weave towel for a streak-free finish inside and out. Our glass care hub has the streak-free method, and while you are thinking about clarity, foggy headlights are worth restoring too.
Step 6: Deodorize
The finishing touch. With every surface clean, treat the source of any odors and freshen the cabin so it smells as good as it looks. A clean car that smells stale never feels finished.
Putting It All Together
That is the whole process: seven exterior stages and six interior ones, each one earning its place in the order. You do not have to do every stage every time — a maintenance wash might be just rinse, foam, wash, dry and a spray sealant — but when you do a full detail, this sequence is the difference between spinning your wheels and steadily building a finish that lasts. Follow any link above to go deep on a single stage, and lean on the golden rules whenever you are unsure what comes next: top to bottom, dirtiest-first, and never undo the last step.
Affiliate Disclosure
Some links on this page are affiliate links. If you buy through them we may earn a small commission at no extra cost to you. It never changes our verdicts — we only recommend gear we would run on our own cars. Read the full disclosure.