
Affiliate Disclosure
Some links on this page are affiliate links. As an Amazon Associate, we earn from qualifying purchases — at no extra cost to you. We do not buy, test, or physically handle the products we cover; our rankings come from aggregated owner reviews, ratings and expert consensus. Commissions never change our verdicts. How we rank & full disclosure.
Short version: Interior detailing is about order, not just products. Declutter, then vacuum, then clean surfaces top-to-bottom, then condition what needs feeding, then deodorize and finish the glass last. Rush the order and you end up re-doing steps — dust settles back onto seats you already wiped, and streaks show up on glass you cleaned too early.
I detail a lot of cars, and the single biggest difference between a cabin that looks "cleaned" and one that looks properly detailed is discipline about sequence. It is the same logic as a good run through the touge — smooth, deliberate, no wasted movement. Below is the exact routine I use, in the exact order I use it.
Step 1: Declutter and empty everything
Before a single spray, pull everything out. Floor mats come out and get set aside. Empty the door pockets, the center console, the glovebox, the trunk. Toss the trash, and put personal items in a box so they are not sliding around while you work.
This step feels boring, but skipping it is why so many "details" look half-done. You cannot vacuum a footwell full of receipts, and you cannot wipe a console covered in coins and phone cables. Clearing the deck first means every later step goes faster and cleaner.
Step 2: Vacuum thoroughly, top to bottom
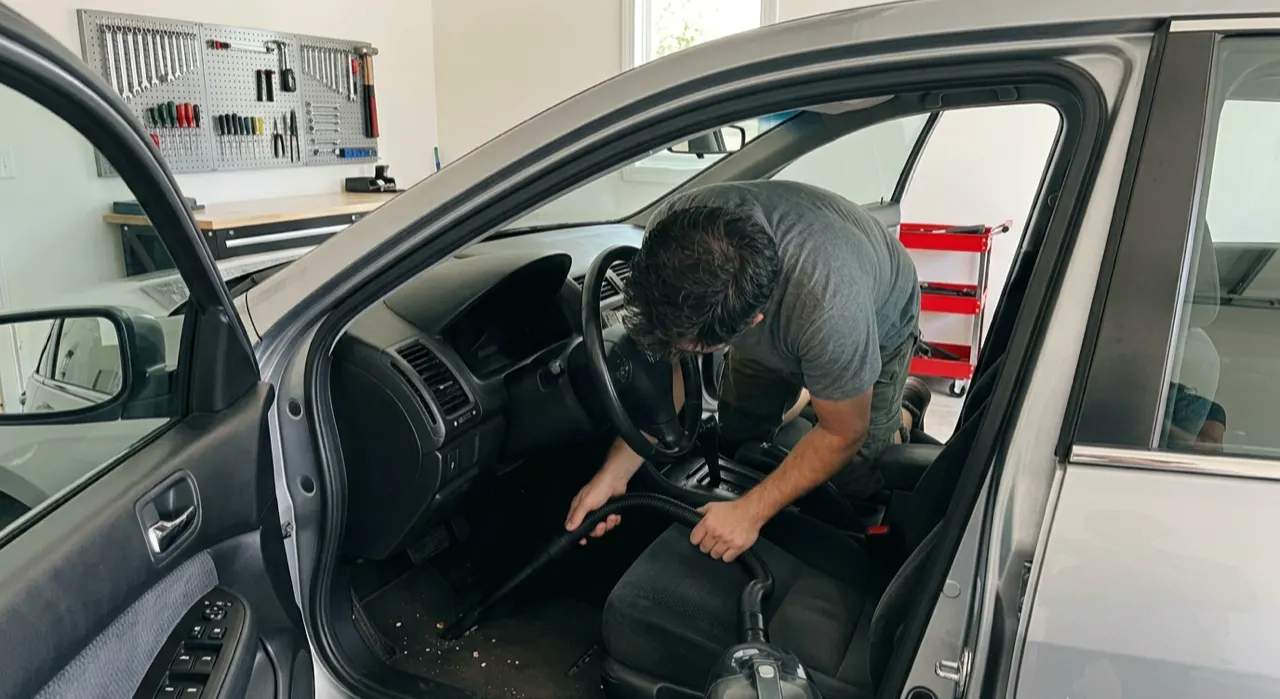
Vacuum before you introduce any moisture. Wet grit turns into mud, and mud stains. Start high — headliner and pillars get a light pass — then seats, then the crease where the seat back meets the base, then the carpets and footwells last.
Use a crevice tool for the seat tracks and the gap beside the console, and a soft brush attachment on the dash and vents so you are not scratching plastics. A stiff detailing brush agitates carpet fibers ahead of the vacuum nozzle and lifts embedded grit you would otherwise leave behind. If your car sees pets, this is where a dedicated approach pays off — our guide to removing pet hair from seats covers the tools that actually work when a vacuum alone gives up.
Step 3: Clean hard surfaces (dash, console, panels)
Now the moisture. Spray your all-purpose or interior cleaner onto a microfiber towel, not directly onto the surface — that keeps overspray off screens and out of switch gaps. Work top to bottom so any drips land on surfaces you have not cleaned yet.
Dash, gauge cluster surround, steering wheel, stalks, center stack, console, door cards. For textured plastic and around buttons, a soft detailing brush knocks dust out of the grain that a flat towel just glides over. Go easy around infotainment screens — a barely damp towel and a light touch, never solvent-heavy cleaner. For the dash specifically, the finish you leave behind matters as much as the clean; a glare-free result is the goal, which is exactly what we get into in our best dashboard cleaner breakdown.
Step 4: Treat seats and carpets
Cloth and carpet get a different approach than plastics. For general grime, a light mist of upholstery cleaner, a gentle scrub with a soft brush, and a blot with a clean towel is enough. The mistake beginners make is soaking the fabric — too much liquid pushes dirt deeper and takes forever to dry, which invites mildew and that damp smell.
For actual stains, work from the outside of the stain inward so you do not spread the ring, and blot rather than rub. If you are dealing with set-in stains on cloth seats or floor carpet, our dedicated upholstery cleaner guide walks through the products and the extraction technique that lift stains without drowning the padding underneath.
Step 5: Condition leather and protect plastics
Once surfaces are clean and dry, feed what needs feeding. Leather seats benefit from a proper cleaner-then-conditioner pass a few times a year — it keeps the hide supple and slows cracking on high-wear bolsters. Apply conditioner thin, let it soak, then buff off the excess so seats are not slippery.
For plastics and vinyl, a matte protectant with UV inhibitors is what you want. Avoid the high-gloss "wet look" dressings on the dash and steering wheel — they look cheap and, worse, they throw glare onto the windshield in bright sun. Satin, not shiny, is the detailer's rule inside the cabin.
Step 6: Deodorize, then finish the glass
Deodorizing comes near the end because odors usually live in the surfaces and vents you just cleaned. If the cabin still smells off after a thorough clean, the smell has a source you have not found yet — spilled milk under a seat, a damp mat, mildew in the AC. Masking it with a spray is a losing game. Track it down properly using our guide to removing car odors, then treat, then add scent if you want it.
Glass is dead last for a reason: everything you do before it — overspray, dressing mist, your own fingerprints — ends up on the windows. Clean it now and it stays clean. Use a dedicated automotive glass cleaner and two towels, one to clean and one to buff dry, and work in the shade so the cleaner does not flash off and streak. Interior glass fogs and hazes differently than exterior glass, and there is a real technique to a streak-free result, which we cover in cleaning interior glass streak-free.
Building your kit without over-buying
You do not need a shelf of specialist bottles to detail an interior well. The honest core kit is an all-purpose interior cleaner, a glass cleaner, a leather or plastic conditioner, a stack of clean microfiber towels, and a couple of soft detailing brushes. Add an upholstery extractor and odor treatment only if your car actually needs them.
If you would rather see what we reach for on real cars — the cleaners that lift grime without leaving residue or a chemical smell — we keep a running list of our ranked picks on the best car interior cleaner page. That is the money-saver, because it stops you buying three products that do the same job.
Keep it easy: maintain, do not rescue
The last lesson is the most useful. A car that gets a two-minute vacuum and a quick wipe every couple of weeks never needs a two-hour rescue. Detailing is dramatically easier when you are maintaining a clean cabin instead of resurrecting a neglected one. Keep a bag of clean microfibers and a small trash bin in the car, deal with spills the day they happen, and your "full detail" becomes a relaxed refresh instead of a battle.
Work the order every time — declutter, vacuum, clean, condition, deodorize, glass — and the results get consistent. That consistency is the whole point. For the full picture of every interior topic in one place, the interior detailing hub ties all of these steps together.
Recommended Products
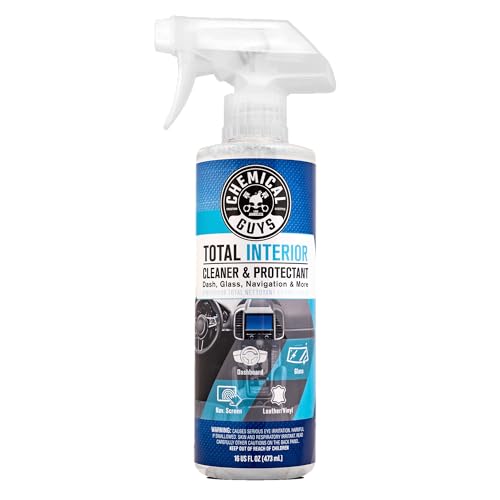
Best for one bottle for the whole interior
- Cleans plastics, vinyl, cloth & leather
- Adds UV protection
- Streak-free, no greasy shine
- Fresh scent
Why buy it: a genuine do-it-all interior cleaner that handles the clean-and-condition steps in one, and adds UV protection on top.

Best for fast wipe-downs on any surface
- Safe on every interior surface
- No greasy residue
- Quick spray-and-wipe
Why buy it: the easy, cheap all-surface spray for the two-minute maintenance wipe that keeps a cabin from ever needing a rescue.

Best for tackling heavier grime and stains
- Strong on set-in grime
- Works on carpet & upholstery
- Concentrated formula
Why buy it: the one to reach for when the interior is genuinely dirty and a light detailer is not enough.

Best for screens, gauges and soft-touch trim
- Gentle, residue-free
- Safe on screens & electronics
- No harsh solvents
Why buy it: the safe choice for touchscreens, gauges and delicate trim, where a stronger cleaner risks hazing or damage.

Best for the tightest budget
- Cheap and everywhere
- Decent all-round cleaning
- Foaming formula
Why buy it: a cheap, widely-available cleaner for basic interior upkeep when you just need something that works.
Prices are pulled from Amazon and were accurate as of Aug 22, 2026, 6:54 PM EDT. Product prices and availability are subject to change — the live price is shown on Amazon.