
Affiliate Disclosure
Some links on this page are affiliate links. As an Amazon Associate, we earn from qualifying purchases — at no extra cost to you. We do not buy, test, or physically handle the products we cover; our rankings come from aggregated owner reviews, ratings and expert consensus. Commissions never change our verdicts. How we rank & full disclosure.
Short version: clean wheels first, work dirtiest-to-cleanest, use a pH-neutral acid-free cleaner on any finish you are unsure about, agitate faces and barrels with dedicated brushes, and rinse thoroughly before drying. Do it weekly and it takes five minutes a corner. Skip it for a month and you are wrestling baked-on iron with a decontamination product.
Wheels are the hardest-working, dirtiest surface on your car. They live inches from the road, catch every bit of grime the tires throw, and get coated in brake dust that is basically hot iron particles fused to the finish. Clean them wrong and you either miss half the dirt or, worse, etch an expensive finish. Clean them right and it is genuinely one of the most satisfying jobs in detailing — the transformation is instant.
What You Need Before You Start
You do not need a shop full of gear, but a few dedicated tools make this fast and safe:
- An acid-free, pH-neutral wheel cleaner. This is your safe universal option. If you want the ranked lineup, see our wheel cleaner picks.
- A soft wheel-face brush for spokes and the outer faces.
- A long barrel brush to reach behind the wheel — the part almost everyone forgets.
- A lug/detail brush for tight spots around bolts and valve stems.
- A separate bucket and mitt that never touch your paint. Wheel grit is the enemy of swirl-free paint.
- Microfiber towels reserved only for wheels.
Keeping wheel tools separate from body tools is not fussiness — it is how you avoid dragging metal shavings and brake dust across your clear coat next wash. Our wheel brushes guide covers exactly which brushes reach which spots.
Know Your Finish First
The single most important safety step is knowing what finish you are working with, because it determines which cleaner is safe. Painted and clear-coated wheels (the most common on modern cars) tolerate any quality acid-free cleaner. Chrome, polished, anodized, and matte finishes are more sensitive and should never see acid-based products. If you genuinely do not know what your wheels are, default to a gentle pH-neutral cleaner — it is safe across the board. I break the whole thing down by finish type in wheel cleaner by finish, which is worth a two-minute read before your first deep clean.
The Step-by-Step Process
Here is the exact order I use on every car. Do the wheels one corner at a time so the cleaner never dries on the surface.
- 1. Do this before the body wash. Wheels are filthiest, so they go first. This keeps their grime off your later paintwork.
- 2. Rinse the wheel. Blast off loose dirt and dust with a hose or pressure washer. The less grit you drag around with a brush, the fewer micro-scratches you create.
- 3. Spray on the cleaner. Coat the entire wheel — face, spokes, and into the barrel. Let it dwell for 30 seconds to a couple of minutes so it can start breaking down the grime. Do not let it dry.
- 4. Agitate. Work the faces and spokes with the soft brush, then run the long barrel brush behind the wheel. This is where the real dirt hides. Hit the lug area with the small brush.
- 5. Do the tire. Scrub the sidewall with a stiff brush and some all-purpose cleaner to strip old dressing and browning. Clean tires are what make fresh tire dressing look right.
- 6. Rinse thoroughly. Flush every trace of cleaner from the face and barrel. Leftover product can streak or, on some finishes, stain.
- 7. Dry. Use a dedicated microfiber to dry the faces and prevent water spots, especially on darker or polished finishes.
That is it. Five to ten minutes a corner once you have the rhythm.
When Brake Dust Will Not Budge
Sometimes you scrub and there are still stubborn dark specks that will not come off. Those are bonded iron particles from your brake pads that have fused into the finish. A normal cleaner cannot lift them — you need an iron remover, which chemically dissolves the iron and famously bleeds purple as it works. Spray it on, let it dwell, agitate, and rinse. It is a genuinely dramatic before-and-after. I cover when and how in iron remover for wheels, and there is a whole piece on keeping this stuff off in the first place in killing brake dust.
Mistakes That Wreck Wheels
A few habits do real damage:
- Using acid cleaners on the wrong finish. Etched chrome or hazed polished lips do not come back. Match the cleaner to the finish.
- Letting cleaner dry on the wheel. This can stain and streak. Work in shade, one wheel at a time.
- Sharing tools with the paint. Wheel grit on a body mitt equals swirls. Keep everything separate.
- Ignoring the barrel. The inside of the wheel holds more dust than the face. A barrel brush is non-negotiable.
Make the Next Wash Easier
Once wheels are genuinely clean and dry, protecting them pays off every single wash after. A ceramic coating on the barrels and faces makes brake dust sit on top instead of bonding, so it rinses away with a fraction of the effort. It is a one-time job that turns a ten-minute chore into a two-minute rinse. I walk through it in protecting wheels with ceramic.
Clean wheels are the detail that makes an average wash look pro. Get the order right, keep your tools separate, match the cleaner to the finish, and reach into that barrel. Do that weekly and your wheels never become a project — they stay a quick, satisfying part of every wash.
Recommended Products
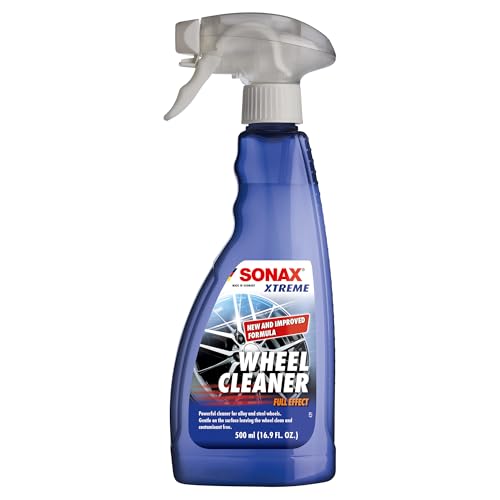
Best for one bottle that cleans almost every finish safely
- pH-balanced, acid-free formula
- Iron-remover color-change action
- Safe on nearly all finishes
- Clinging gel that stays put
Why buy it: the safest all-rounder for the job in this guide — an acid-free iron remover that clings, changes color as it works, and rinses filthy wheels clean without you scrubbing yourself raw.

Best for weekly maintenance on a normal daily driver
- Acid-free, all-finish safe
- Thick foaming action
- Great price per ounce
Why buy it: the cheapest acid-free foam we trust for the weekly wash — it grips the wheel and lifts everyday brake dust with zero drama on any finish.

Best for neglected wheels with baked-in iron fallout
- Dedicated iron-fallout remover
- Dramatic purple bleeding action
- pH-neutral and coating-safe
Why buy it: the decontamination step for stuck-on brake dust this article warns about — a pure iron remover that dissolves embedded particles most cleaners just skate over.
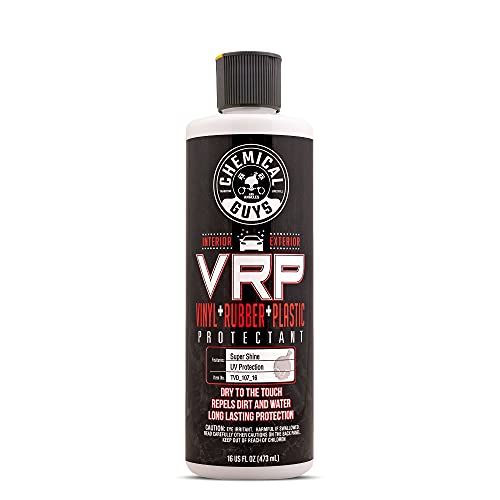
Best for finishing the tire once the wheel is clean
- Water-based — gentle on rubber and easy cleanup
- Dries to the touch, which keeps it from slinging
- Dial the gloss: buff for satin, layer for a wetter look
- Doubles on wheel-arch plastic and bumper trim
Why buy it: the most-reviewed dressing here — the last step that makes a clean wheel look finished, with a controllable satin-to-gloss finish that flashes off dry instead of slinging.
Prices are pulled from Amazon and were accurate as of Aug 22, 2026, 6:54 PM EDT. Product prices and availability are subject to change — the live price is shown on Amazon.