Ask any detailer what separates a ceramic coating that looks stunning at the five-year mark from one that looks tired at eighteen months and the answer is always the same: prep. The coating itself does not create perfection — it locks in whatever surface you hand it. Give it a contaminated, swirl-riddled panel and that is exactly what gets preserved under 9H hardness for the next several years.
This guide covers every step of proper paint prep before ceramic coating: decontamination, paint correction and the final panel wipe. Whether you're doing a full enthusiast prep on a weekend project or working out where you can cut corners on a daily driver, you'll know exactly what to do and why by the end. It pairs with our application guide for the steps that follow.
Why Prep Is Permanent Under a Ceramic Coating
Ceramic coatings cure into a semi-permanent bond with the clear coat — their whole value proposition. But it also means anything trapped beneath the coating (iron particles, tar spots, sanding marring, swirl marks) is sealed in place. You cannot polish over a cured coating the way you can with wax. To fix a defect after application you're cutting through the coating itself, which is painful and expensive. The phrase you'll hear is: ceramic coating amplifies, it does not hide. The depth and gloss it adds also makes every remaining imperfection more visible under direct light. That's why prep is not optional. It is the job.
When You Can Actually Skip Paint Correction
The honest answer to do I need to polish before ceramic coating? You can skip the correction stage if: the paint is genuinely new (a fresh respray or an unregistered car that has never seen a swirl-inducing automatic wash); the defects are minor and the car lives under a cover and only comes out on dry days; or the paint has significant depth issues where heavy correction would risk burning through. In every other scenario — a used car, a car that has ever seen a servo auto-wash, a car with visible swirls in sunlight — some level of correction is worth it.
The Full Prep Flow: Step by Step
This is the sequence. Follow it in order. Each stage removes a category of contamination or defect; skipping one leaves a problem the next stage cannot fix.
Step 1: Thorough Pre-Wash and Two-Bucket Wash
Start with a proper pre-rinse or snow foam to loosen surface contamination, then do a two-bucket hand wash — one bucket with shampoo, one with clean rinse water and a grit guard in each. Use a quality microfibre mitt, work panel by panel top to bottom, and rinse the mitt in the clean bucket before reloading. The goal is to remove loose dirt and any wax or sealant that would interfere with decontamination. Use a standard pH-neutral shampoo (not a coating-prep shampoo yet). Dry fully with a clean waffle-weave microfibre, in the shade or indoors.
Step 2: Iron Fallout Decontamination
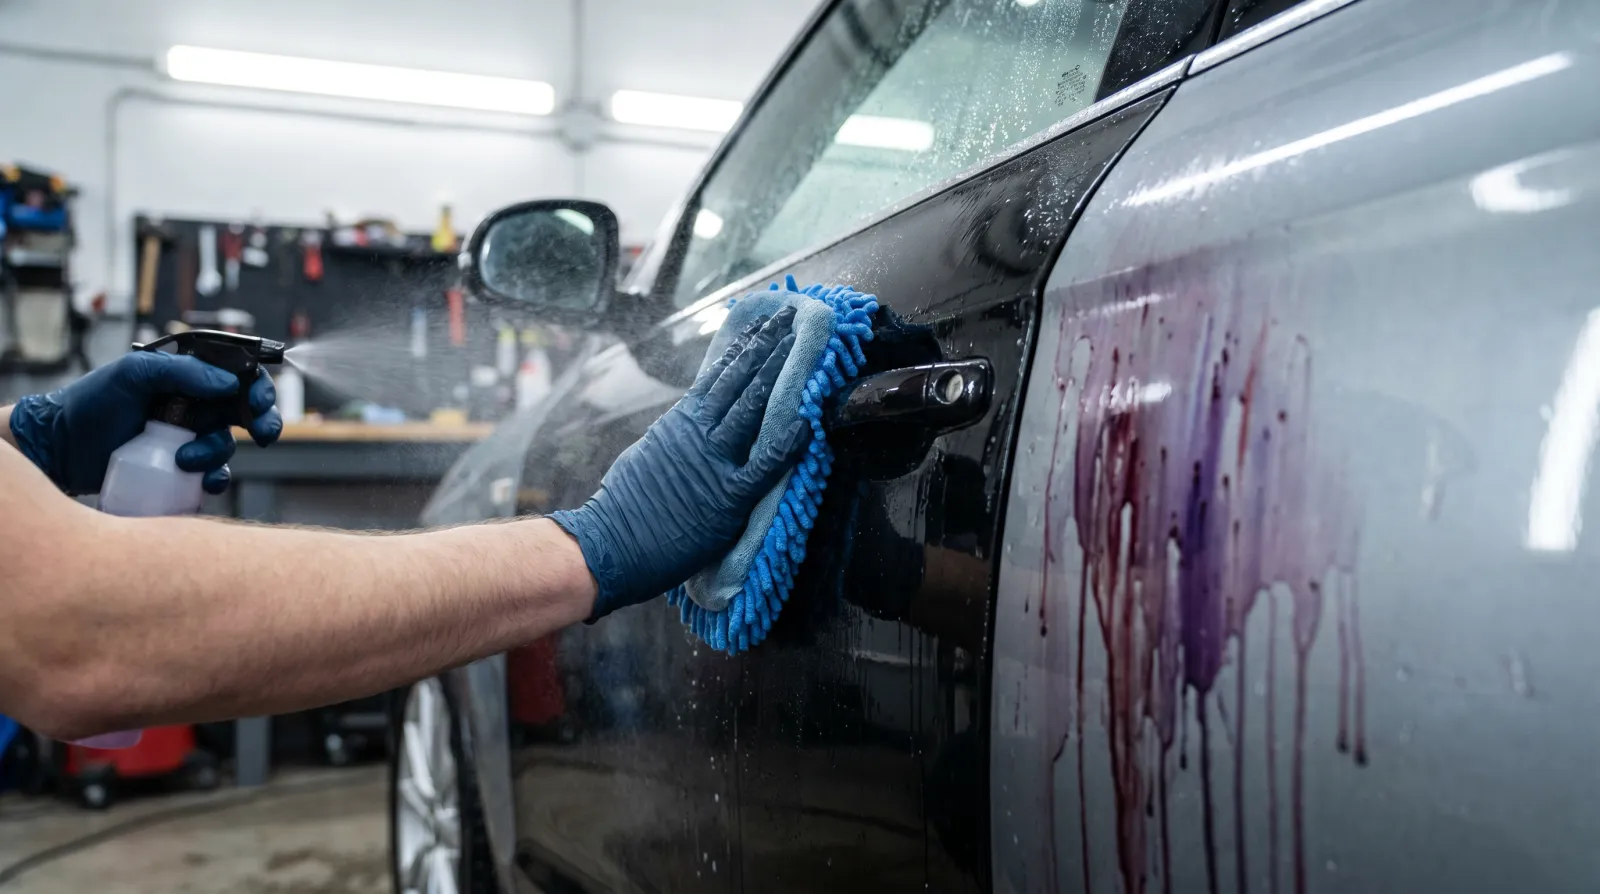
Even on a visually clean car, brake dust and rail dust embed iron particles into the clear coat that no wash will shift. A dedicated iron fallout remover (CarPro IronX, Gyeon Iron, Sonax Full Effect) chemically reacts with ferrous contamination and turns purple-red as it dissolves. Spray on a cool, wet panel, dwell two to four minutes, then rinse thoroughly. Do not let it dry — work in sections and keep the panel wet during dwell.
Step 3: Tar and Adhesive Removal
Iron remover does not touch tar spots, road-paint overspray or adhesive residue. Those need a dedicated solvent-based tar remover applied on a microfibre, pressed against the spot for ten to twenty seconds before gently wiping. Common areas: lower doors, sills, and the front bumper. Wash the panel again after to remove solvent residue.
Step 4: Clay Bar or Clay Mitt
Even after chemical decontamination, physical contamination remains bonded to the clear coat — run a fingertip across a dried panel and it feels like sandpaper. That roughness is silica and embedded particles needing mechanical removal. Use plenty of clay lube or diluted detail spray, work a section with light overlapping strokes, and fold the clay regularly to a clean face. A clay mitt is faster and more forgiving. After claying, the panel should feel glass-smooth to a bagged hand (the bag test). Clay can cause fine marring, which is why correction follows it rather than precedes it.
Step 5: Paint Correction — Compound and Polish
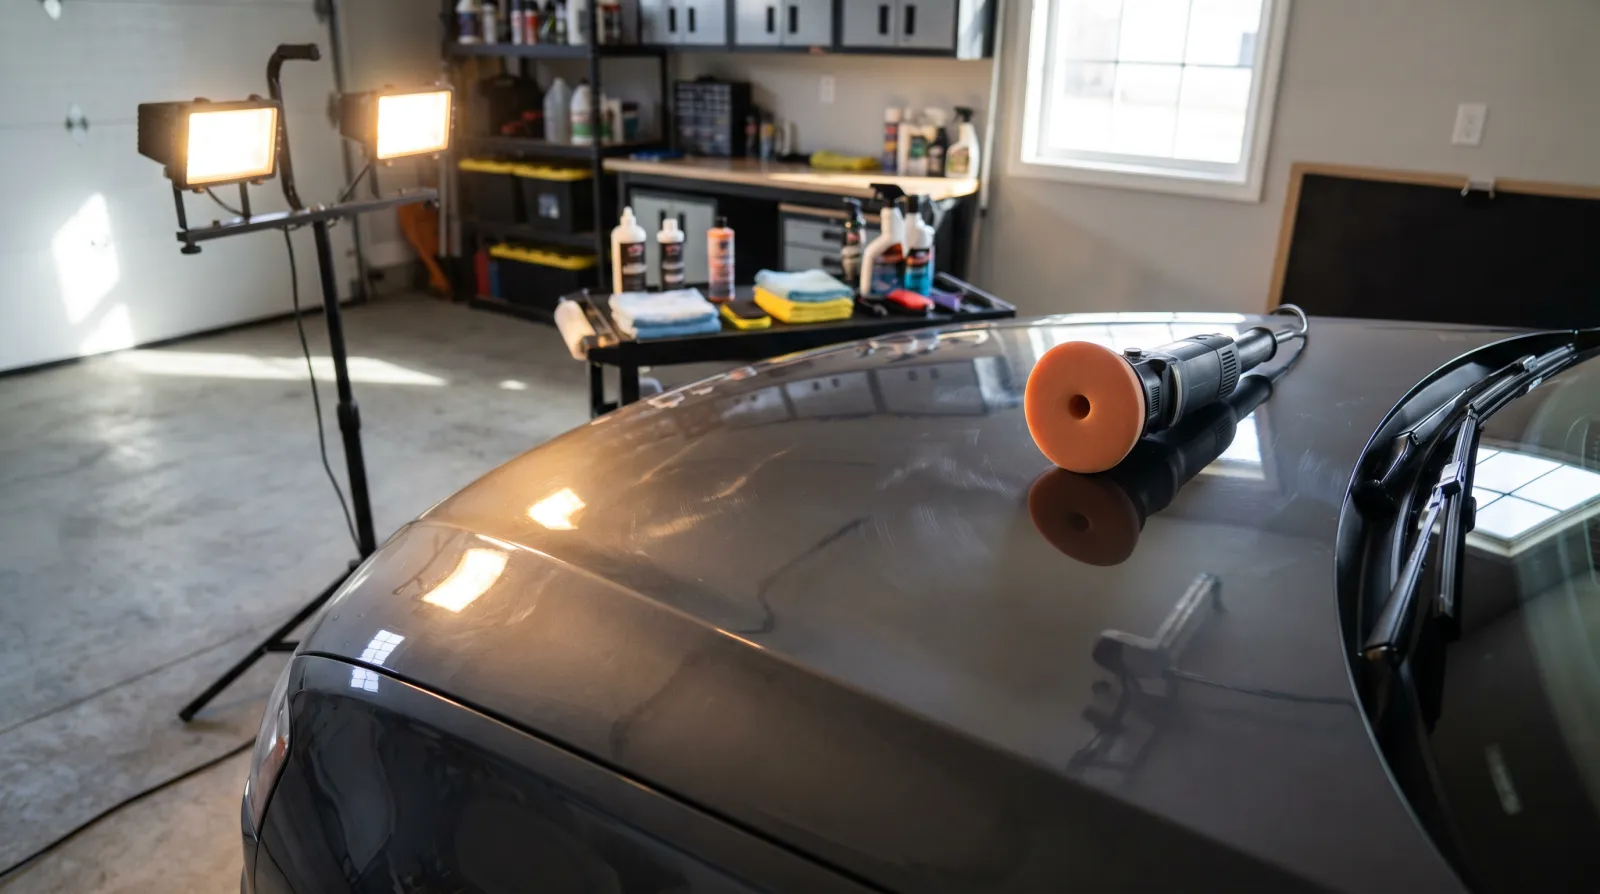
The stage most people under-estimate. Correction means mechanically abrading the clear coat to remove scratches, swirls, water etching and oxidation. Single-stage correction is a finishing polish on a finishing pad to refine the surface and remove light swirls — for a car in good shape. Two-stage correction is a cutting compound on a cutting pad first (removes the defects), followed by a finishing polish on a finishing pad (refines the surface the compound leaves behind) — the right approach for most used cars.
The tool is a dual-action polisher (DA). Rotary polishers cut faster but are unforgiving in amateur hands; a DA randomly oscillates, generating less heat and making it much harder to burn through. Cutting pads are firmer and more abrasive (used with compound); finishing pads are softer (used with polish). Don't mix them up. Work under a panel inspection light, confirm defects are gone before moving on, and remove polish residue from each panel with a clean microfibre.
Step 6: Tape Off Trim and Rubber
Before the IPA wipe, tape any plastic trim, rubber seals and textured black plastic bordering the panels you're coating. Ceramic coating on matte or textured plastic can leave a hazy residue that's hard to remove once cured. Painter's masking tape along door rubbers, window trim and emblems takes ten minutes and saves a headache. (Dedicated plastic trim coatings, where used, are applied separately.)
Step 7: IPA Wipe / Panel Wipe
The final and most important step before the coating goes on. An IPA wipe — isopropyl alcohol diluted to around 70% with distilled water, or a dedicated panel wipe (CarPro Eraser, Gyeon Prep) — removes any remaining polish oils, wax residue, fingerprints or contamination a cloth alone would miss. Work panel by panel: wipe on with a clean microfibre, immediately wipe off with a second clean microfibre in a cross-pattern. The surface should squeak slightly when you drag a clean cloth — that's bare, clean clear coat. Do not touch the panel with bare skin afterward; the oils from your fingerprints prevent bonding. Apply the coating to each panel immediately after the wipe — wipe, coat, flash, level.
Common Mistakes That Kill the Prep
- Skipping decontamination and going straight to clay. Clay can't remove dissolved iron particles — that's a chemical job. Do both.
- Using a polish with heavy fillers before coating. Fillers temporarily mask scratches with oils that wash out, so defects reappear after coating. Use a filler-free finishing polish.
- Handling panels after the IPA wipe. One fingerprint undoes it. Gloves on from the IPA stage forward.
- Coating in direct sun or on hot panels. The coating flashes too fast and high spots form — see our guide to avoiding high spots.
- Not checking your work under a proper inspection light. The difference between 70% and 95% correction is invisible until the coating turns the panel into a mirror.
How Long Does This Take?
For a standard mid-size sedan in average condition: wash and dry 1–1.5 hours; iron fallout and tar 45–60 minutes; clay 45–60 minutes; single-stage polish 3–5 hours (two-stage correction 6–10 hours); IPA wipe 30–45 minutes. Yes, this is a day's work minimum for a basic prep, and a full weekend for a proper two-stage correction. That's the reality. If a detailer quotes a ceramic job done start-to-finish in under four hours on a used car, ask exactly how they're handling prep — the answer tells you a lot.
Ready to Apply the Coating?
Once prep is complete — surface glass-smooth, IPA-clean, panels taped, gloves on — you're ready for application. Head to our step-by-step application guide for how to apply, flash and level correctly, or back to the ceramic coating pillar page for the full topical map. Do the prep right. The coating is the easy part.
Affiliate Disclosure
Some links on this page are affiliate links. If you buy through them we may earn a small commission at no extra cost to you. It never changes our verdicts — we only recommend gear we would run on our own cars. Read the full disclosure.