Ceramic coating is one of the few car-care products that actually lives up to the hype — when it's applied correctly. When it's not, you end up with high spots, hazy panels, and the grim realisation that you've just permanently locked a mess into your paint. This guide will stop that happening.
This is a step-by-step walkthrough of the entire DIY process, from the decontamination wash all the way through curing. It assumes you're doing this for the first time and want to get it right, not fast. If you want the abbreviated version or product picks, the complete ceramic coating guide is the place to start. For an honest breakdown of the kits worth buying, we've listed the kit we'd buy.
Read the whole guide before you touch your car. Seriously.
What You'll Need
Get everything together before you start. Mid-application is a terrible time to discover you're out of microfibre cloths.
- Two-bucket wash setup — wash bucket + rinse bucket, grit guards in both
- Iron-fallout remover — CarPro IronX, Koch-Chemie FF, or similar
- Clay bar (medium grade) and clay lubricant
- Dual-action polisher (DA) and foam pads — if doing paint correction
- Machine polish or compound appropriate for your paint hardness
- Panel wipe / IPA solution — 70/30 IPA-to-water mix or a dedicated product like CarPro Eraser
- Applicator blocks with suede microfibre applicators — have spares
- High-quality microfibre levelling cloths — minimum four large panels' worth
- Nitrile gloves — SiO&sub2; compounds bond to skin; wear them the entire time
- Your chosen ceramic coating — Gtechniq Crystal Serum Light, CarPro CQuartz UK 3.0, or Gyeon Q² Mohs are the three we'd point beginners toward
- LED inspection lamp or swirl finder — you cannot work without one
- Masking tape — for protecting trim and rubber seals during polish
Cost note: a single 30 ml or 50 ml bottle of consumer-grade SiO&sub2; coating handles a full-size car with careful application. Don't over-dispense.
Step 1: Full Decontamination — The Part Most DIYers Rush
A ceramic coating bonds directly to your clear coat. Anything sitting between the coating and the paint — iron particles, tar, wax residue, industrial fallout — becomes permanently sealed in. This step is non-negotiable.
1a. Wash the car thoroughly
Use a pH-neutral shampoo and the two-bucket method. Wash top to bottom, rinse well, dry completely with a clean waffle-weave drying towel. Do not use any product containing wax, silicone, or gloss enhancers — these will interfere with coating adhesion.
1b. Iron-fallout remover
Spray an iron-fallout remover across all painted surfaces and alloy wheels. CarPro IronX is the benchmark. You'll see the product turn purple as it reacts with embedded ferrous particles. Let it dwell three to five minutes, agitate gently if needed, then rinse fully. On older cars the reaction can be dramatic — that's contamination you don't want under your coating.
1c. Clay bar decontamination
Even after a good iron-fallout treatment, bonded surface contaminants remain. A clay bar removes them mechanically. Fold the clay, flatten it, spray your clay lubricant, and work in overlapping straight passes — not circles. Check the clay surface every few passes: when it picks up grey or brown discolouration, fold it to a clean face. The paint should feel glass-smooth when you run a knuckle across it. If it still catches, clay it again.
After claying, wash the car again with a final rinse. Any clay lube or decontamination residue needs to be off before you move forward.
Step 2: Paint Correction (If Required)
This is the question we get asked most: do you need paint correction before ceramic coating? The short answer is yes, if your paint has swirl marks, marring, light scratches, or oxidation. A ceramic coating enhances gloss and deepens reflections; it also locks in every defect. If your paint looks poor now, it will look like glossy poor paint after coating.
The full process is covered in the paint prep and correction deep-dive, but here's the summary:
- Inspect paint under an LED swirl finder at multiple angles.
- If defects are present, use a dual-action polisher with an appropriate pad and polish — medium cut for swirls, heavier compound for scratches, finishing polish last.
- Tape off all rubber seals, plastic trim, and badges before polishing.
- Work panel by panel, checking correction progress under the lamp before moving on.
- Finish with a final-stage polish on a soft finishing pad to remove any micro-haze.
If your paint is in genuinely good condition — bought new, garaged, never swirled — you can skip machine polishing and move straight to the IPA wipe. Very few daily drivers fit that description.
Step 3: IPA Panel Wipe — The Critical Pre-Coat Step
After polishing, the paint surface has polish oils and dust on it. If you apply coating over that, you will get poor bonding, fisheyes, and uneven flash. The IPA wipe (isopropyl alcohol panel wipe) strips all of it.
Use either a dedicated product like CarPro Eraser, Gtechniq Panel Wipe, or a DIY 70/30 mix of IPA and distilled water. Apply to a clean microfibre cloth — never spray directly onto paint. Work panel by panel in straight passes. Use a fresh side of the cloth for every panel. Once a panel is wiped, do not touch it with bare hands — oils from skin will contaminate what you just cleaned.
This step also reveals any polish haze your lights didn't catch. If you see it now, go back and re-finish that area before coating.
Step 4: Setting Up Your Environment
Ceramic coatings are genuinely environment-sensitive. Ignoring this is how you end up with a disaster on your hands.
- Work in shade, always. Direct sunlight heats the panel, causing the coating to flash before you can level it.
- Temperature window: most consumer coatings specify 5–25°C. The ideal range is around 15–20°C. Below 5°C curing stalls; above 25°C the flash time drops dramatically.
- Humidity: moderate humidity (40–70%) is fine. Very high humidity extends flash time; very low humidity accelerates it.
- Dust-free environment: a sealed garage with the floor hosed down (let it dry) and no overhead disturbances is the goal. Any dust landing on wet coating is there permanently. Close the door. Keep pets outside.
If your garage isn't dust-free, consider a more forgiving coating (Gyeon Q² Mohs has a longer flash window than most) or split the work across two evenings so you're not rushing.
Step 5: Applying the Coating
This is where it all comes together. Read this section in full before opening the bottle.
Load the applicator correctly
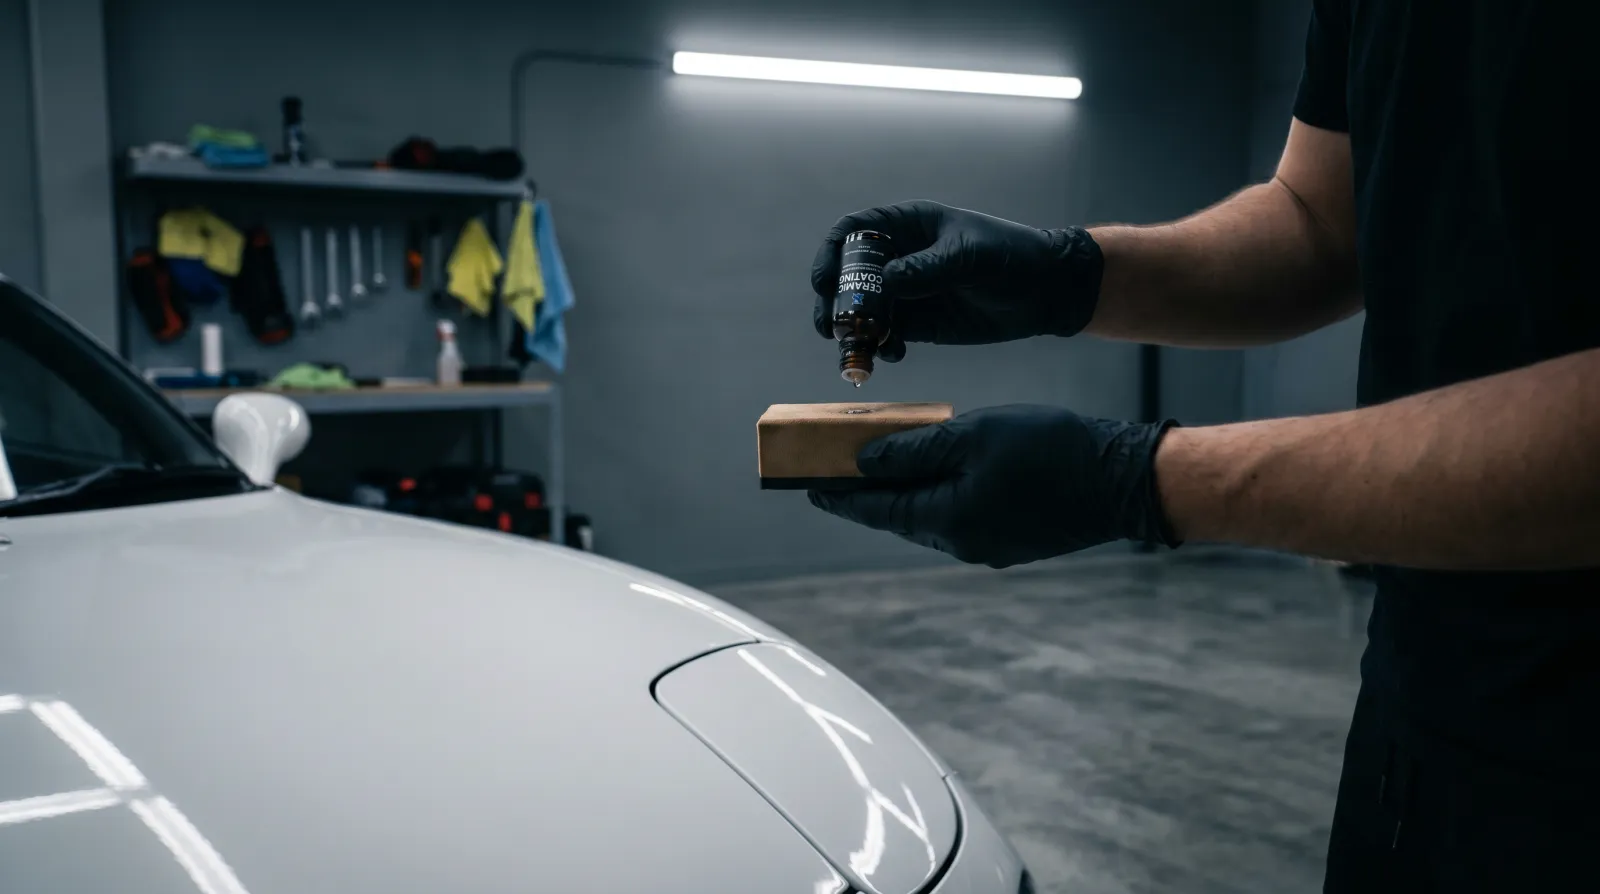
Prime your suede microfibre applicator over the applicator block. Apply two to three drops of coating to the applicator — that is all. Excess product is how high spots happen.
Work panel by panel
Never try to coat the whole car at once. You coat one panel, level it, then move to the next. The usual sequence: roof, bonnet, boot lid, front guards, rear guards, doors, front bumper, rear bumper. Save large horizontal panels for first while your technique is fresh.
Cross-hatch application
Apply the coating in a cross-hatch pattern: horizontal passes first, then vertical passes over the same area. This ensures even, full coverage with no missed sections. Keep pressure consistent and moderate — you're spreading, not pressing in. Work an area of roughly 50×50 cm at a time on larger panels. Re-apply two or three drops when coverage feels thin.
Flash time
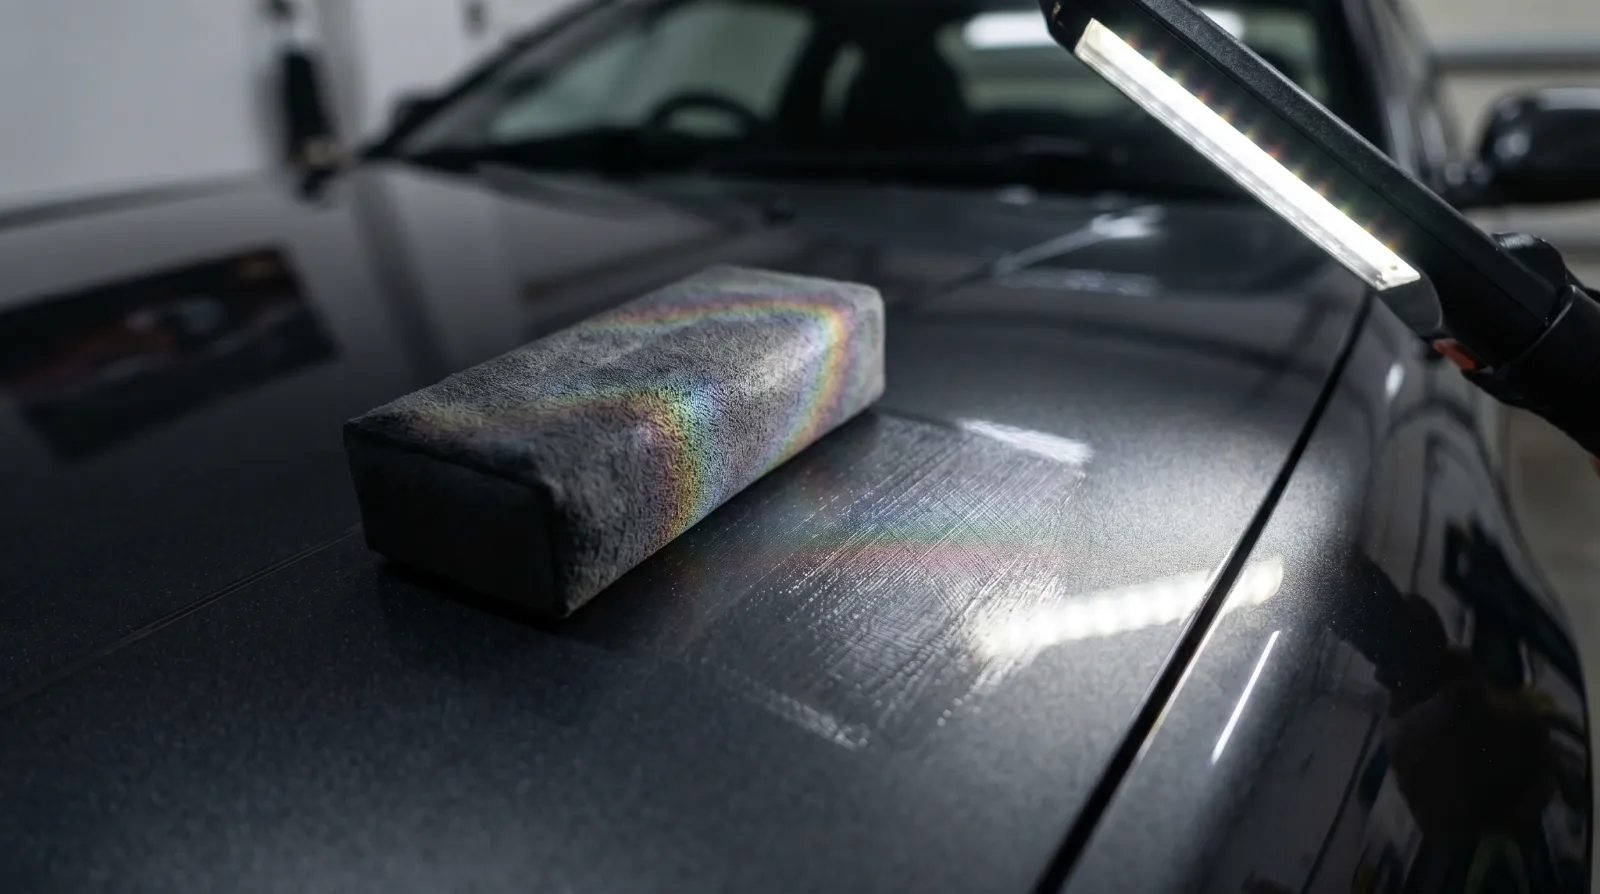
Flash time is the period between applying the coating and buffing it off. It varies by product, temperature, and humidity. Most consumer coatings specify 1–3 minutes at 20°C. You'll know it has flashed when it shows a rainbow iridescence and loses its wet sheen.
Do not buff before the flash — you'll wipe it off and waste material. Do not leave it too long either; if the coating goes hazy or chalky, it has over-flashed and a high spot is forming. Watch the clock and the panel.
Levelling and buffing off
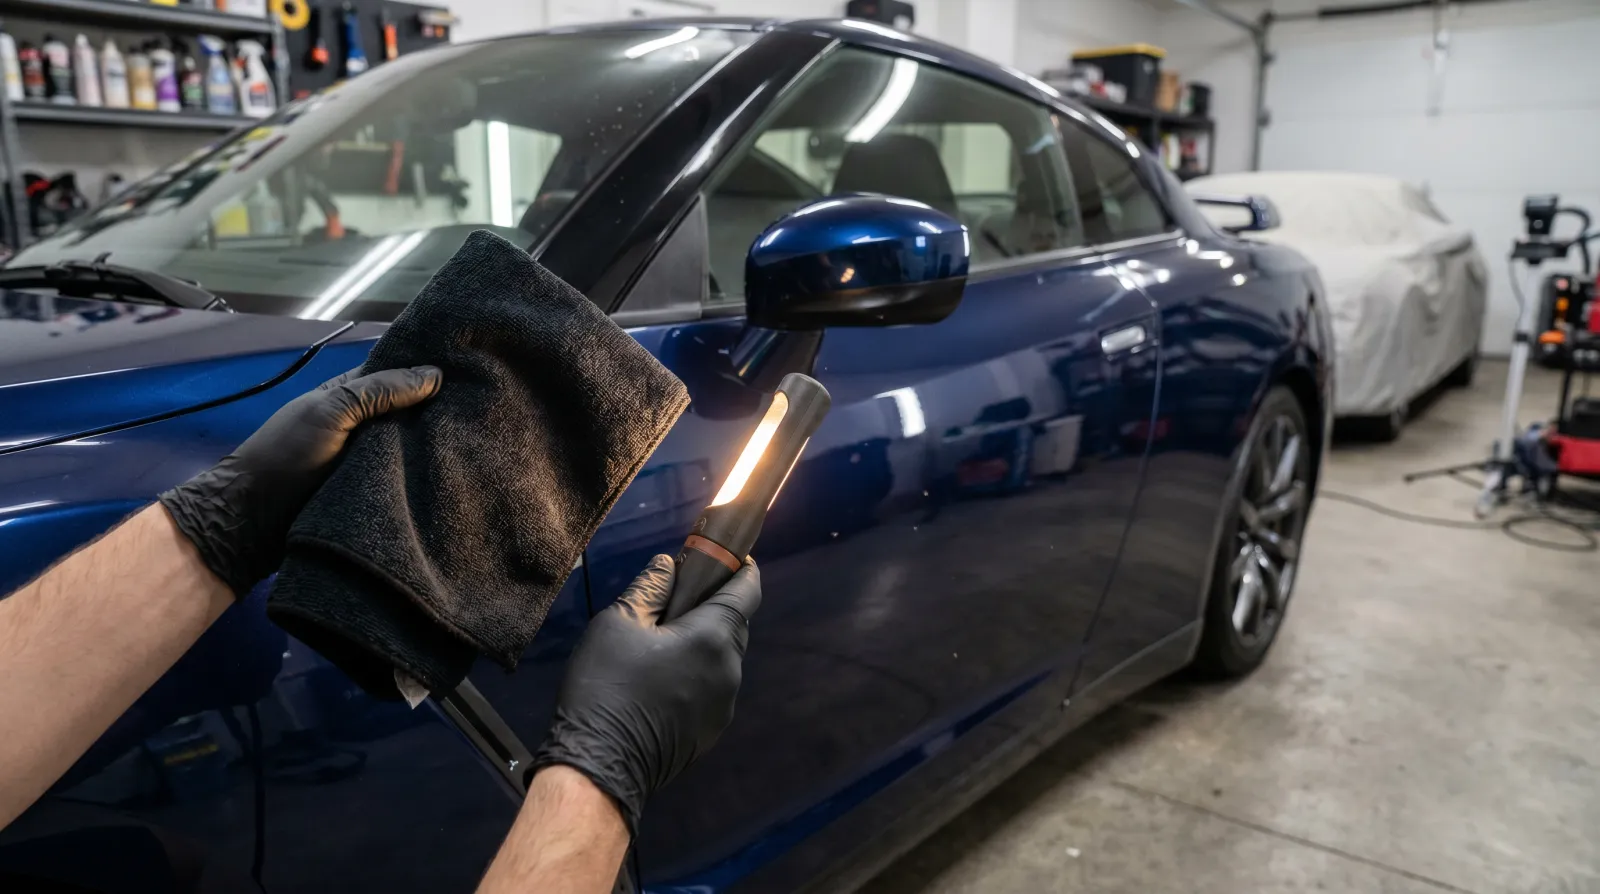
Once flashed, use a clean, plush microfibre levelling cloth to buff the coating off with light to moderate pressure, in straight passes. Turn the cloth to a clean face after every panel. After the initial buff, do a second wipe with a fresh cloth under your inspection lamp to catch any streaks or thin high spots. This secondary check under light is what separates a good DIY result from a great one.
Step 6: Single Layer vs. Multiple Layers
One properly applied layer of a quality consumer coating will give you 12–36 months of protection depending on conditions. You do not need three layers to get a good result.
If you want to add a second layer, wait for the first to reach initial cure — typically one to four hours. Apply the second using the same cross-hatch technique and fresh applicator materials. A second layer adds marginal additional hardness and gloss depth. Worth doing on a show car or a paint correction you spent two days on; on a daily driver, one good layer is the right call. If your product has a dedicated topper (Gtechniq C2 over Crystal Serum Light, for example), follow the brand's own layering guidance.
Step 7: Curing Time
Initial cure and full cure are different things. The coating is touch-dry within a few hours, but it's not set.
- First 24 hours: keep the car completely dry and sheltered. No dew, no rain, no washing.
- 48–72 hours: avoid all washing and waterless products. No carnauba or spray wax at this stage.
- Full cure: most consumer SiO&sub2; coatings reach full hardness between 7 and 21 days. Avoid automatic brush washes and harsh chemicals during this period.
The full breakdown of the curing window is covered in the ceramic coating curing time guide.
Avoiding High Spots: The Number-One DIY Mistake
High spots are areas where the coating has cured unevenly — typically because the product was over-applied, levelled too late, or not fully buffed. They show up as hazy patches, smears, or rainbow marks that don't wipe off.
Preventing them comes down to three things: don't over-apply (two to three drops per section), don't rush the flash (wait for the iridescence), and always do a final check under a focused lamp before moving to the next panel. If you catch a high spot while the coating is still workable, add one drop fresh to the applicator and lightly rework the area, then re-buff. Once hardened, your options involve machine polishing — which defeats the point. We have a dedicated article on identifying and removing ceramic coating high spots if you're already in that situation.
Final Thoughts
Ceramic coating at home is absolutely achievable on a first attempt if you prepare properly and work methodically. The vast majority of DIY failures come from one of three sources: rushing the decontamination, skipping the IPA wipe, or over-applying the coating and not levelling in time. Slow down at those three points and the rest follows.
The reward is real and measurable: proper hydrophobic sheeting in rain, easier maintenance washing, and paint that holds its depth for years. It's worth doing right.
Affiliate Disclosure
Some links on this page are affiliate links. If you buy through them we may earn a small commission at no extra cost to you. It never changes our verdicts — we only recommend gear we would run on our own cars. Read the full disclosure.