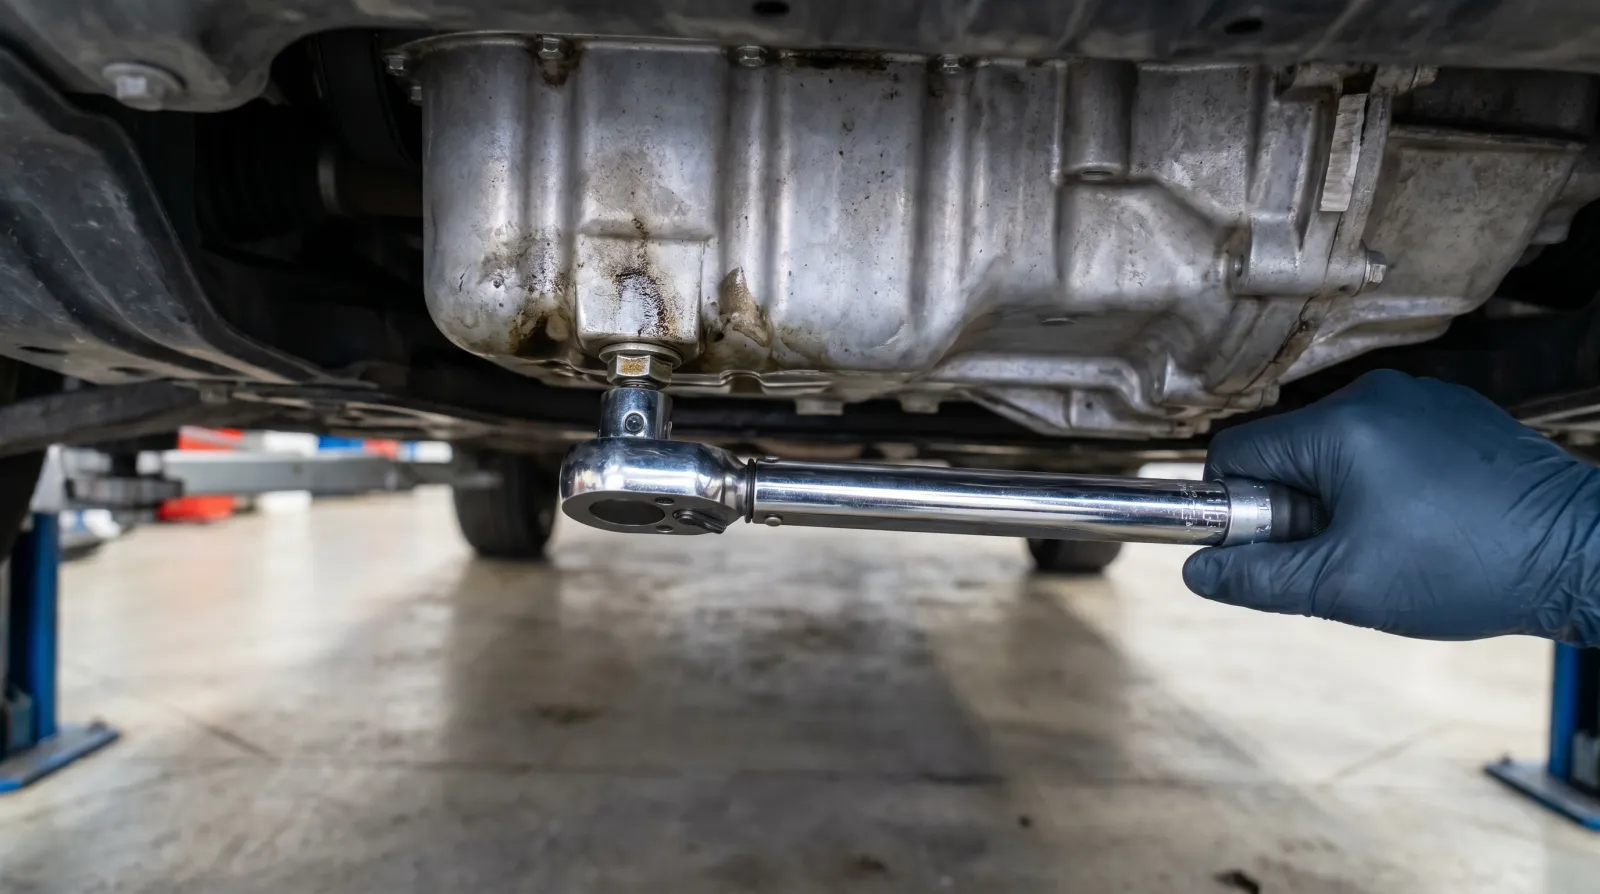
Two bolts. That's all that stands between your engine oil and the driveway. The drain plug and the oil filter are the most-touched fasteners in any DIY oil change, and they're also the ones most often over-tightened by well-meaning owners who figure tighter must mean safer. It doesn't. Strip the sump thread on an aluminium oil pan and you've just turned a forty-minute job into a workshop bill that hurts.
Standing rule before we go anywhere: every torque figure on this page is a general reference range only. Always verify against your vehicle's OEM service manual before you pick up a torque wrench. The right spec for a Honda K-series is not the right spec for a Toyota 1JZ. Look it up every time. This article is part of our DIY oil change hub; if you haven't read the full step-by-step yet, start there, and the tools breakdown covers what you need.
Drain Plug Torque: What the Numbers Actually Mean
Across a wide spread of Japanese, European and American passenger cars, drain plug torque specs commonly fall somewhere in the range of 25 Nm to 45 Nm (roughly 18–33 ft-lb), with a large cluster of popular JDM engines closer to 25–35 Nm. But that range is wide enough to matter, and if you guess wrong on an aluminium sump, you will feel it. Use a proper click-type or beam torque wrench set to the confirmed OEM value — not an impact gun, not a breaker bar by feel.
| Engine / Platform Type | Typical Range (Nm) | Typical (ft-lb) |
|---|---|---|
| Small JDM 4-cyl (Honda, Toyota) | 25–35 | 18–26 |
| Mid-size JDM inline-6 (RB, 1JZ) | 30–40 | 22–30 |
| European compact / VW group 4-cyl | 25–30 | 18–22 |
| Larger V6 / V8 (various) | 30–45 | 22–33 |
These ranges are for orientation only. Your actual spec could sit outside all of them. Verify.
The Crush Washer: Replace It Every Single Time
The crush washer — also called a sealing washer or drain plug gasket — is a soft metal ring that deforms slightly when the plug is torqued, creating a leak-free seal between the plug and the oil pan face. The deformation is the point. Once compressed, that shape is permanent, so reusing it means relying on a pre-crushed ring to seal under torque. Sometimes it holds. Often it weeps. Replace the crush washer every oil change. They cost fifty cents to two dollars. There is no financial argument for reusing one.
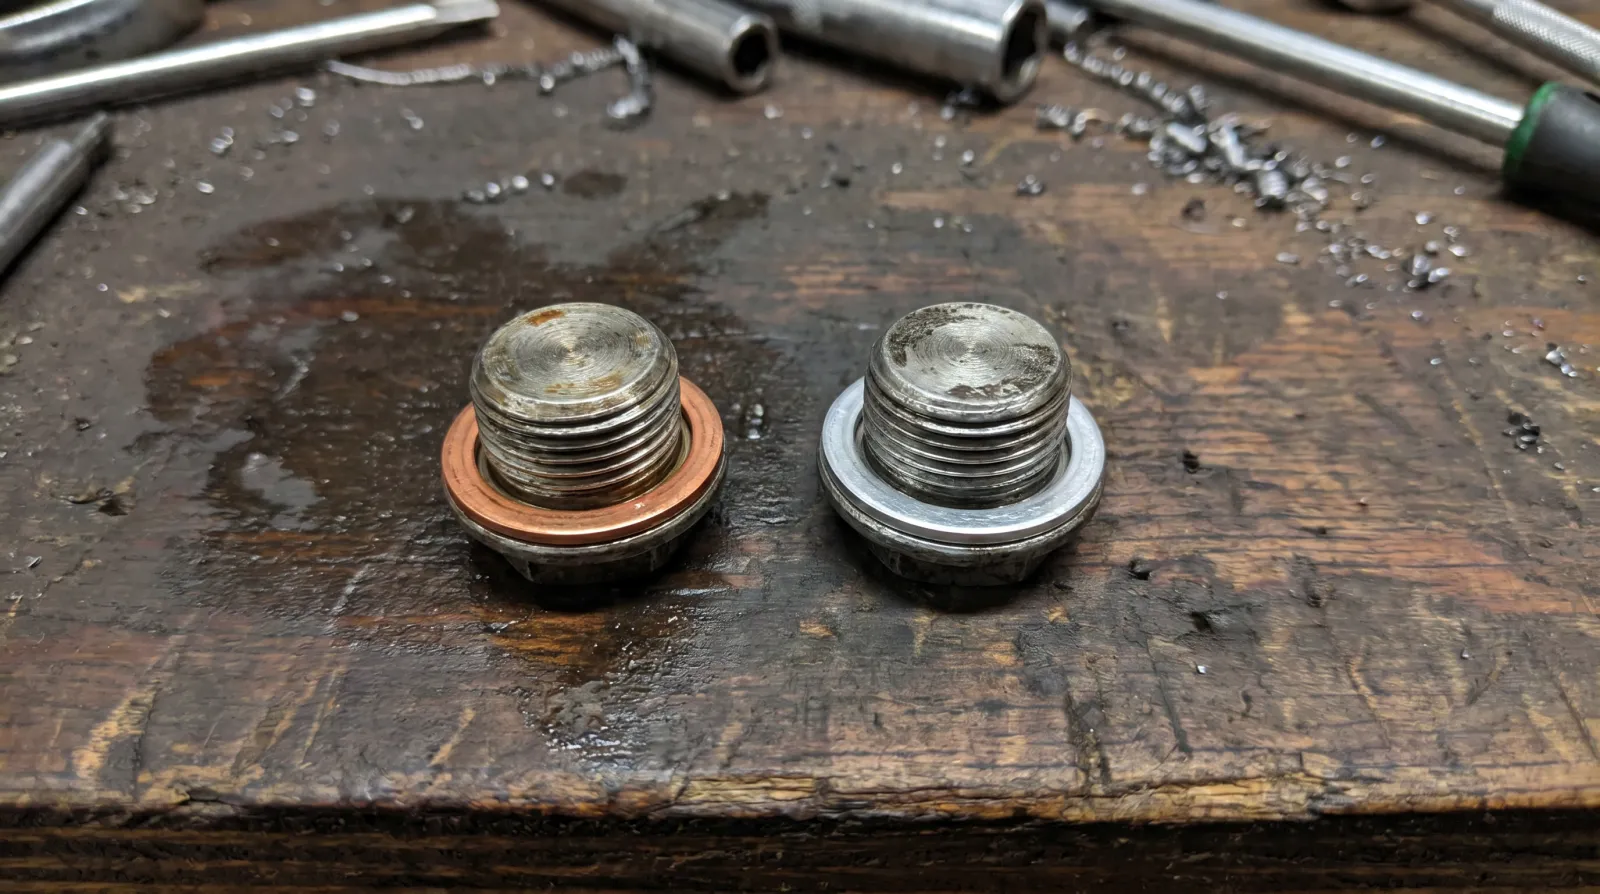
Copper vs Aluminium Crush Washers
Your application will specify one or the other. Copper washers are harder and seat at slightly higher torque; aluminium washers are softer, deform more readily, and are extremely common on Japanese applications — Honda in particular specifies aluminium for most drain plugs. Using the wrong material can affect the effective clamping torque and sealing behaviour. Match the OEM material.
Oil Filter Torque: Hand-Tight Plus Three-Quarter Turn
Spin-on filters do not get torqued with a wrench the way a drain plug does. The rule manufacturers endorse: hand-tighten until the gasket makes contact with the seating surface, then turn an additional three-quarter turn (270 degrees) by hand. No filter wrench on the install side. The rubber gasket does the sealing, not metal-to-metal torque — over-tighten and you distort the gasket, make the filter impossible to remove next time, or crack the housing. Wipe a thin film of clean oil around the gasket first, and check the old gasket came off with the old filter (a double-gasket situation will not seal and dumps oil on startup). Some cartridge filters in plastic housings have a specific torque, typically 20–30 Nm — look that up and use a torque wrench.
Preventing Cross-Threading: Start With Your Fingers
Cross-threading the drain plug is the first step toward a stripped sump, and it almost always happens because someone started the plug with a ratchet instead of their fingers. Start every drain plug installation by threading it in by hand. If you feel resistance before it should be seated, stop, back it out completely, inspect and clear any debris, and try again. Only reach for a tool once the plug is threading smoothly by hand for at least three or four turns.
What a Stripped Sump Plug Looks Like — and What to Do
Warning signs: the plug spins freely without resistance as you torque it, it seats but won't reach spec, or oil seeps around the plug face even when snugged down.
Option 1: Oversize or Self-Tapping Drain Plug
For minor thread damage, an oversize plug cuts new threads as it seats. Cheap, widely available, and effective on mild strip-outs in steel pans. Not a permanent fix on badly damaged aluminium.
Option 2: Thread Repair Insert (Time-Sert or Heli-Coil)
For aluminium sumps with damaged threads, a thread-repair insert is the proper fix. Time-Sert in particular is the preferred method among mechanics for aluminium oil pans — the insert locks in and you end up with threads often stronger than the original casting. Requires correct tooling and care about drill depth. If it's your first thread repair, having a shop do this part is a reasonable call.
Option 3: Replace the Oil Pan
On badly damaged or previously bodged pans, replacement is sometimes the cleanest solution — labour-intensive, but a fresh start.
Aluminium vs Steel Sumps: Why It Matters
Most modern Japanese and European engines use aluminium oil pans — lighter, but far less forgiving of over-torque than steel. Steel will tolerate some over-enthusiasm; aluminium will not. On a newer JDM engine, treat the drain plug torque spec as a hard ceiling, not a target to approach aggressively. Torque to spec. Stop. Done.
Quick Reference Before You Close the Drain
- Look up the drain plug torque spec for your specific engine before you start
- Replace the crush washer every change; match the OEM material (copper or aluminium)
- Hand-thread the plug at least three to four turns before using a tool
- Torque with a click-type wrench, not an impact gun or feel
- Oil filter: gasket contact plus three-quarter turn by hand; lube the gasket first
- Check the old filter gasket didn't stay behind on the block
- If the plug feels loose or spins freely at spec, stop and diagnose before driving
Get back to the full oil change walkthrough once you've confirmed your specs, or jump to the oil change hub for the rest of the series.
Affiliate Disclosure
Some links on this page are affiliate links. If you buy through them we may earn a small commission at no extra cost to you. It never changes our verdicts — we only recommend gear we would run on our own cars. Read the full disclosure.