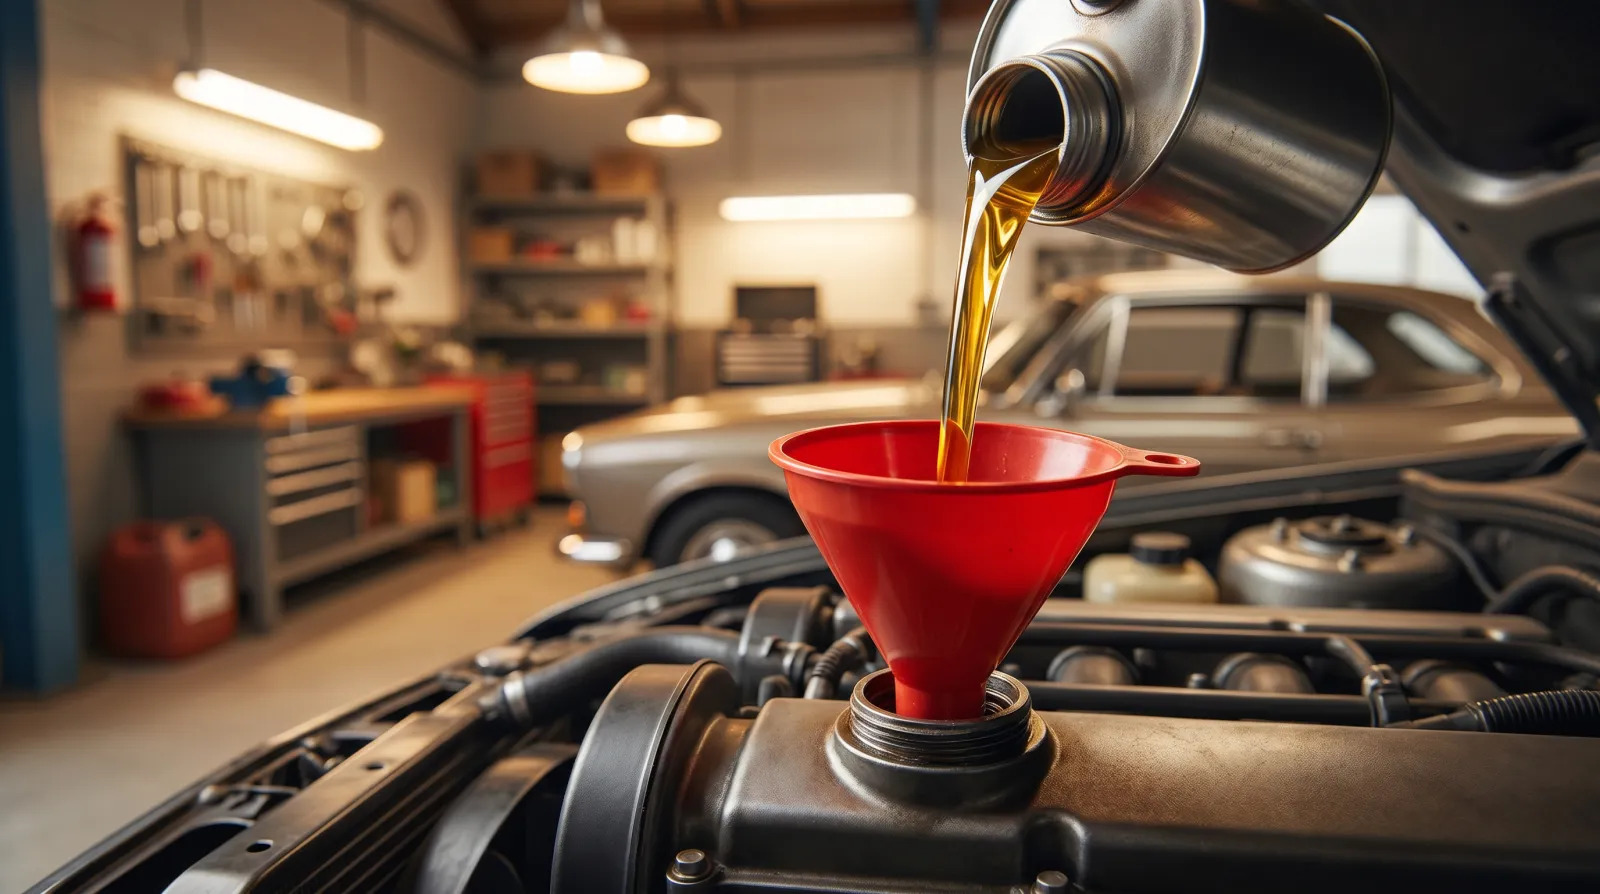
Short version: changing your own oil is the single most worthwhile job a beginner can learn. It takes 30–45 minutes, costs a fraction of the shop price, and the only ways to get it badly wrong are easy to avoid once someone tells you what they are. This guide is that someone. We’ll cover what oil and filter your car needs, the tools worth buying, the full step-by-step, the torque numbers that save your sump, how often to actually do it, and where to dump the old stuff.
Every torque figure, capacity and interval here is a typical range — always confirm the exact number against your own vehicle’s manual before you commit a spanner to it.
What a DIY Oil Change Actually Is
Engine oil does three jobs: it lubricates moving metal, carries heat away, and suspends the soot and microscopic metal that combustion produces so it can be drained out. Over time the oil shears thinner, its additive package depletes, and it loads up with contaminants. An oil change drains that spent oil, replaces the oil filter that’s been catching the grit, and refills with fresh oil. Doing it yourself means you control the quality of both, you catch leaks and problems early, and you save the labour markup. The mechanical skill required is genuinely low — it’s the preparation and a couple of torque numbers that matter.
Why & When to Change Your Oil
Oil is a service item on a schedule, not a "change it when it looks dark" item (it goes dark almost immediately on a diesel and that’s normal). Modern full-synthetic oils commonly run 10,000–15,000 km or 12 months, whichever comes first; conventional oils and severe-duty driving — lots of short trips, towing, dusty roads, track days — shorten that considerably. Many cars now use an oil-life monitor that estimates remaining life from how you drive. The old "every 3,000 miles" rule is a hangover from 1970s mineral oil; we unpack the real numbers in the oil change intervals guide.
Choosing the Right Oil: Grade, Spec & Capacity
Three things have to match your engine: the viscosity grade (e.g. 5W-30 — the "5W" is cold-flow, the "30" is hot thickness), the specification it must meet (API SP, ACEA A3/B4 or C3, OEM approvals like GM dexos1 or VW 504.00), and the capacity in litres. All three live in your owner’s manual, and the grade is often printed on the oil filler cap. Run the wrong viscosity or skip a required spec and you can hurt fuel economy, emissions hardware or the engine itself. Full breakdown in what oil does my car need, and the synthetic vs conventional guide covers which oil type to buy.
Choosing the Right Oil Filter
Two formats: a spin-on canister, or a cartridge element that drops into a housing. The right one is dictated by your engine, and fitment is a quick cross-reference lookup. What separates a good filter from a cheap one is the media quality, a working anti-drainback valve (keeps oil in the filter at shutdown so you don’t get a dry start) and a sensible bypass valve. Always change the filter with the oil — it’s the cheap part of the job. Our oil filter guide covers the brands worth buying.
Tools & Consumables You Need
The buy-once kit: an oil filter wrench (a cap/cup type matched to your filter is the most fool-proof), a socket set and breaker bar for the drain plug, a torque wrench for putting it back, a sealable oil drain pan, a funnel, and a safe way to get under the car — ramps, or a jack plus axle stands and wheel chocks (never just a jack). Consumables each time: the right oil, a new filter, and a fresh crush washer for the drain plug. The full essential-vs-skip list is in tools you need for a DIY oil change.
The Full Step-by-Step
- Warm the engine 5–10 minutes, then shut off and let it cool a few minutes.
- Chock the wheels and raise the front safely on ramps or jack + axle stands on level ground.
- Slide the drain pan under the sump drain plug (confirm it’s the sump, not the gearbox plug).
- Crack the plug with a socket, then spin it out by hand and let it drain fully — oil will be hot.
- Remove the oil filter with the filter wrench (more oil will come out — reposition the pan).
- Wipe the sealing face. Smear fresh oil on the new filter’s gasket and fit it hand-tight plus about ¾ turn.
- Fit a new crush washer and refit the drain plug, then torque it to your vehicle’s spec.
- Lower the car. Add most of the oil through the funnel, wait, then top up to the dipstick MAX.
- Start the engine; the oil light should go out within a second or two. Check for leaks at the plug and filter.
- Shut off, wait, re-check the dipstick and top up if needed. Reset the oil-life monitor.
The two steps that catch people are the torque and the filter seal — covered in detail in the full walkthrough and torque specs.
Disposing of Used Oil & Filters
Used oil is recyclable and hazardous — it does not go down a drain or in the bin. Pour it into a sealable container, let the old filter drain, and take both to an auto-parts store or council recycling centre that accepts them (free in most areas). Keep it uncontaminated — don’t mix in coolant or petrol — so it can actually be re-refined. Details in disposing of used engine oil.
Common Mistakes to Avoid
The classics that turn a 40-minute job into a bad day: double-gasketing (the old filter’s rubber O-ring stuck to the engine and you fit the new one over it — instant oil dump), overfilling, reusing the crush washer, over- or under-torquing the plug, the wrong viscosity, and draining the gearbox plug by mistake. Our 10 beginner mistakes covers each and how to dodge it.
DIY vs Shop: What It Costs
The parts — oil, filter, crush washer — are usually a fraction of a shop’s price; the tools are a one-time cost that pays itself back in a couple of changes and lasts for years. Beyond the money, you choose the oil and filter quality and you spot small problems early. The full break-even maths is in oil change cost: DIY vs the shop.
Where to Start
If it’s your first time: read the step-by-step end to end, sort your tools, and confirm your oil grade and capacity against the manual. Do that and the job itself is genuinely easy. The topical map below links every part of the process.
Affiliate Disclosure
Some links on this page are affiliate links. If you buy through them we may earn a small commission at no extra cost to you. It never changes our verdicts — we only recommend gear we would run on our own cars. Read the full disclosure.