Affiliate Disclosure
Some links on this page are affiliate links. As an Amazon Associate, we earn from qualifying purchases — at no extra cost to you. We do not buy, test, or physically handle the products we cover; our rankings come from aggregated owner reviews, ratings and expert consensus. Commissions never change our verdicts. How we rank & full disclosure.
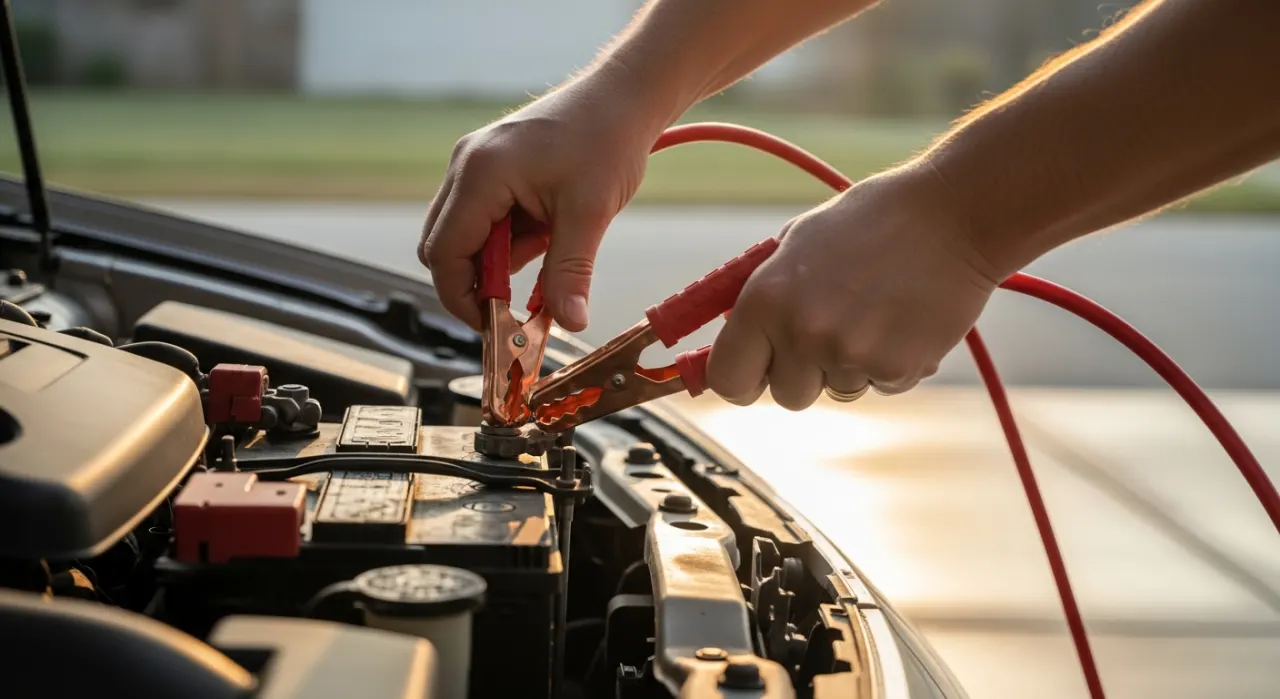
Short version: jump starting a car is safe and simple once you know the clamp order — and getting that order wrong is the one thing that can spark, damage electronics, or hurt you. The golden rule: red to positive, black to a metal ground away from the battery, and remove everything in reverse. A modern portable jump starter makes the whole thing nearly foolproof and lets you do it alone; jumper cables still work but need a second car. Here's exactly how to do both, safely.
Before you start, a quick safety check: make sure both cars are in park (or neutral) with the ignition off and parking brakes set, keep loose clothing and metal jewelry away from the terminals, and don't jump a battery that's visibly cracked, leaking, or frozen. If anything looks wrong, stop and call for help.
Method 1: Using a Portable Jump Starter (the easy way)
This is the method most people should use now, because it needs no second car and the pack's built-in safety does the worrying for you. Make sure the jump starter is charged — a habit worth keeping year-round.
- Turn off the car and everything electrical — lights, climate, radio.
- Connect the red (positive) clamp to your battery's positive (+) terminal.
- Connect the black (negative) clamp to a bare metal part of the engine or chassis — a clean bolt or bracket — rather than directly to the negative terminal. This keeps any spark away from the battery.
- Switch the pack on if it has a power or boost button. Most good packs beep or light green when the connection is correct; a reversed clamp beeps a warning instead of sparking.
- Start the engine. If it doesn't fire in a few seconds, wait 30 seconds and try again — don't crank continuously.
- Once running, remove the black clamp first, then the red, and switch the pack off. Let the engine run or drive for a while to recharge the battery.
That's it. The self-contained pack is why owners rate these as some of the best peace-of-mind gear you can own — see how they compare to cables in jump starter vs jumper cables.
Method 2: Using Jumper Cables and a Second Car
The classic method. You need a second vehicle with a good battery, and the two cars must not touch. Position them nose to nose, both off, in park.
- Red clamp → dead battery positive (+).
- Red clamp → good battery positive (+).
- Black clamp → good battery negative (-).
- Black clamp → bare metal ground on the dead car (engine block or a chassis bolt), away from its battery. This final connection is where a spark is most likely, so keeping it clear of the battery matters.
- Start the good car and let it run for a minute or two to feed some charge across.
- Start the dead car. If it fires, let both run for a couple of minutes.
- Remove the cables in exact reverse order: black from the metal ground, black from the good battery, red from the good battery, red from the revived battery.
Why the Clamp Order Matters
The order isn't superstition — it's about controlling where a spark can happen. A lead-acid battery can vent small amounts of hydrogen gas, which is flammable. When you make the final connection, there's often a tiny spark. By making that final connection a bare metal ground away from the battery rather than the negative terminal, you keep any spark clear of the gas. Getting polarity right — red always to positive — is what protects your electronics; reversing it can blow fuses and damage modules. Follow the order and both risks essentially disappear.
Common Mistakes to Avoid
- Reversing polarity. Red to negative is the classic expensive error. Double-check the + and - markings before you clamp.
- Grounding the last clamp on the battery. Attach it to bare engine or chassis metal instead — safer, and often a better connection.
- Letting the cars touch. Metal-to-metal contact between vehicles can complete a circuit you don't want.
- Cranking non-stop. Long cranks overheat the starter. Try for a few seconds, wait, and repeat.
- Forgetting to recharge. A jump gets you going, but the battery is still low — drive for a while or put it on a battery charger afterward.
After the Jump: Don't Stop There
A successful jump start is a rescue, not a repair. The battery that died is still weak, and if it drained for no obvious reason (you didn't leave a light on), it may be failing. Once you're moving, drive for at least 20–30 minutes to let the alternator recharge it, or better, top it up fully with a charger at home. Then find out why it died: a quick check with one of the best battery testers tells you whether the battery is genuinely dying or your alternator isn't charging. The warning signs of a dying battery guide covers what to watch for next.
The Bottom Line
Jump starting is safe when you respect the clamp order: red to positive, black to a metal ground away from the battery, and reverse to remove. A portable jump starter makes it nearly foolproof and lets you do it solo, which is why it's the trunk tool we recommend most. For the full picture on keeping your battery healthy so you rarely need to do this at all, head back to the jump starters & battery care hub.