Affiliate Disclosure
Some links on this page are affiliate links. As an Amazon Associate, we earn from qualifying purchases — at no extra cost to you. We do not buy, test, or physically handle the products we cover; our rankings come from aggregated owner reviews, ratings and expert consensus. Commissions never change our verdicts. How we rank & full disclosure.
Short version: installing a dash cam is one of the most beginner-friendly jobs in a car. Stick the mount high behind the rear-view mirror, tuck the cable into the headliner and A-pillar trim with the little pry tool that comes in the box, and power it from either the cigarette socket (easiest) or a hardwire kit (cleanest). The whole thing takes 20–40 minutes and needs no real tools. Do it patiently and you’ll have a camera that’s invisible from the driver’s seat and dangles not a single wire.
Most people put this job off because it looks fiddly, then finish their first install and wonder what they were worried about. Here’s the full walkthrough, from choosing the mounting spot to hiding the last inch of cable — and how to add a rear camera if you bought a two-channel system.
What you need
Almost nothing. Your camera comes with the mount, the power cable, and usually a plastic trim pry tool. Add a microfiber cloth and a little rubbing alcohol to clean the glass, and — if you’re hardwiring — an add-a-fuse tap kit and a cheap circuit tester. That’s the entire kit. No drilling, no cutting, no soldering for a standard install.
Step 1: Pick the mounting spot
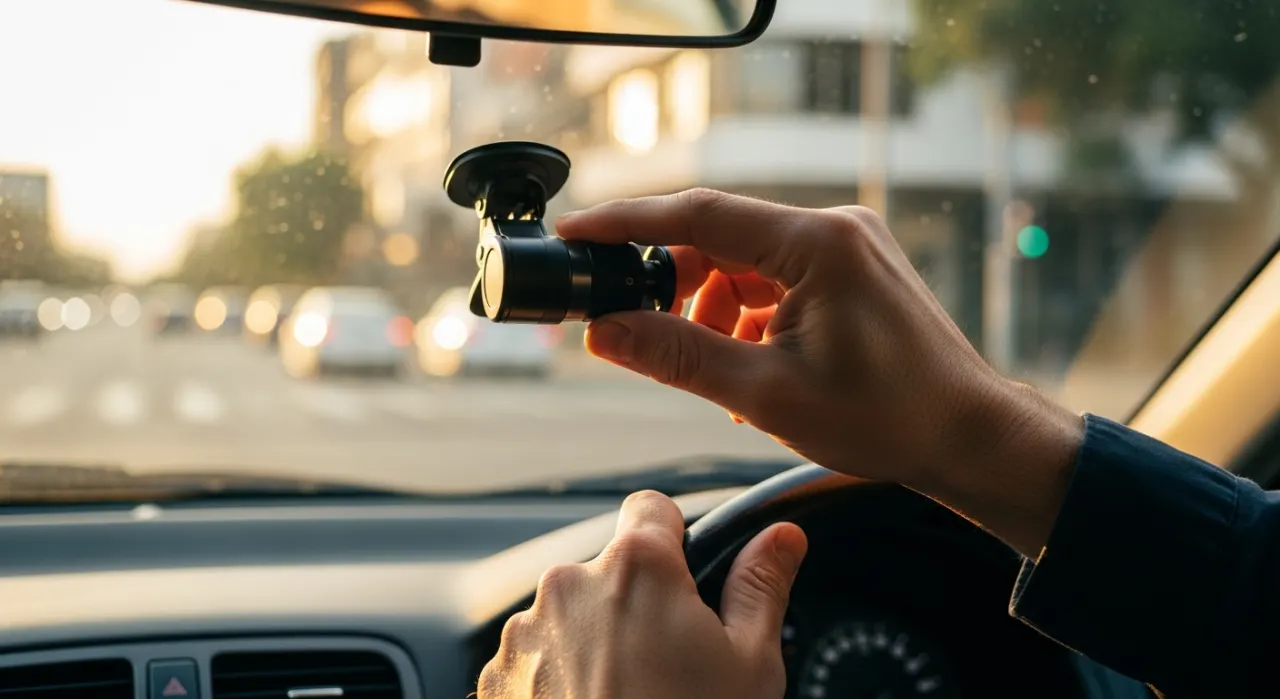
Position the camera high and central on the windshield, directly behind the rear-view mirror. This is the best spot for three reasons: it gives the widest and most stable view of the road, it hides the camera behind the mirror so it’s discreet, and it keeps the camera out of your line of sight. In the US, several states limit how much you can obstruct the windshield, and the behind-the-mirror position keeps you well clear of trouble.
Before you stick anything down, hold the camera up and check the view — you want the horizon roughly in the upper third of the frame so the lens captures the road, not the sky. Then clean the glass thoroughly with alcohol and let it dry. A summer windshield gets brutally hot, and a greasy mount is the number-one reason cameras end up face-down on the dash in July.
Step 2: Hide the power cable
This is the step that separates a clean install from a messy one, and it’s easier than it looks. With the camera mounted, run the power cable:
- Up into the headliner — press the cable into the gap between the glass and the roof lining, right next to the camera.
- Across and down the A-pillar — follow the headliner to the pillar beside the windshield, then use the pry tool to gently lift the pillar trim and tuck the cable behind it. (If your car has a curtain airbag in the A-pillar, route the cable to the side of it, not across it.)
- Along the dash to your power source — run it under the edge of the dash or along the door weatherstrip down to the footwell.
Work the cable in a foot at a time, and leave no slack dangling. Done right, the only visible part is the short run from the camera into the headliner.
Step 3: Power it up
You’ve got two choices here, and it’s worth understanding both — we cover the full comparison in hardwire vs plug-in.
Plug-in (easiest): run the cable to your 12V cigarette-lighter / accessory socket and plug it in. The camera powers on with the car and off when you leave. That’s the whole job — no fuse box, no risk. Perfect for a first install or a rental.
Hardwire (cleanest): instead of the socket, you tap the fuse box with an add-a-fuse kit, freeing up your accessory socket and hiding the last cable completely. A hardwire kit also unlocks 24-hour parking mode, and its built-in low-voltage cutoff protects your battery. Find a fuse that’s only live when the ignition is on (or a constant-power fuse if you want parking mode), tap it, and ground the kit to a clean bolt on the metal chassis.
Step 4: Add the rear camera (if you have one)
If you bought a front-and-rear system, the rear camera connects to the front unit with a long, thin cable. Route it the same way you hid the power cable — up into the headliner, then straight back along the edge of the headliner to the rear window, tucking it in as you go. Mount the rear camera high and central on the rear glass, checking the image isn’t blocked by a wiper or a heavy tint band. On a sedan or SUV the included cable usually reaches; a truck or van may need an extension.
Step 5: Set it up and forget it
Insert a high-endurance microSD card rated for dash cams — not an old phone card, which will wear out fast under constant loop recording — and format it in the camera. Then set the date, time and, if the camera has it, turn on GPS so speed and location are stamped onto the footage (it strengthens the clip as evidence). Take a two-minute test drive and check the playback for framing and clarity, day and night.
That’s it. A well-installed dash cam is a set-and-forget device — it loops over the oldest footage automatically and locks any clip where the G-sensor detects an impact. For which cameras are worth installing in the first place, see best dash cam, and head back to the dash cams hub for the full buying picture.